
|
Snowflake - In Win H-Frame 2.0 for Computex 2017 |
Post Reply 
|
Page 12> |
| Author | |
Xaltar 
Moderator Group 

Joined: 16 May 2015 Location: Europe Status: Offline Points: 26118 |
 Post Options Post Options
") Thanks(0) Thanks(0)
 Quote Reply Quote Reply
 Topic: Snowflake - In Win H-Frame 2.0 for Computex 2017 Topic: Snowflake - In Win H-Frame 2.0 for Computex 2017Posted: 16 May 2017 at 2:44am |
|
Pure awesome!
 Brilliant work, I love all the details and the flow of the build. Great job tying everything in and making the build feel coherent with so many custom elements
 |
|

|
|
 |
|
|
thechoozen
Newbie 
Joined: 03 Apr 2017 Status: Offline Points: 12 |
Post Options
Thanks(0)
Quote Reply
Posted: 16 May 2017 at 1:47am |
|
With all parts mounted and everything prepared, we finally could start to bend the tubes for the watercooling loop.... 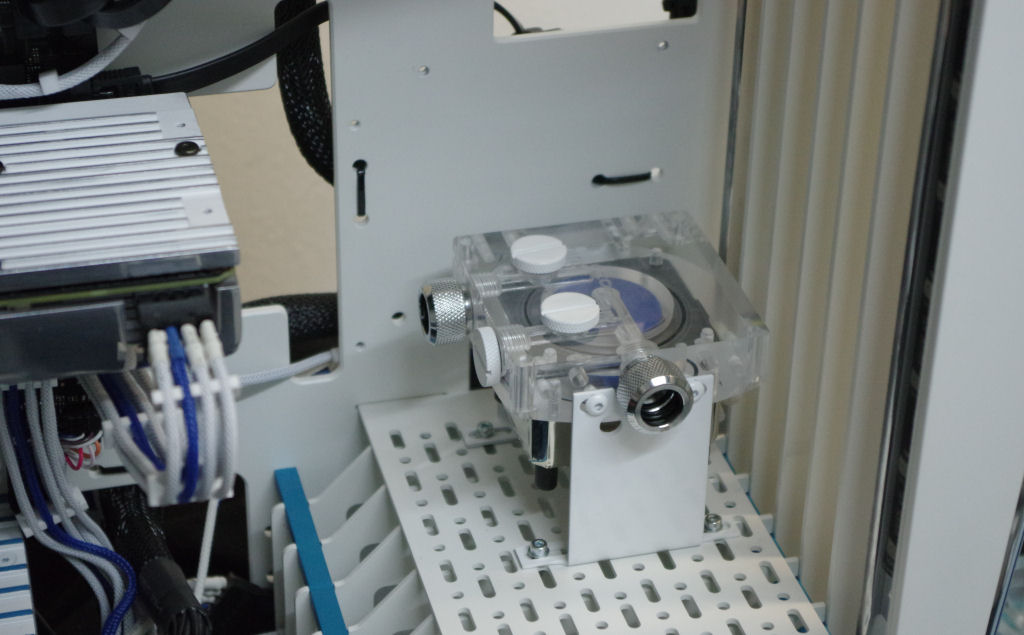 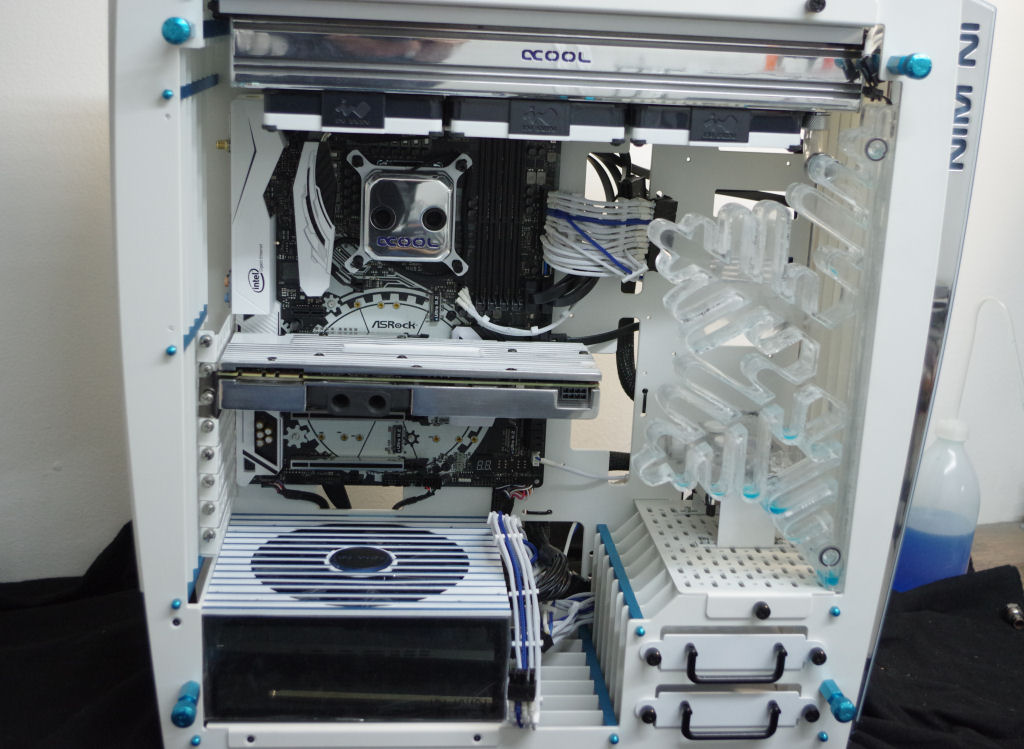 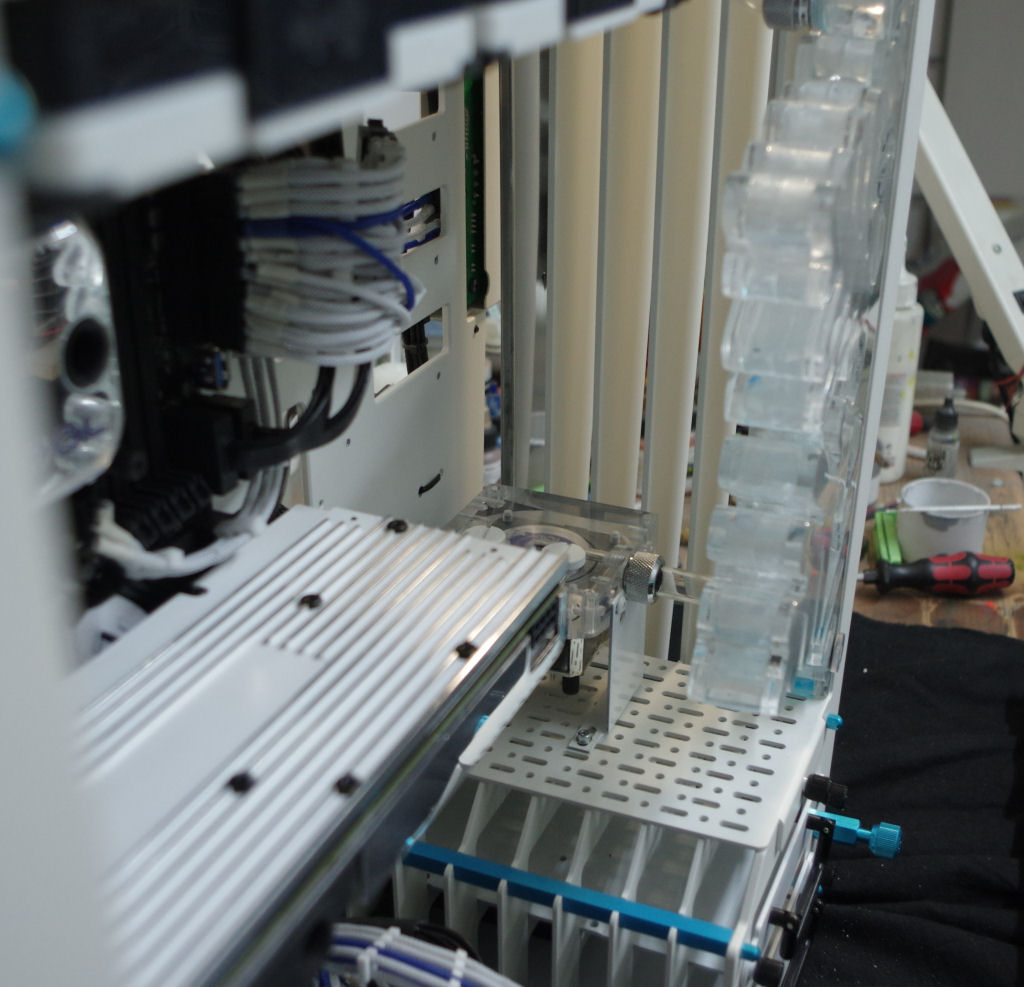 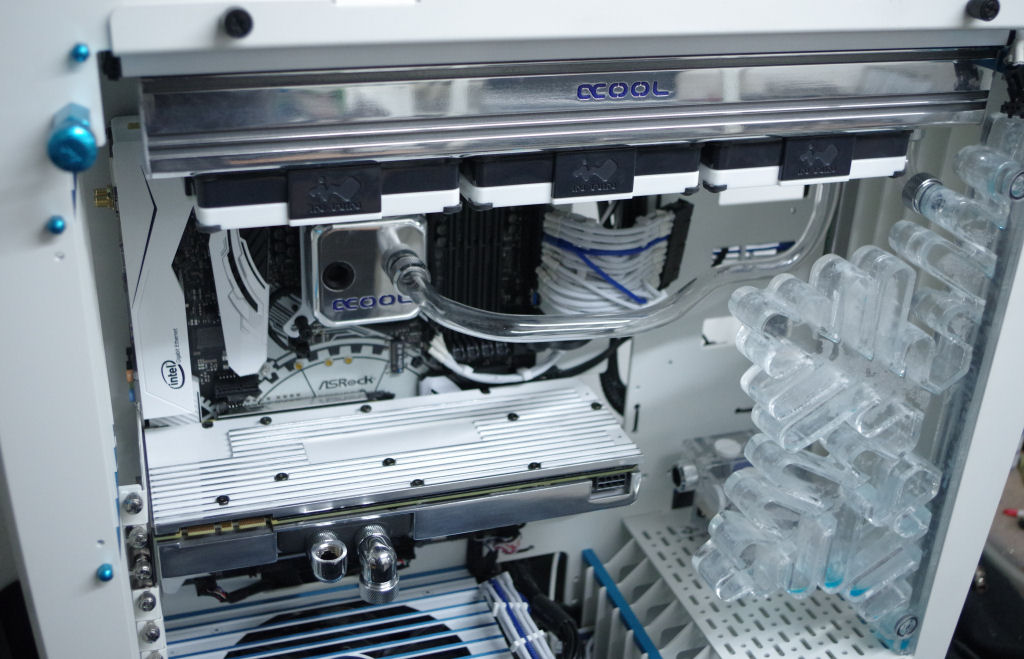 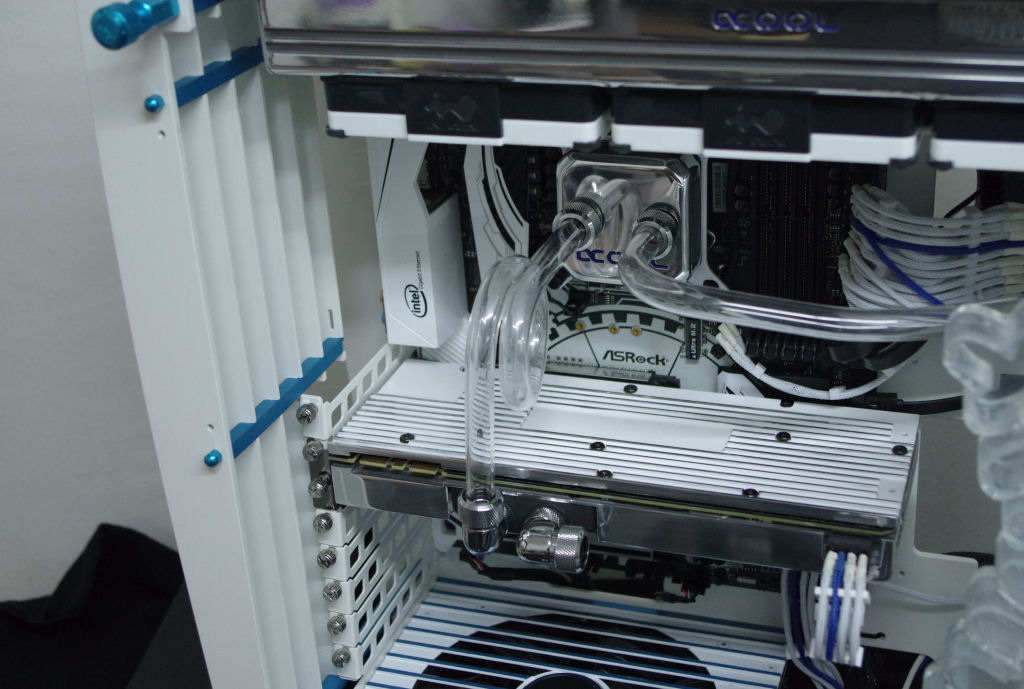 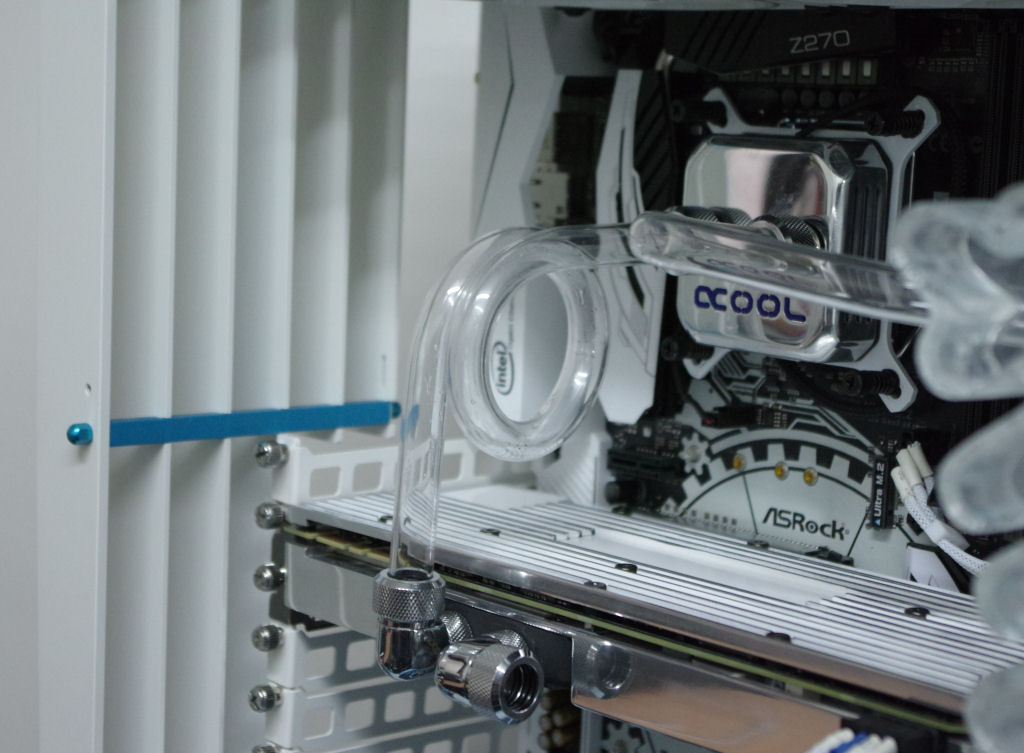 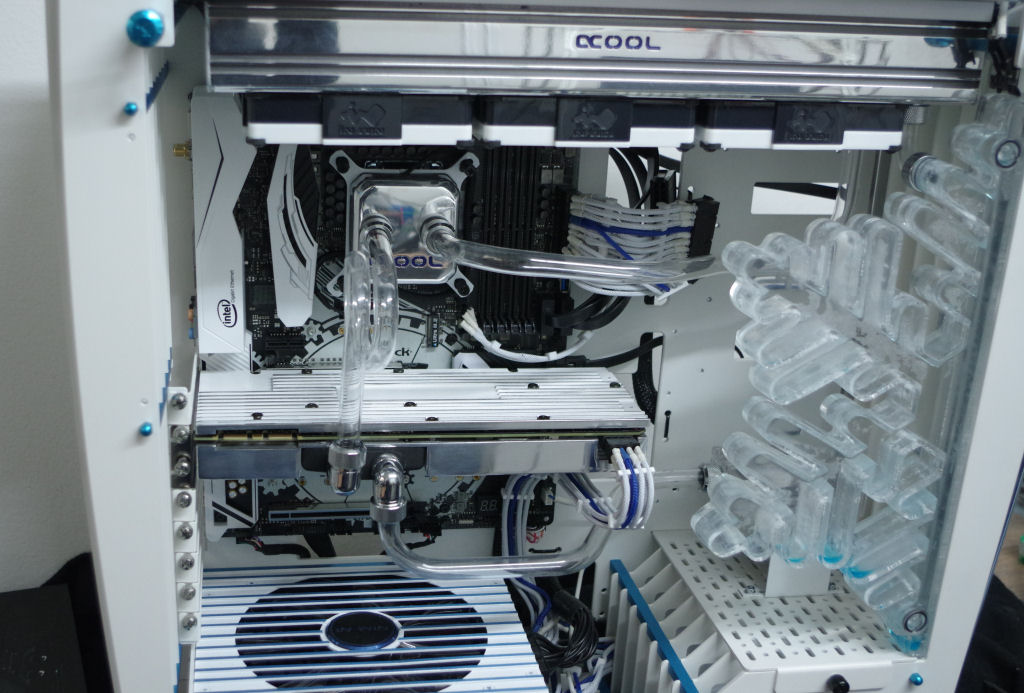 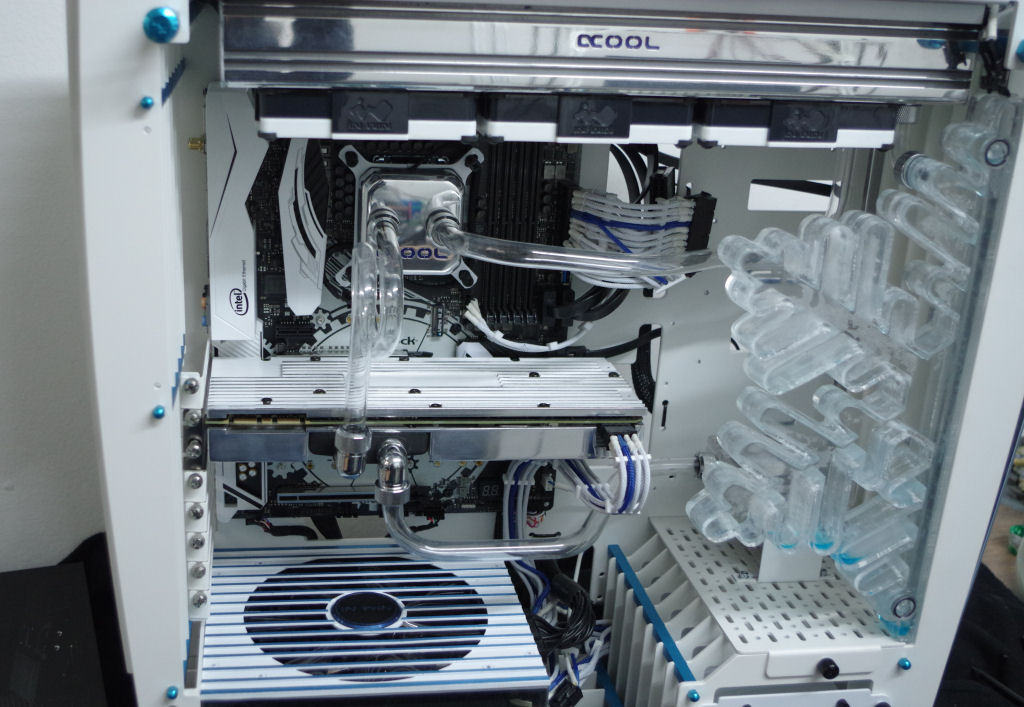 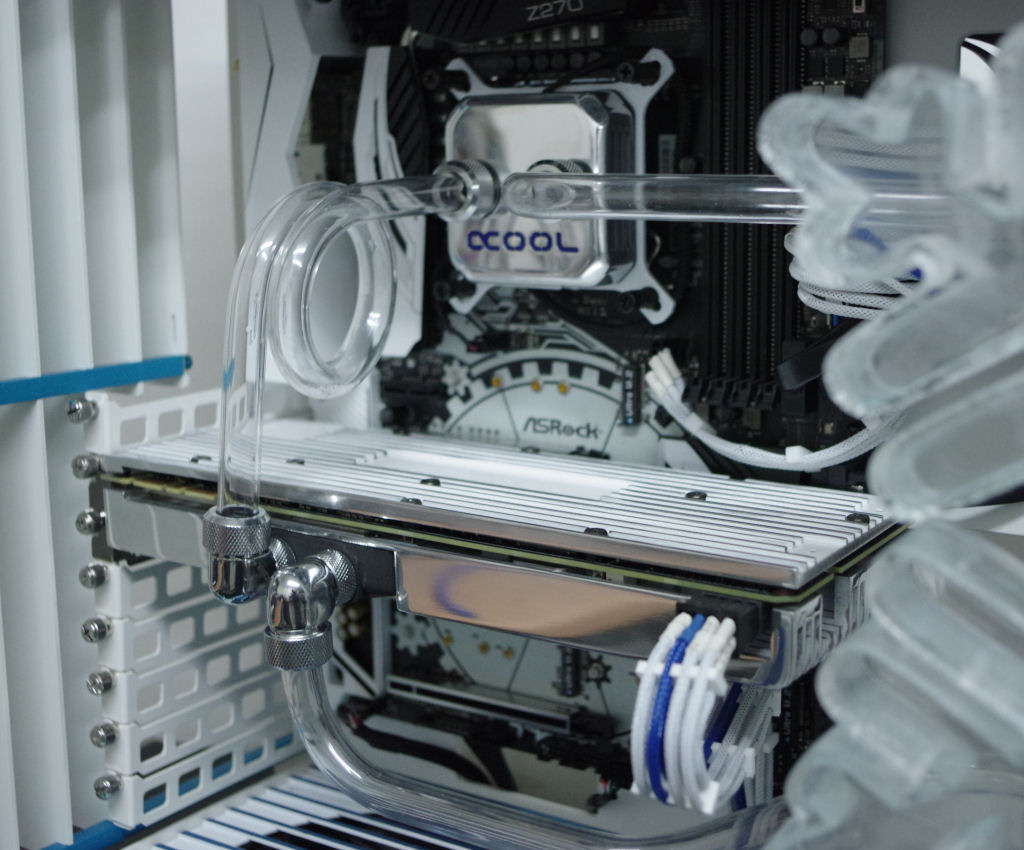 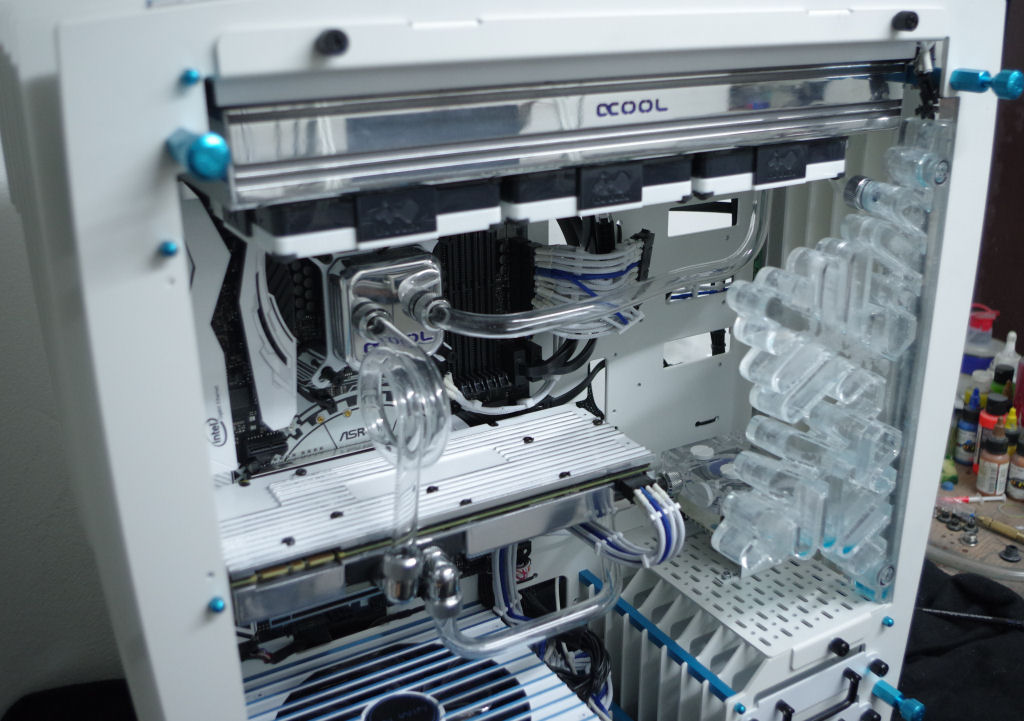 after that we filled the loop with blue coolant and started to mount the last details so that we could make some final pics before we have to ship everything to the Computex.... 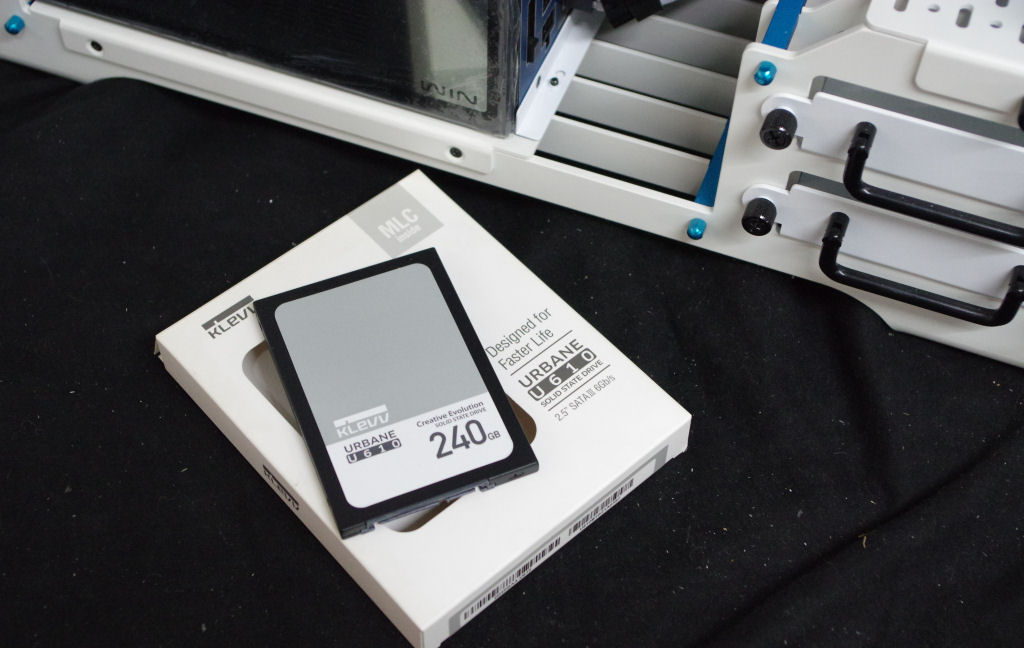 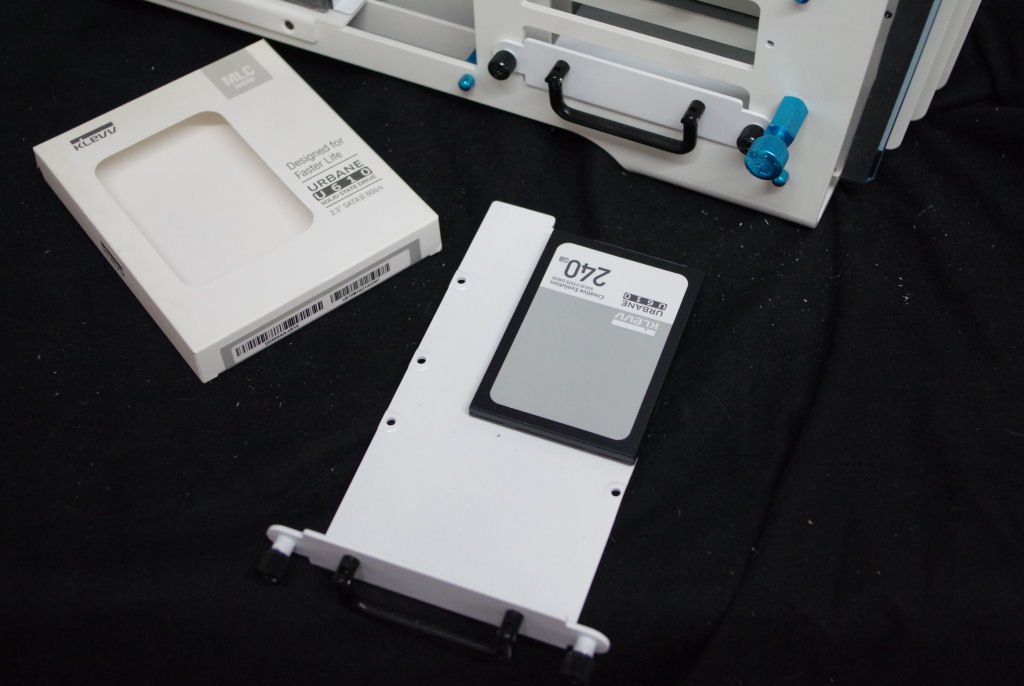 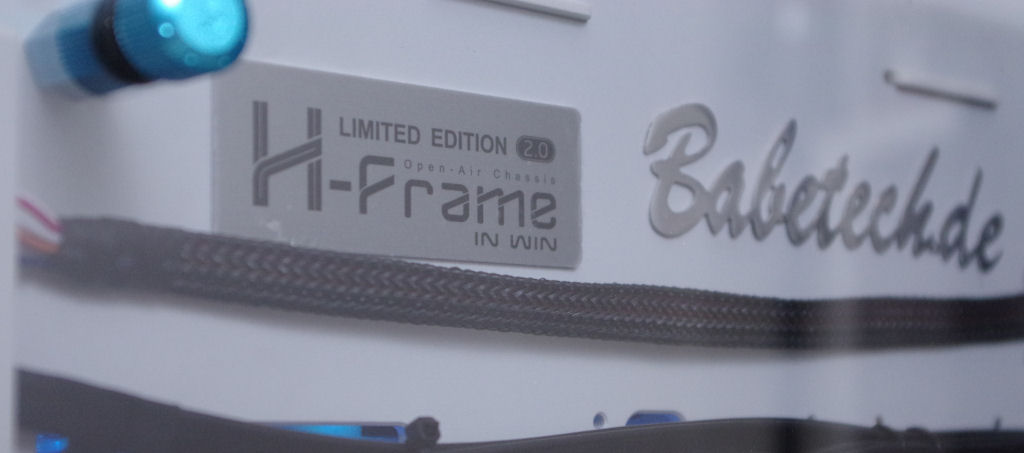 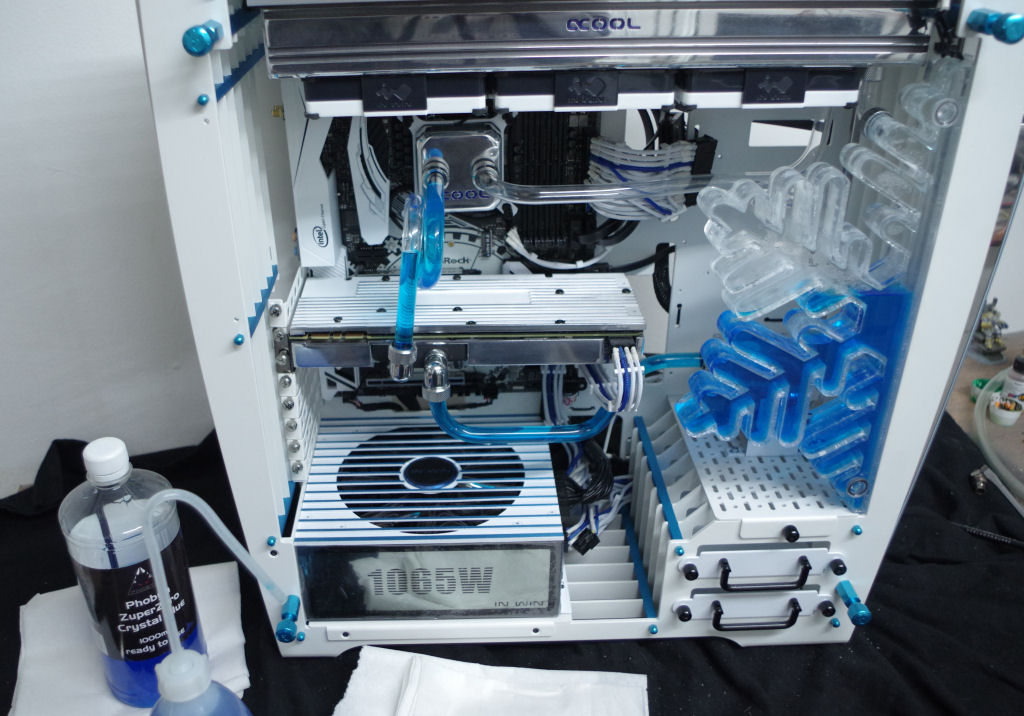 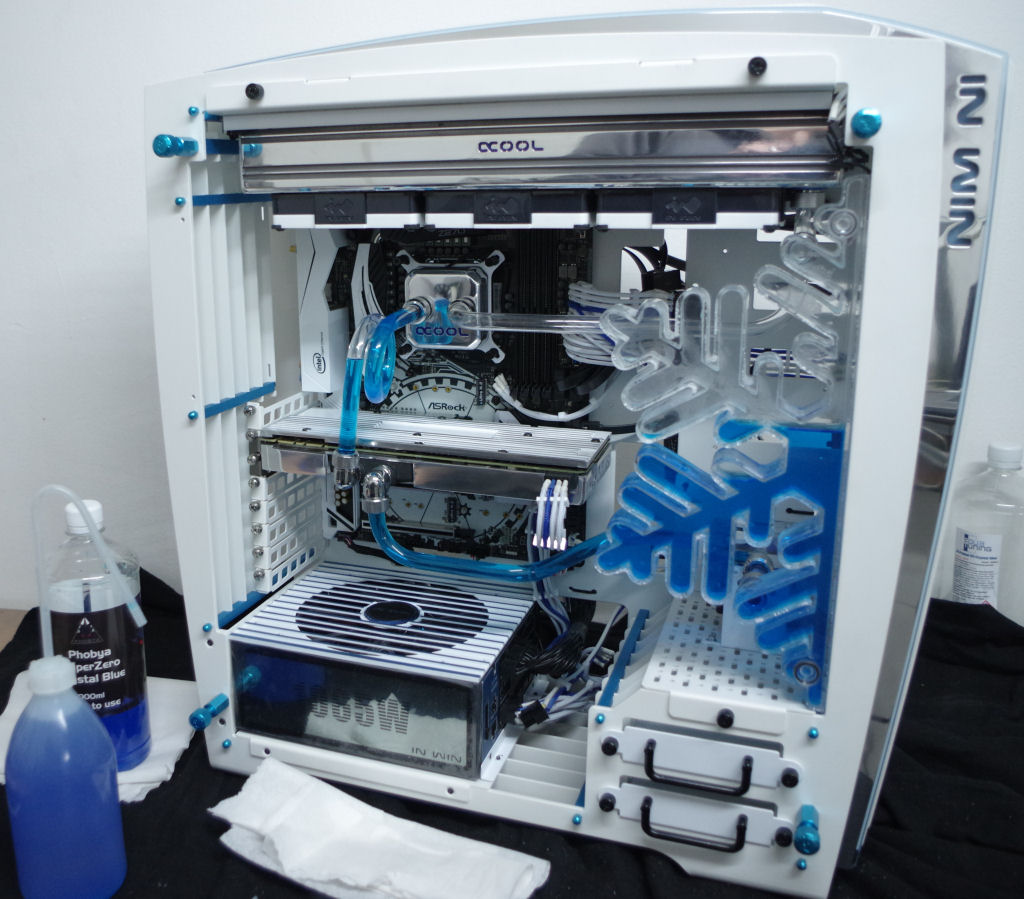 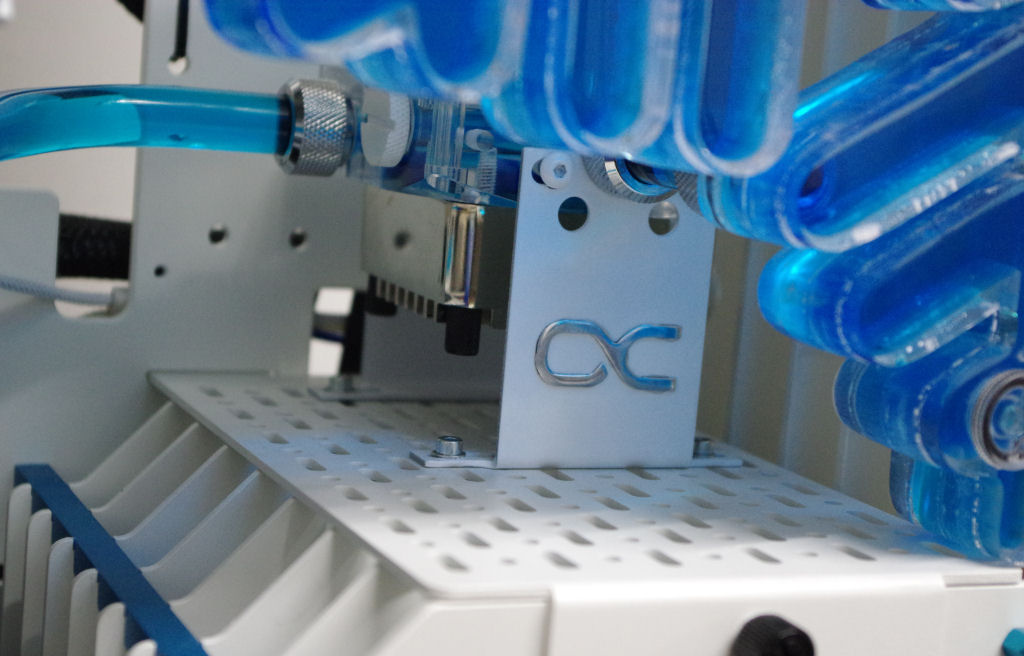 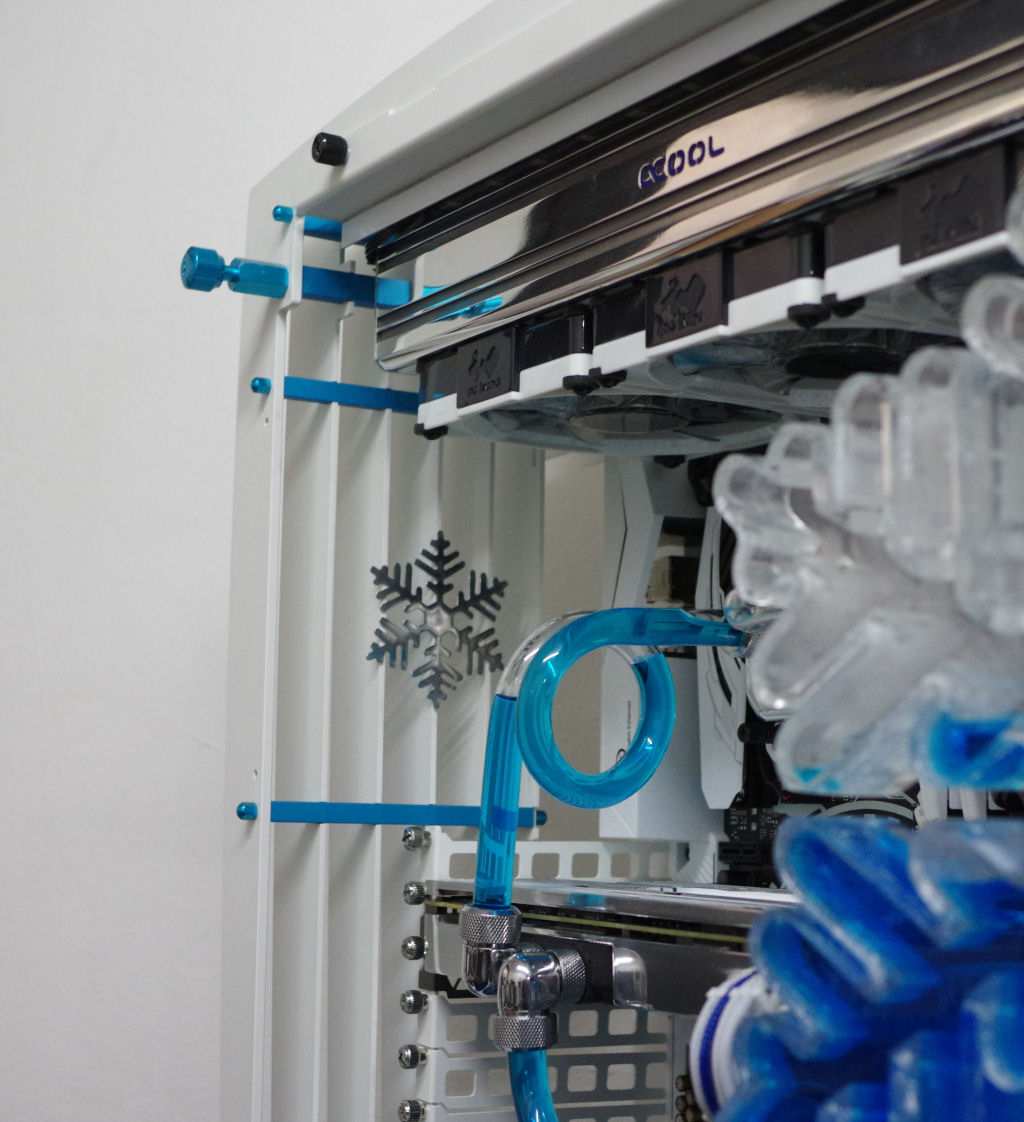 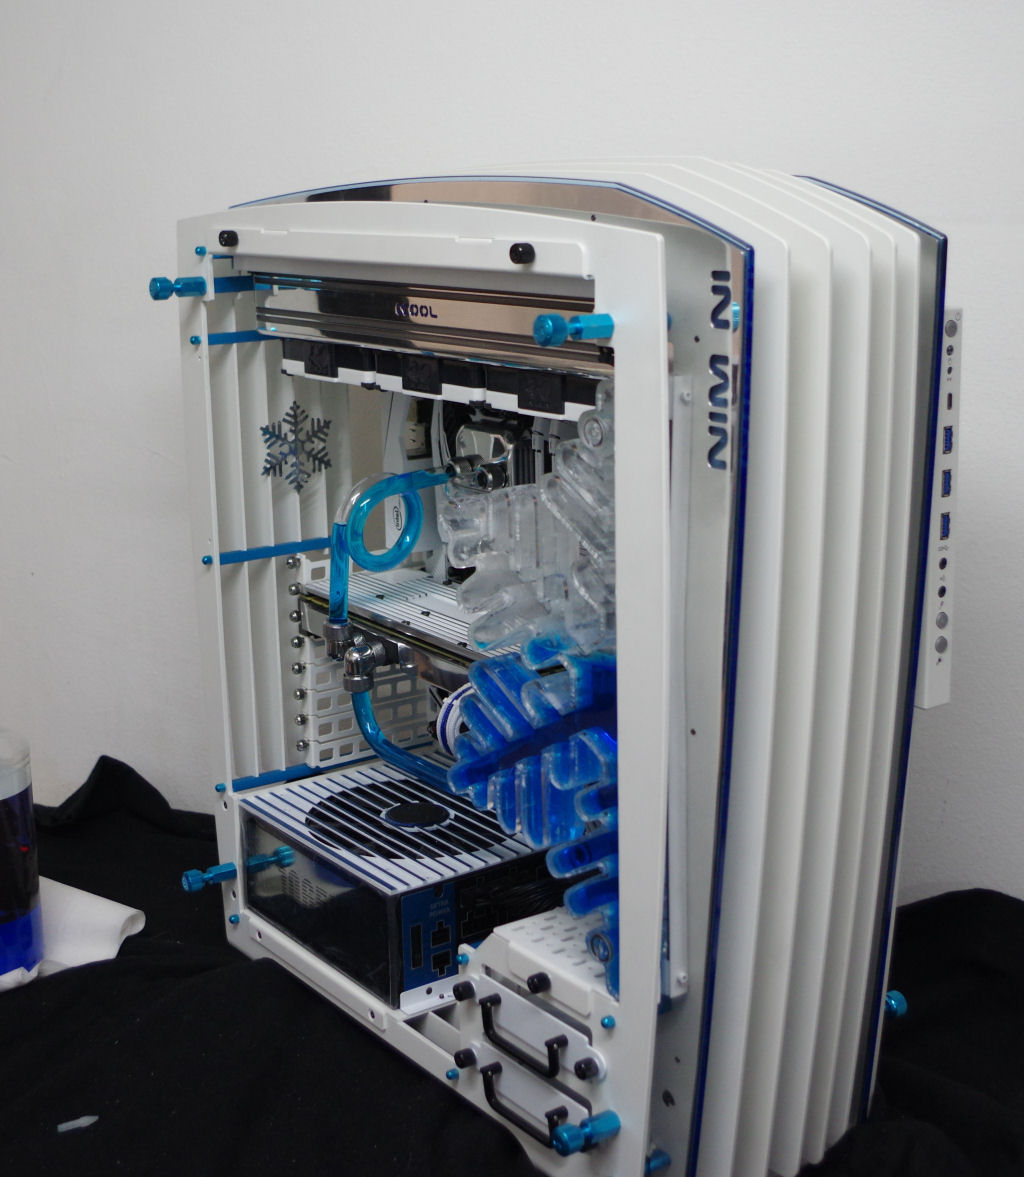 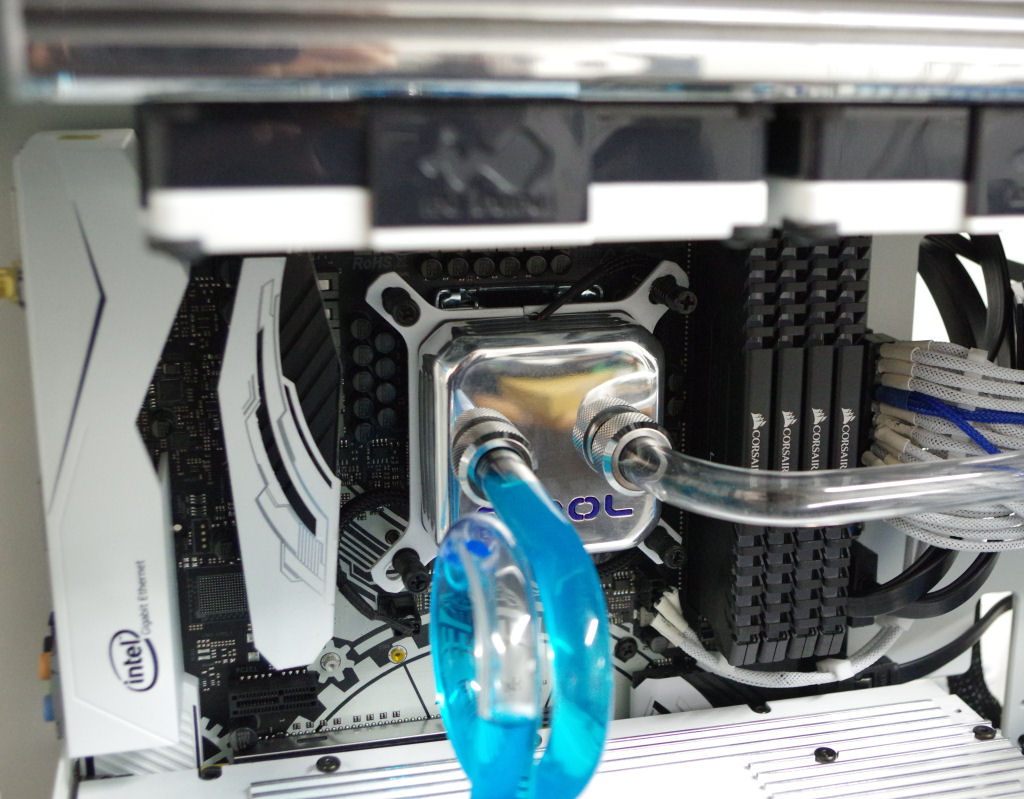 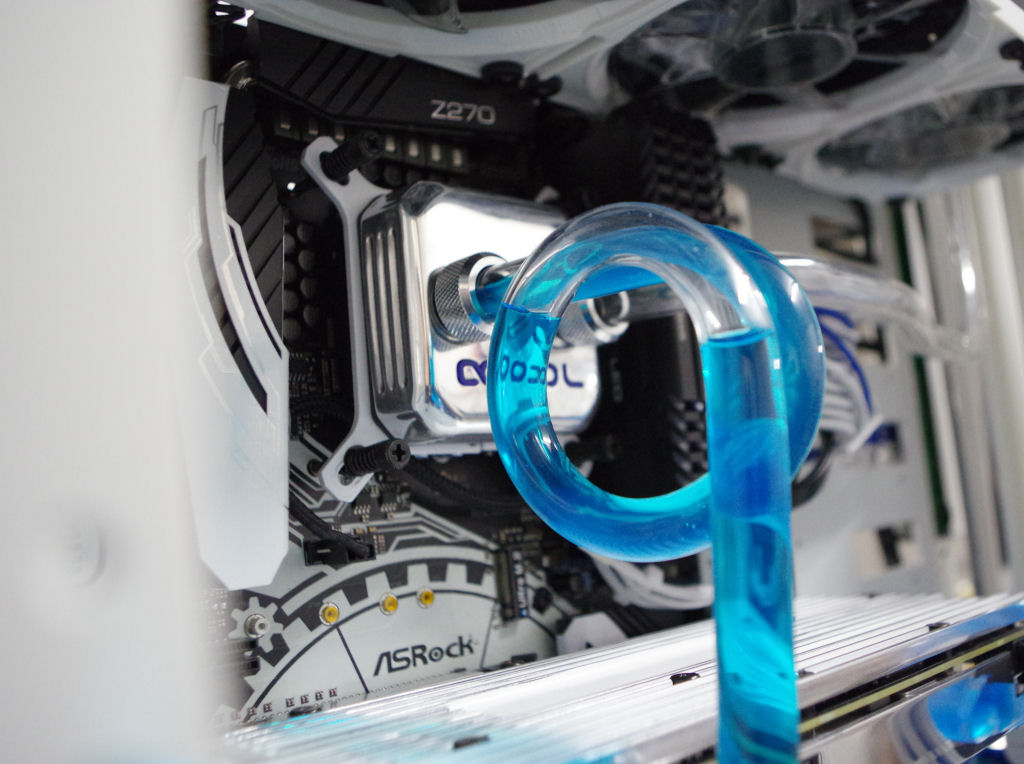  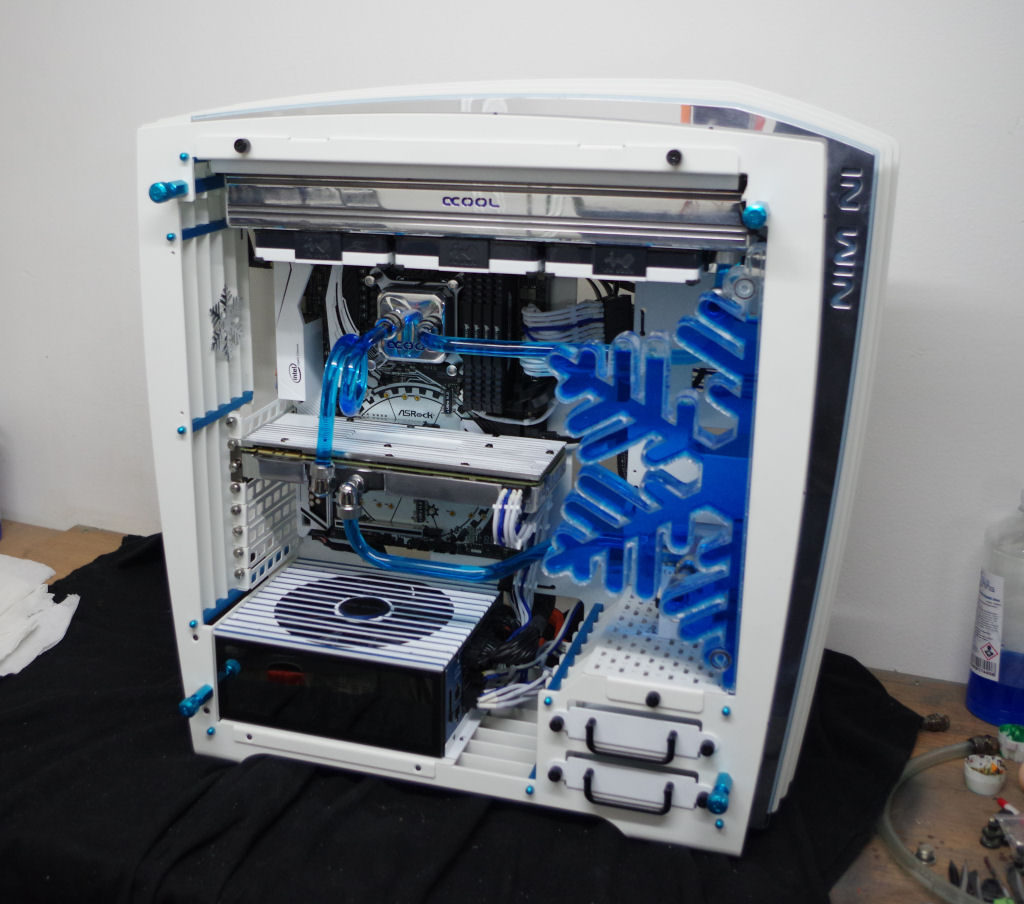 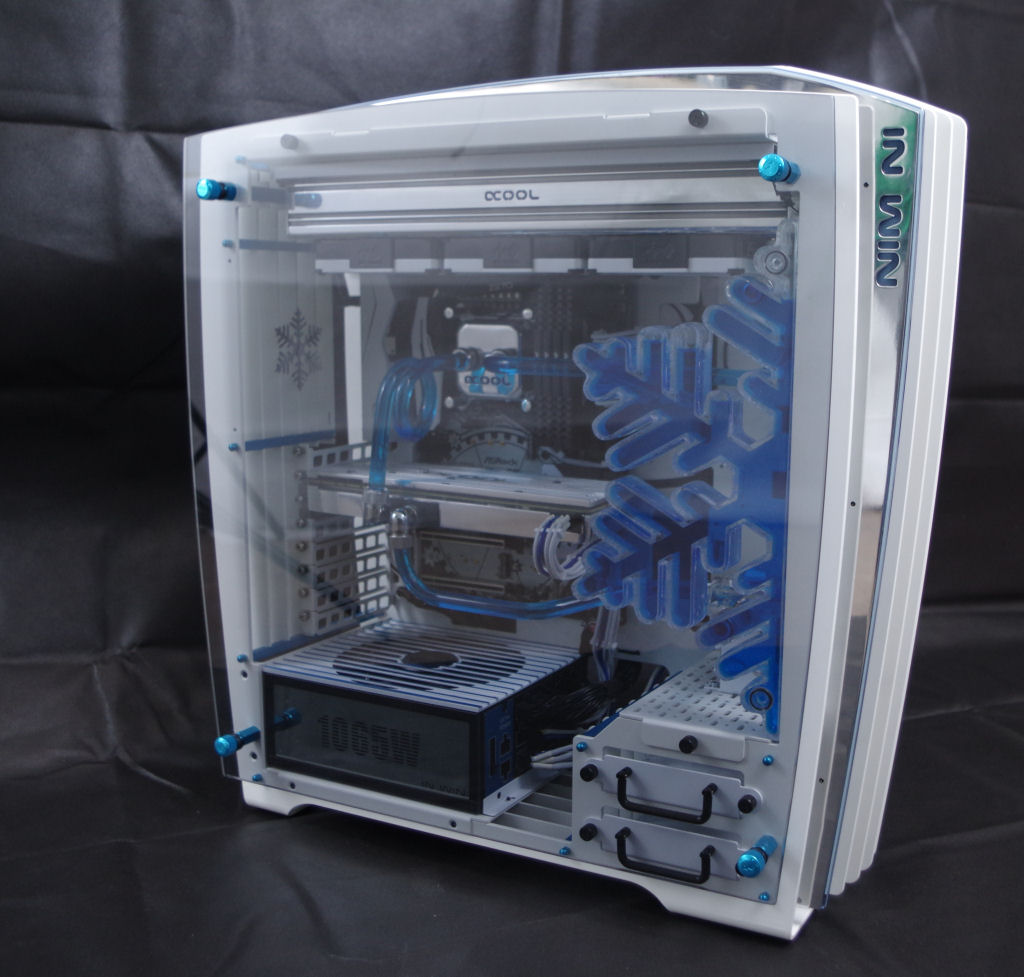 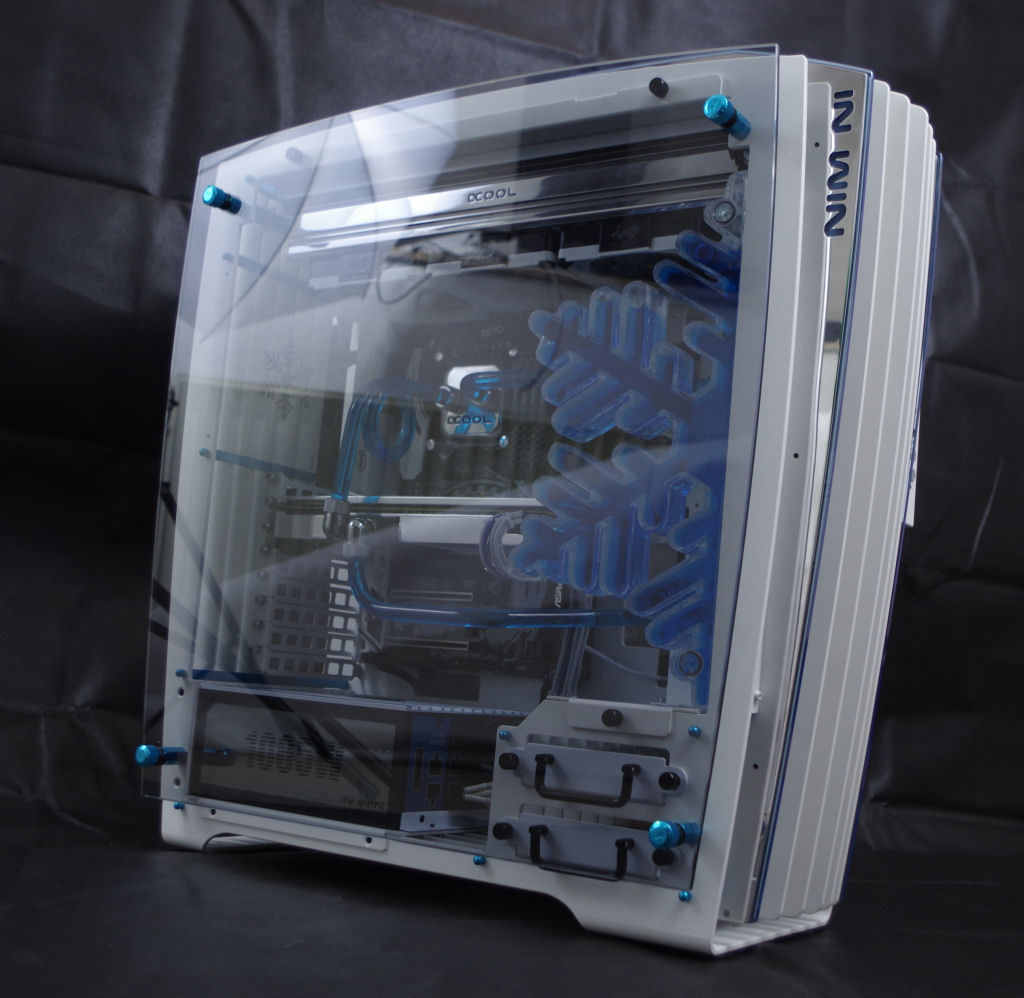 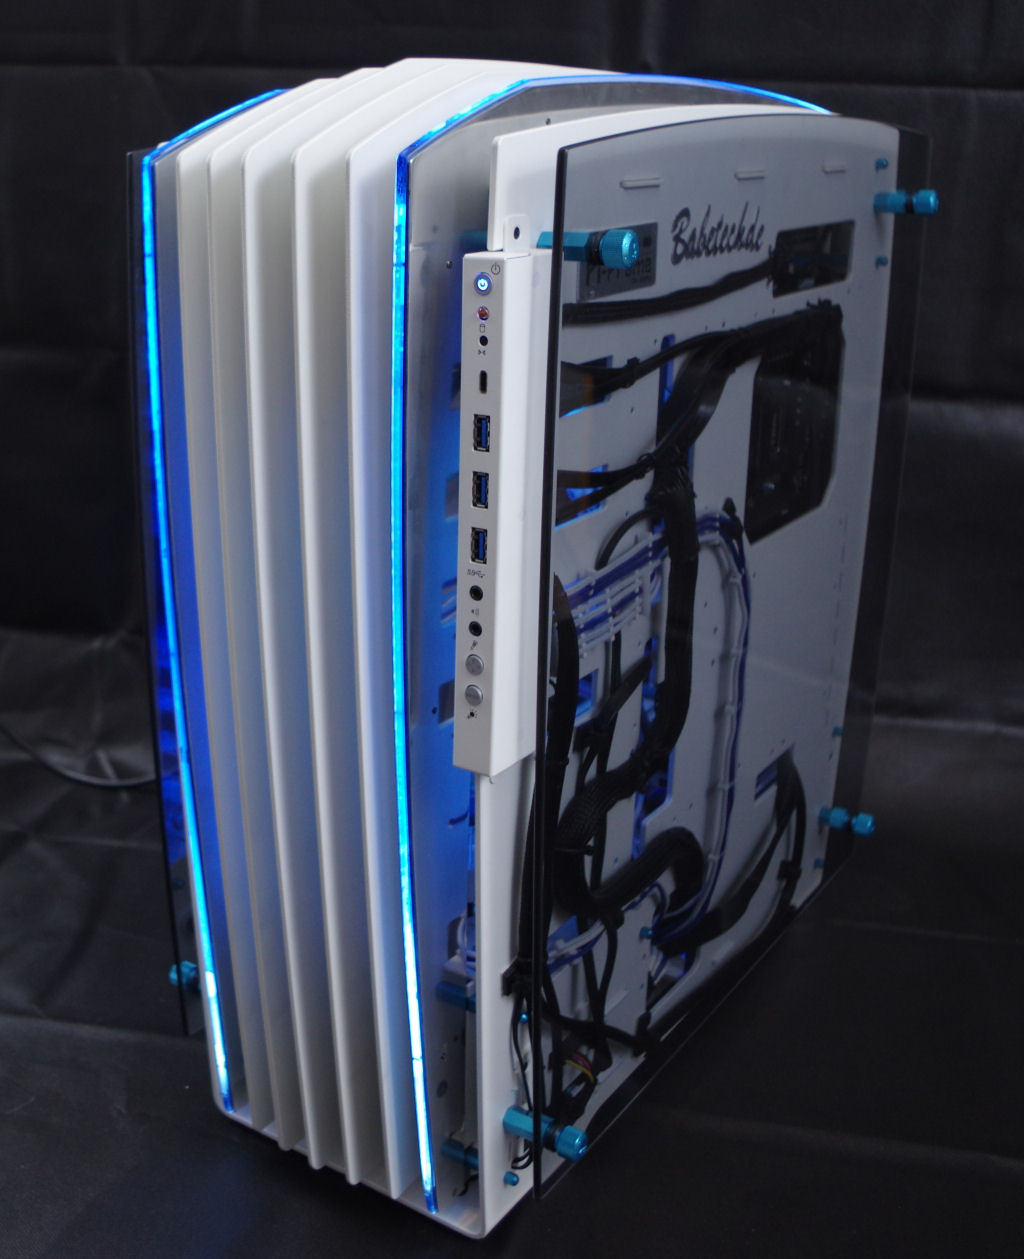 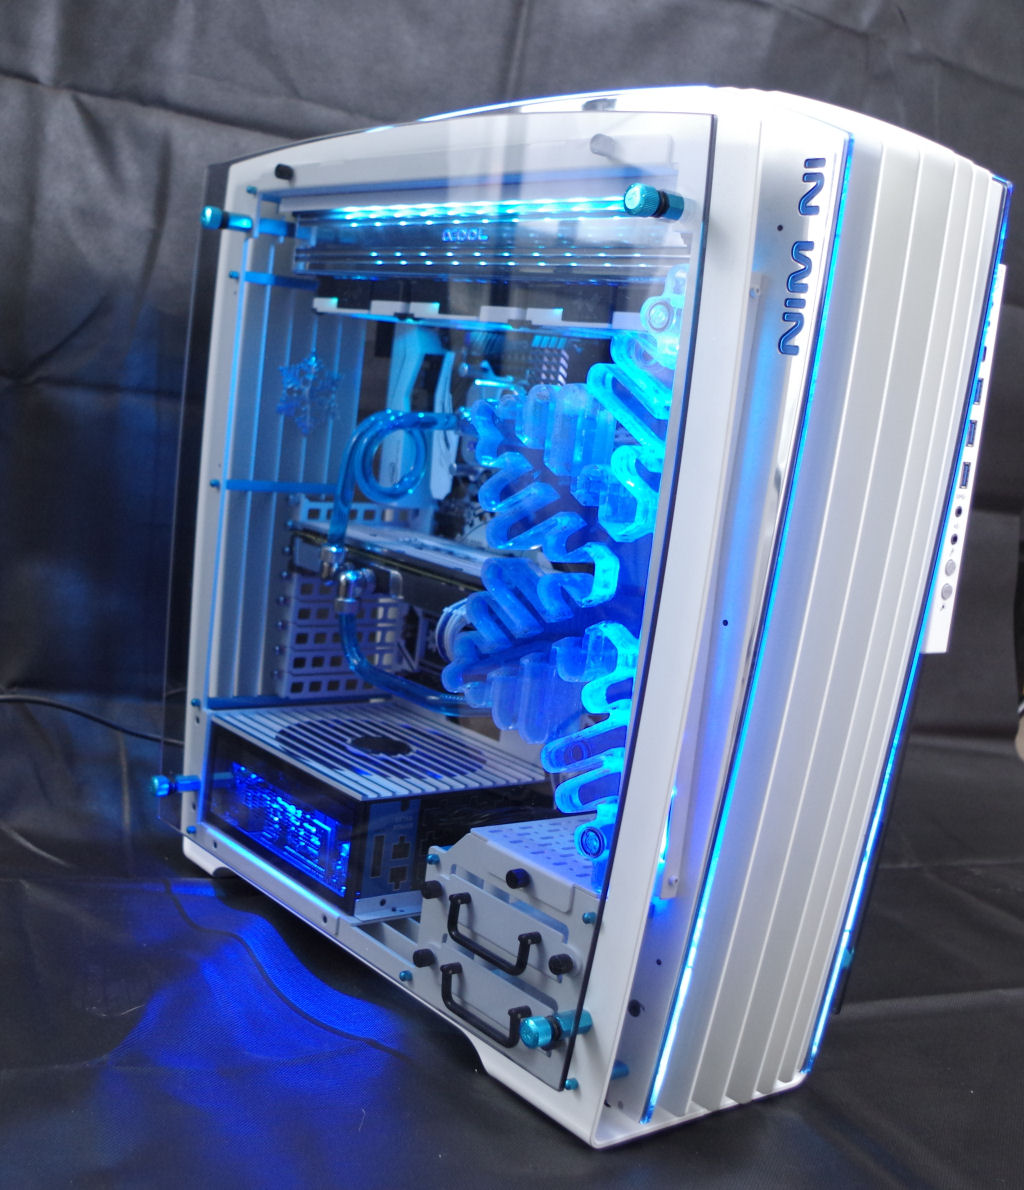 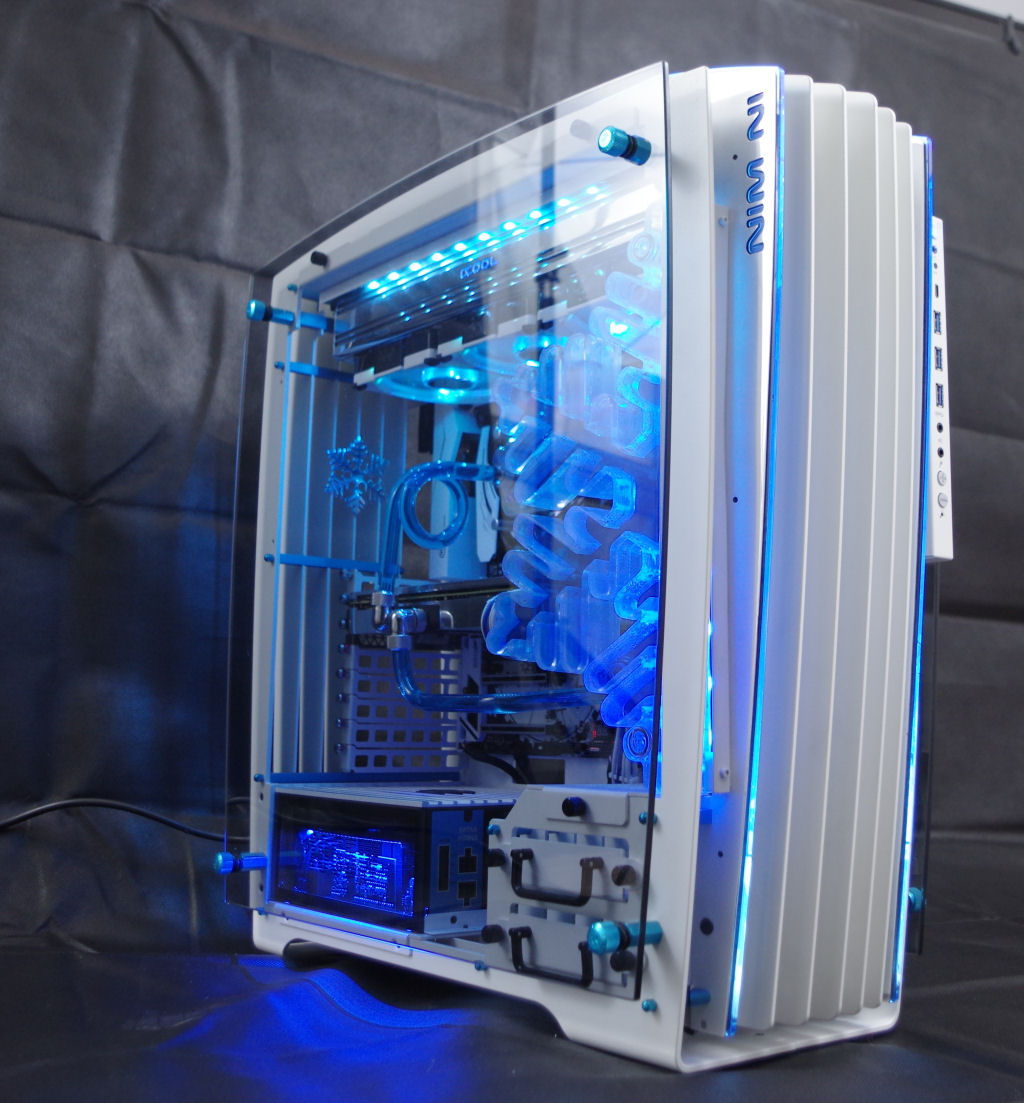 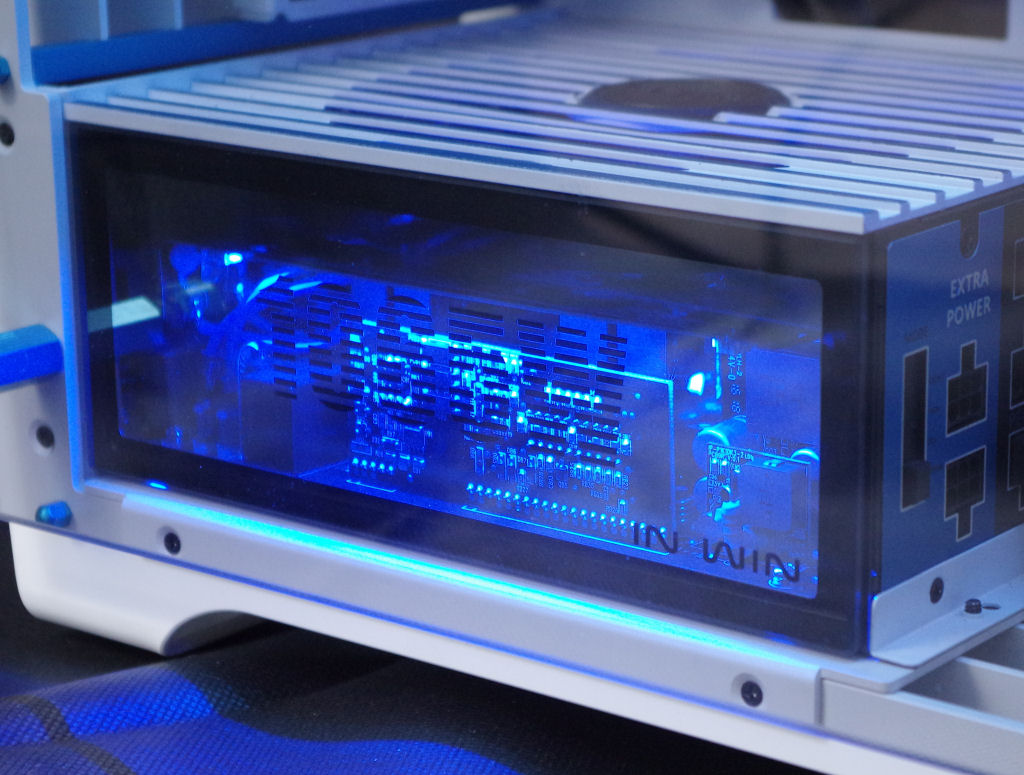 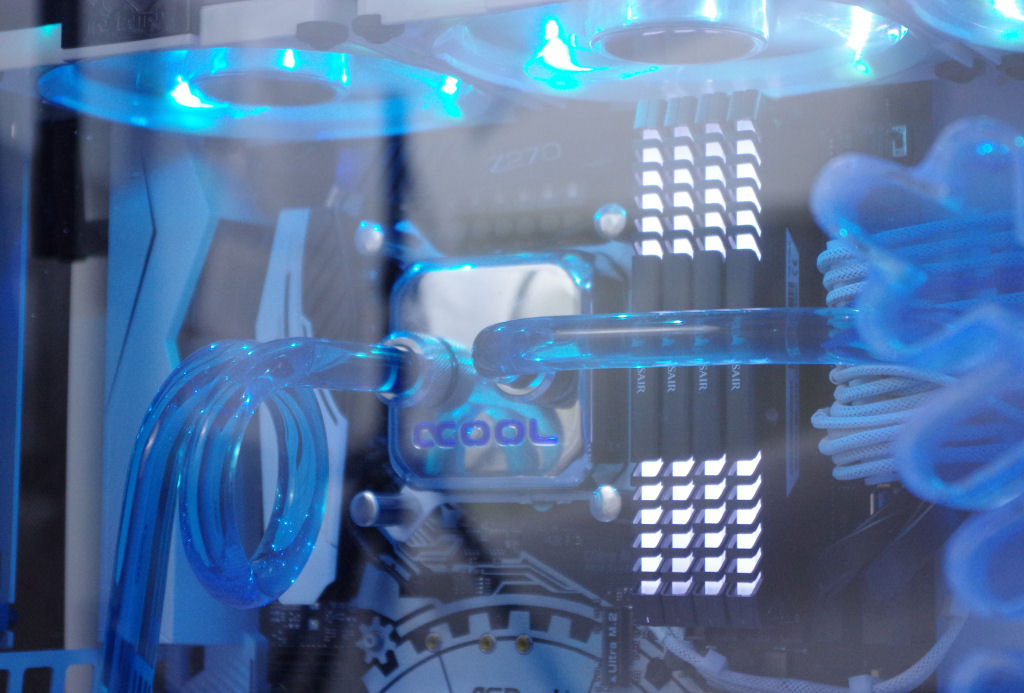 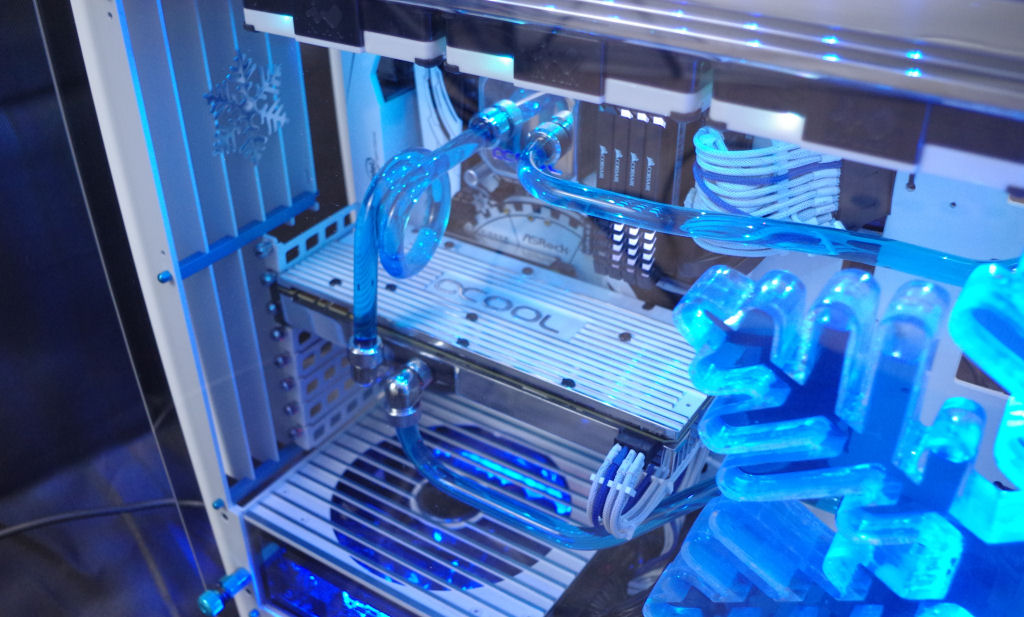 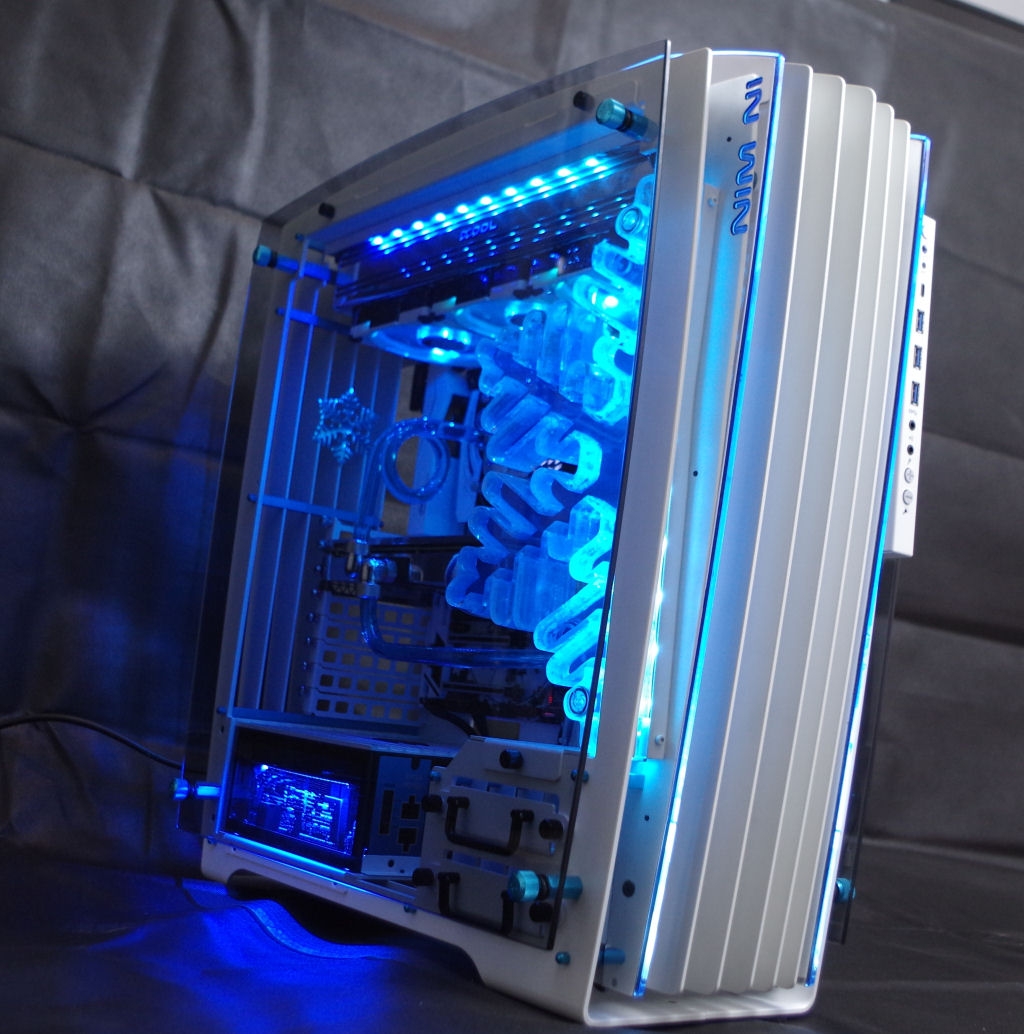 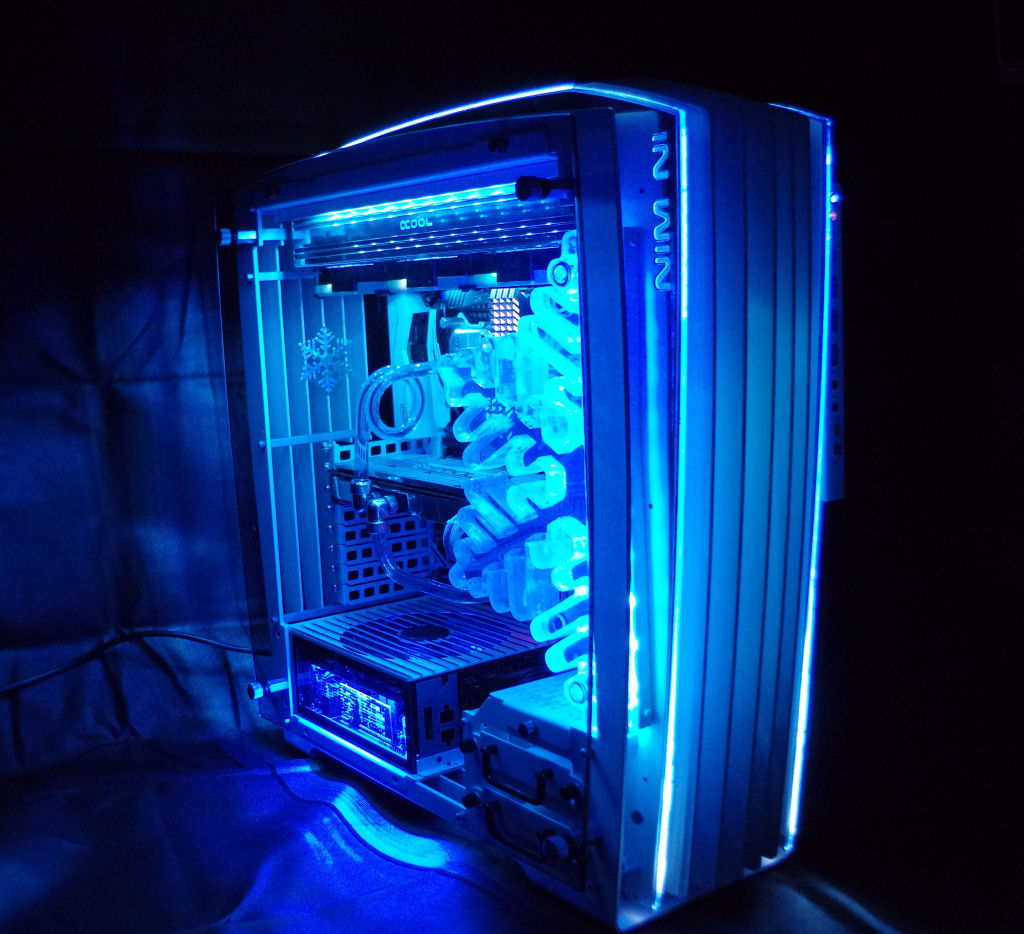 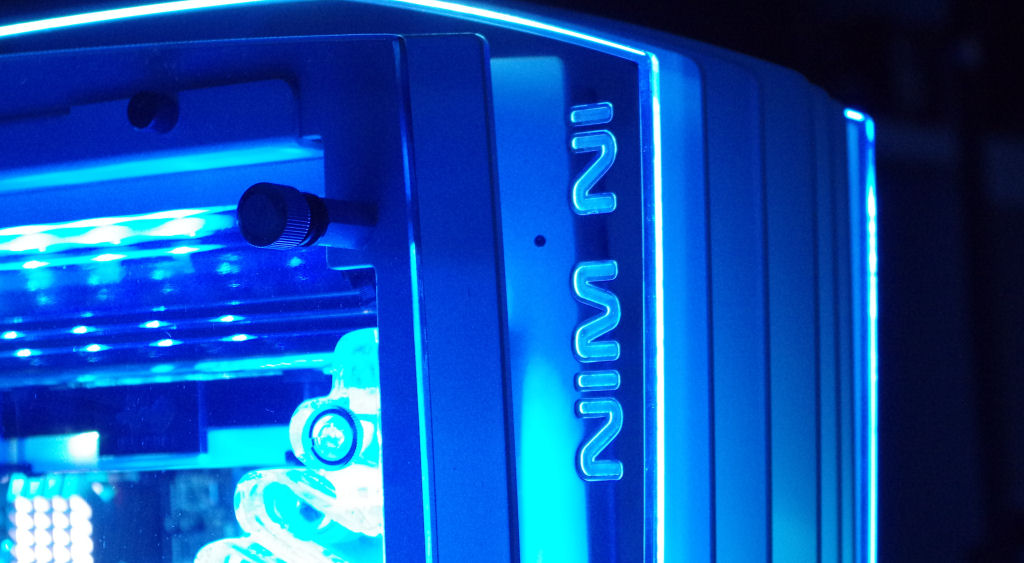 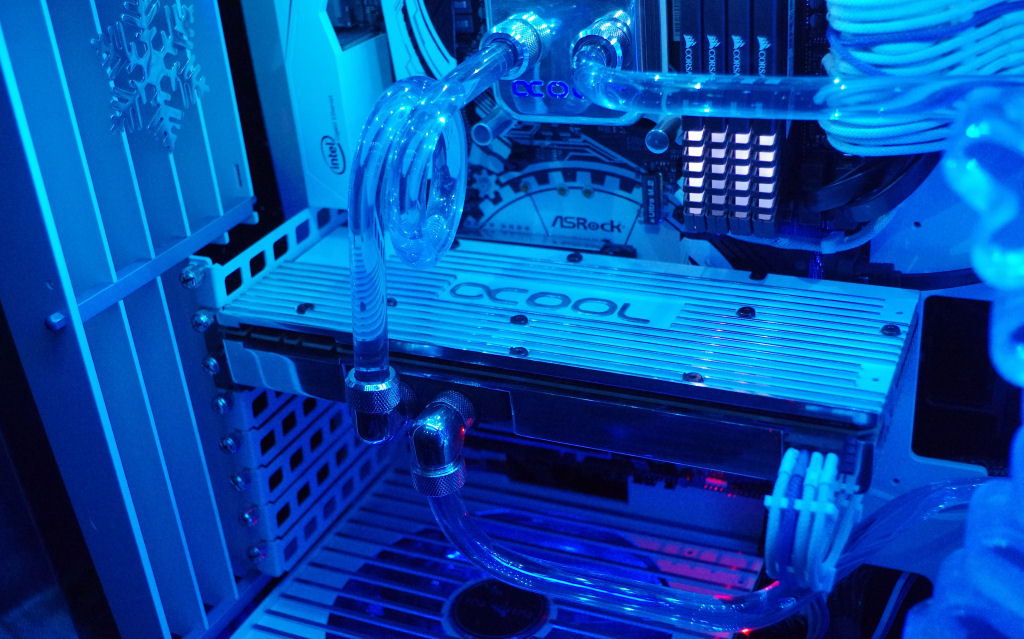 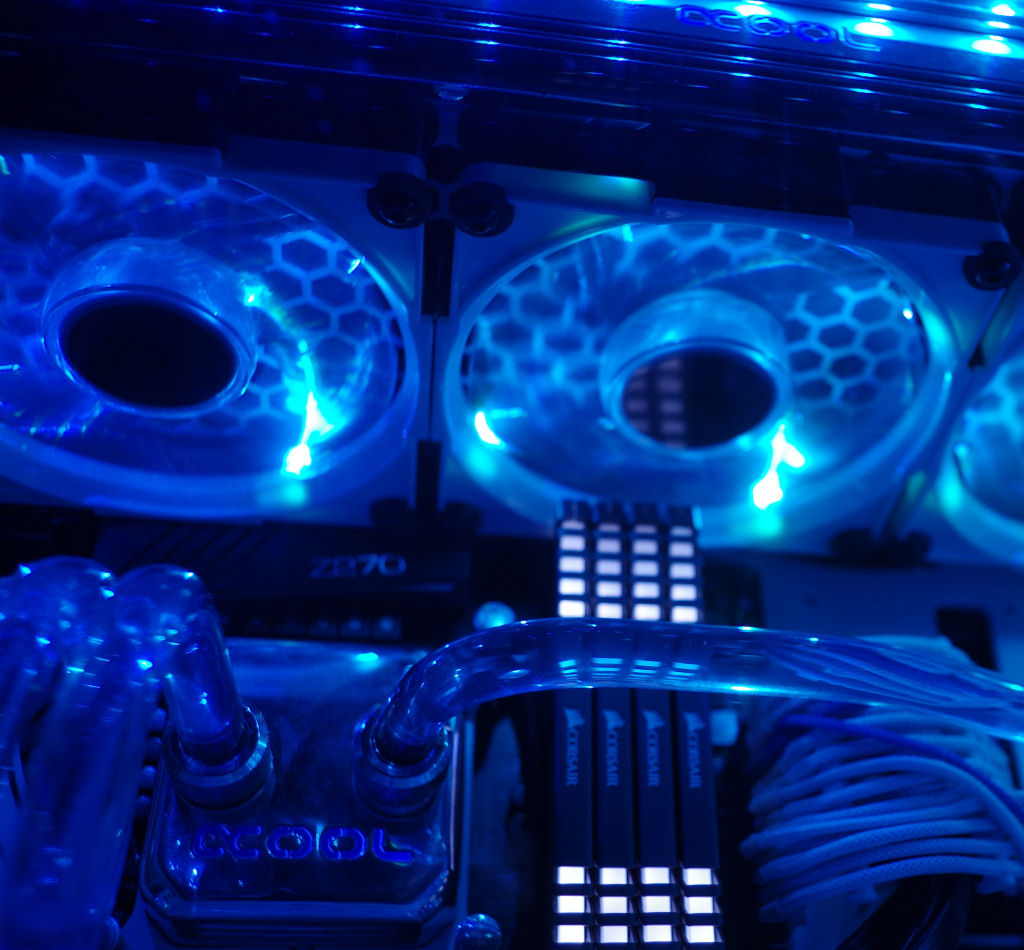 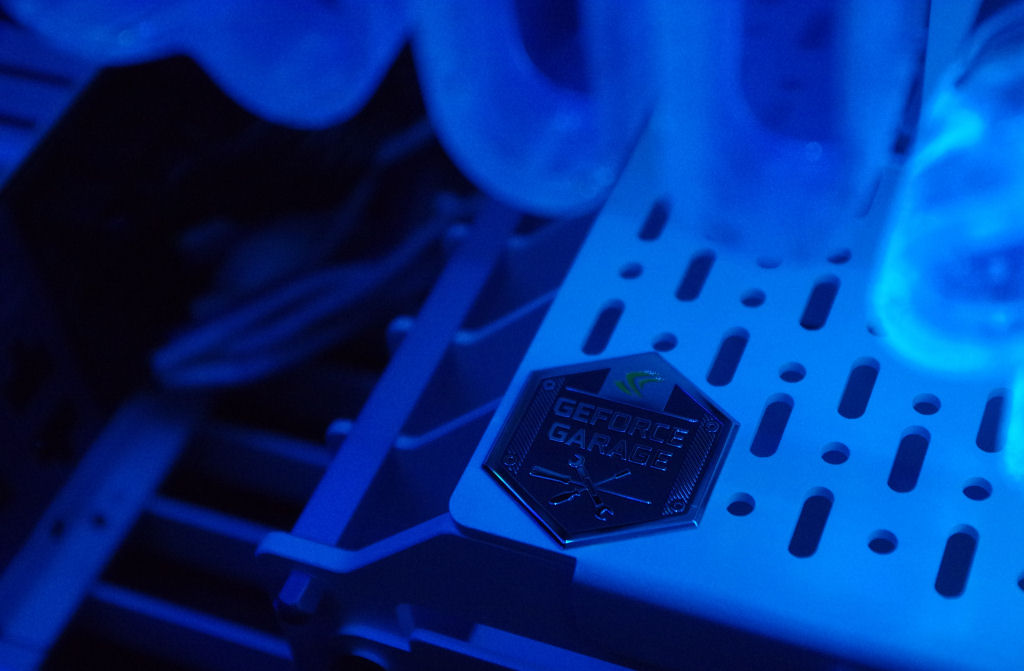  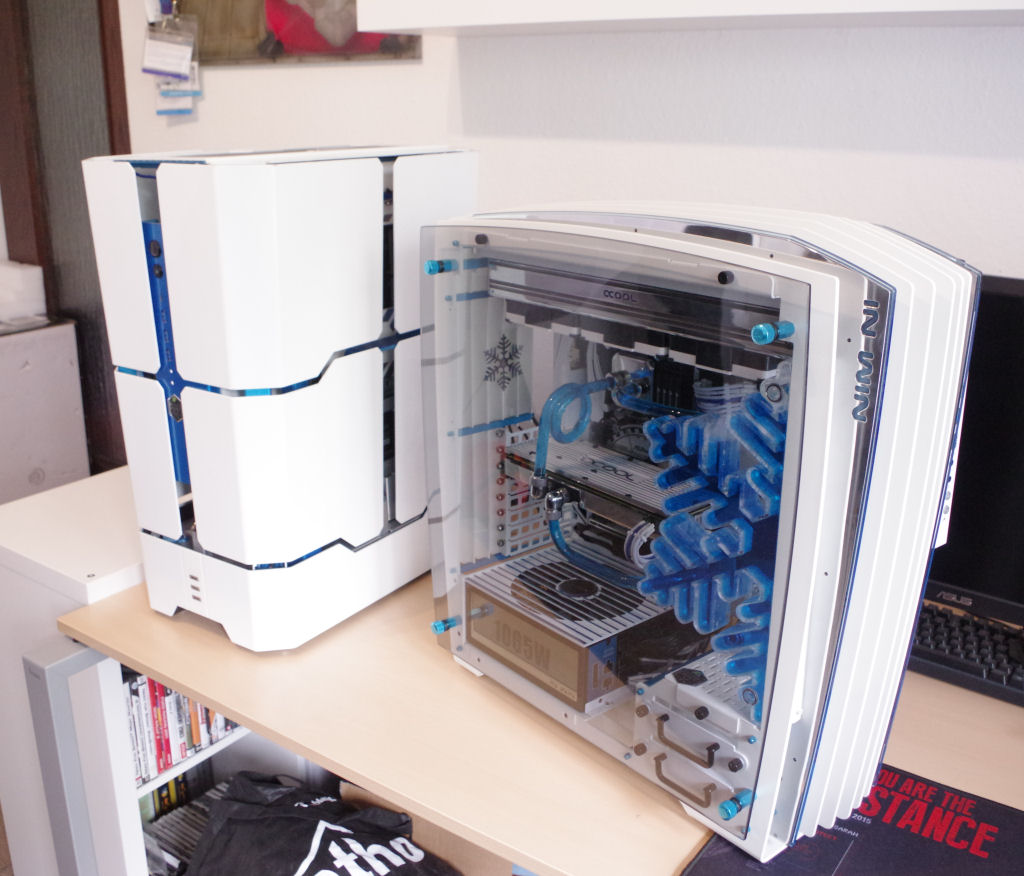 |
|
|
|
|
thechoozen
Newbie
Joined: 03 Apr 2017 Status: Offline Points: 12 |
Post Options
Thanks(0)
Quote Reply
Posted: 13 May 2017 at 1:11am |
|
thank you!
As next we continue the work on the GPU Cooler, after adding those fresh white paint....we took some sandpaper....and started to remove the paint partially so that we could polish those parts afterwards.... 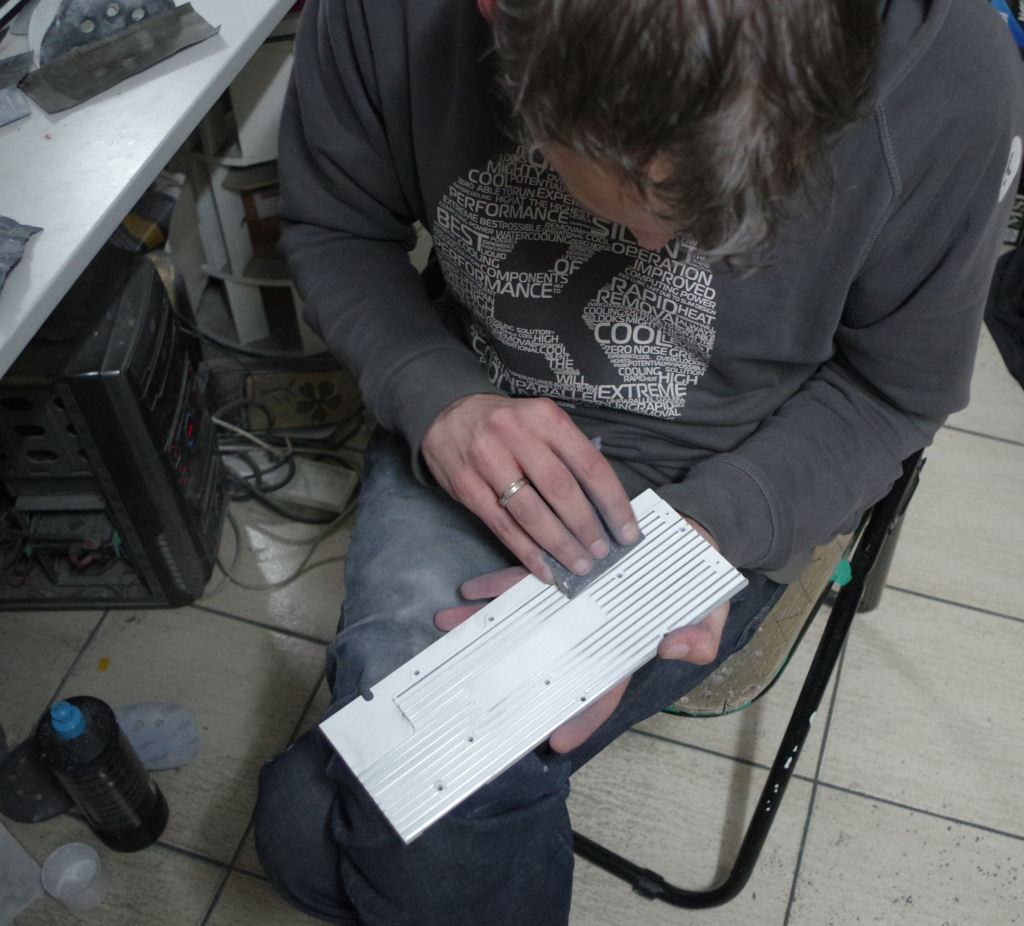 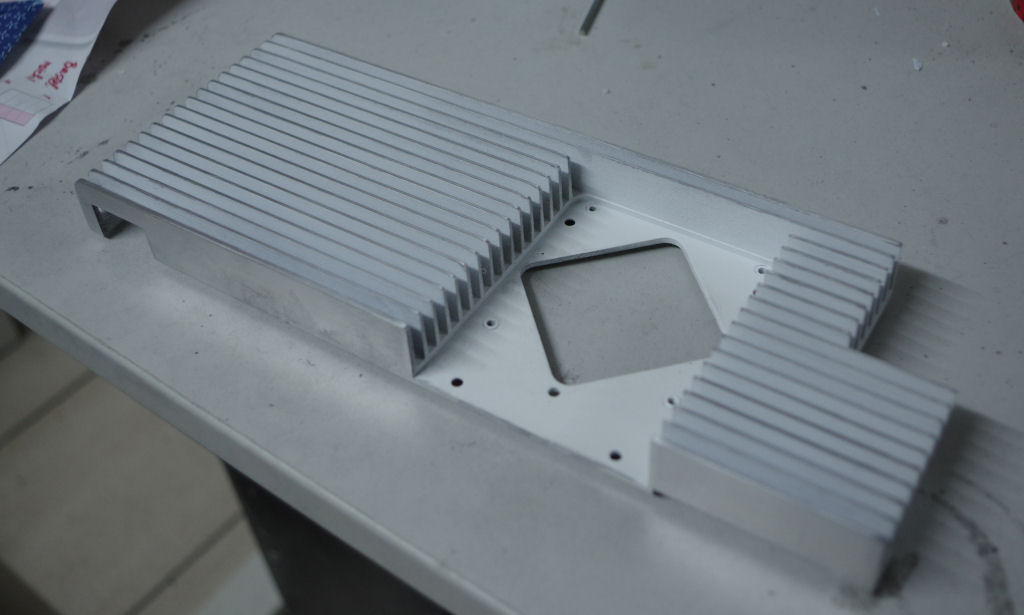 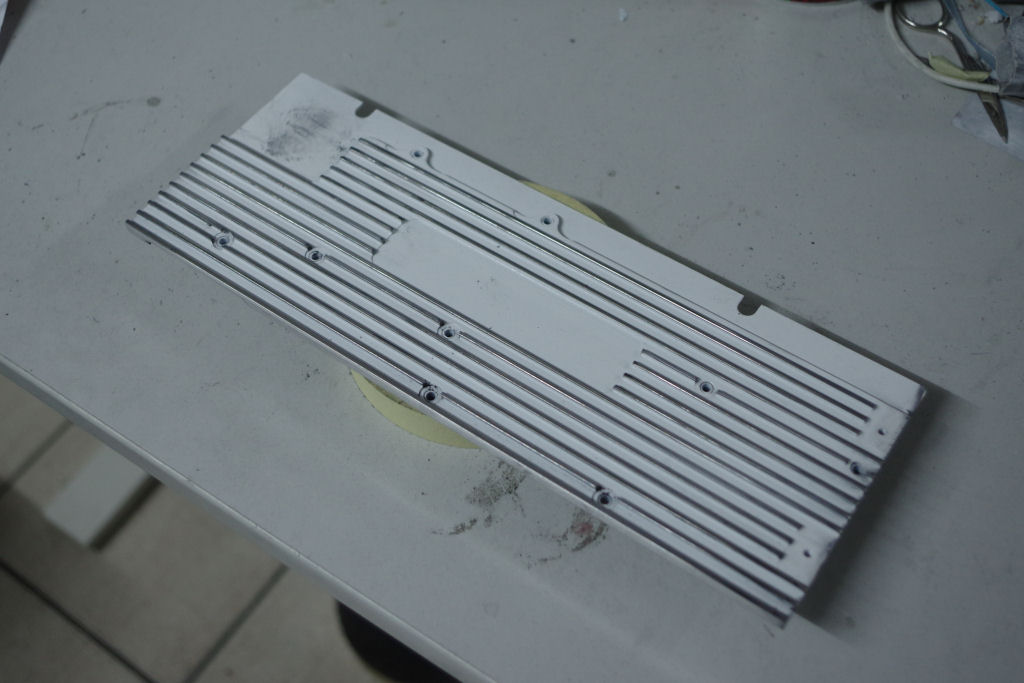 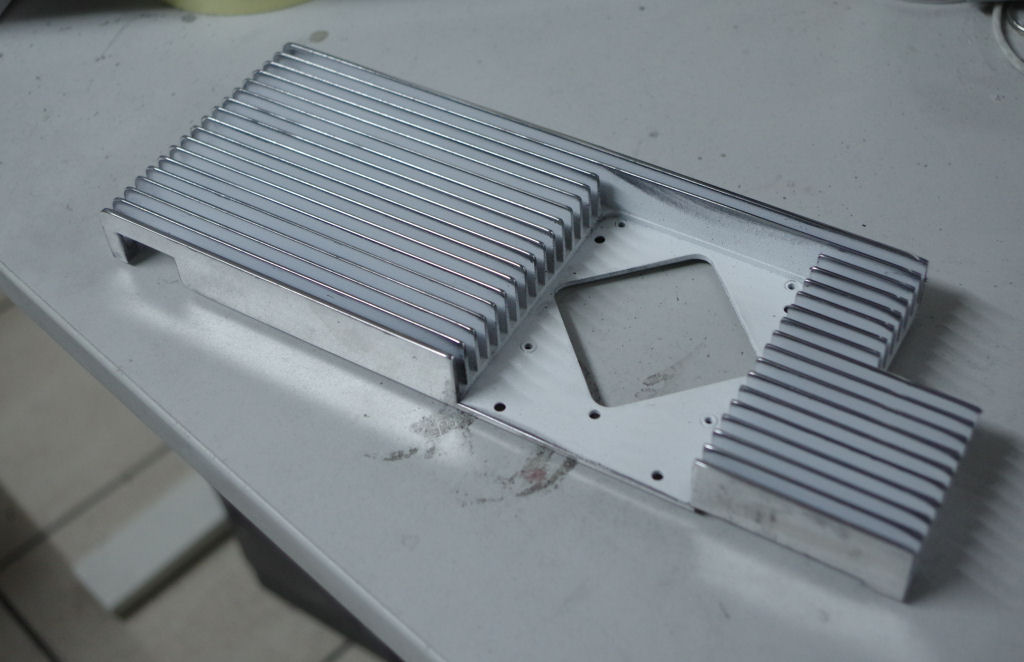 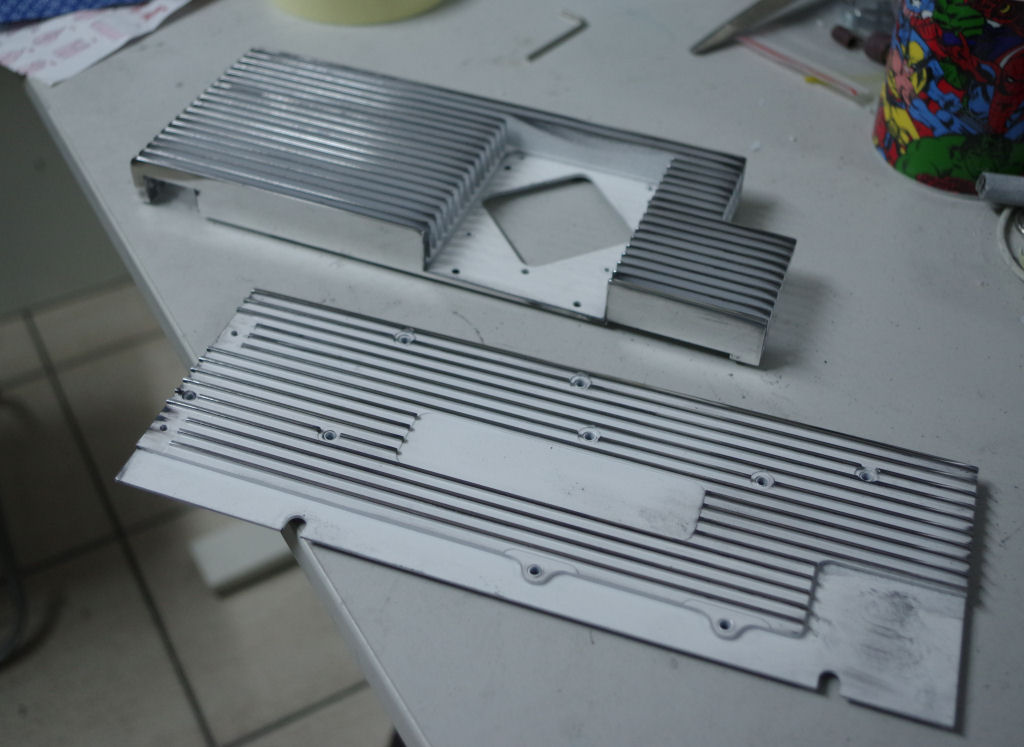 Beside that we cut out a few more details which will be used on various spots in the case.... 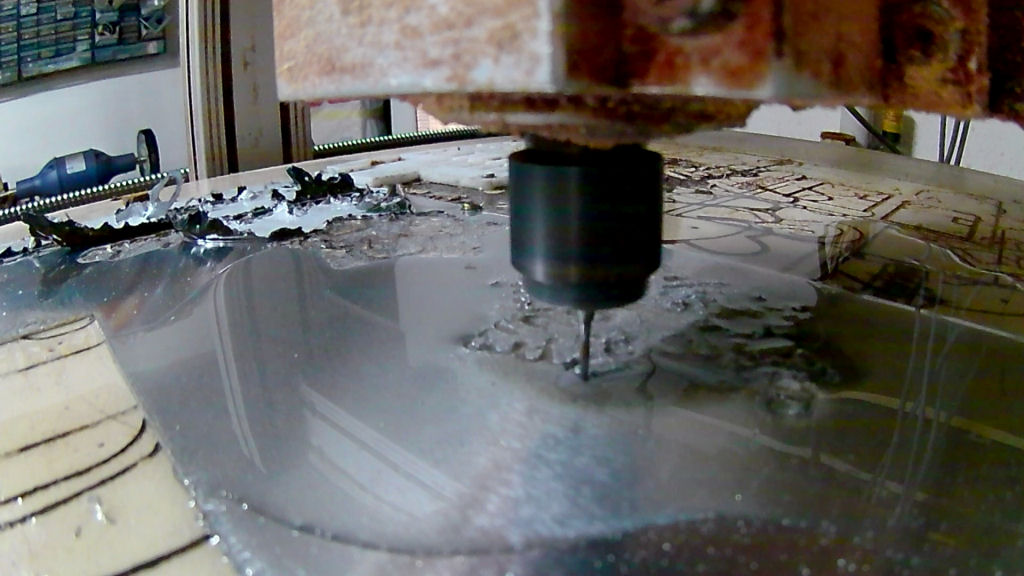 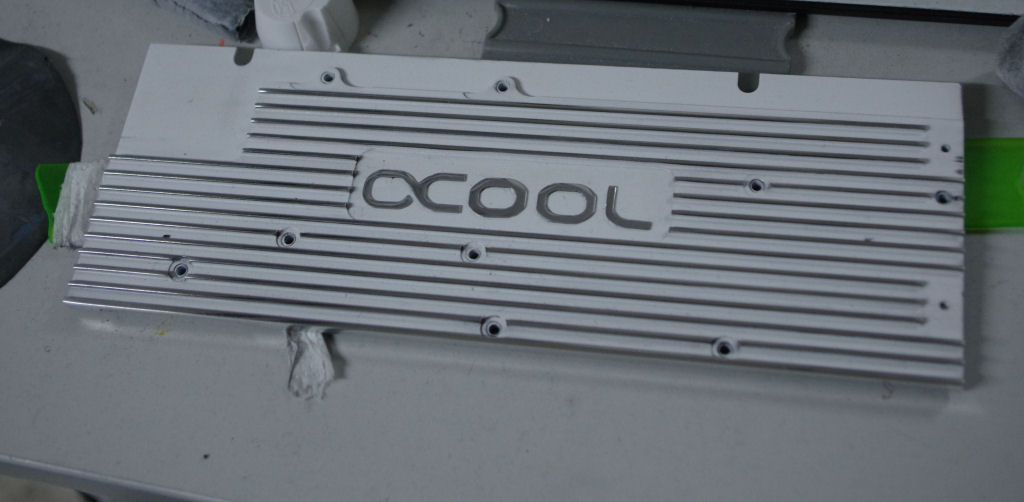 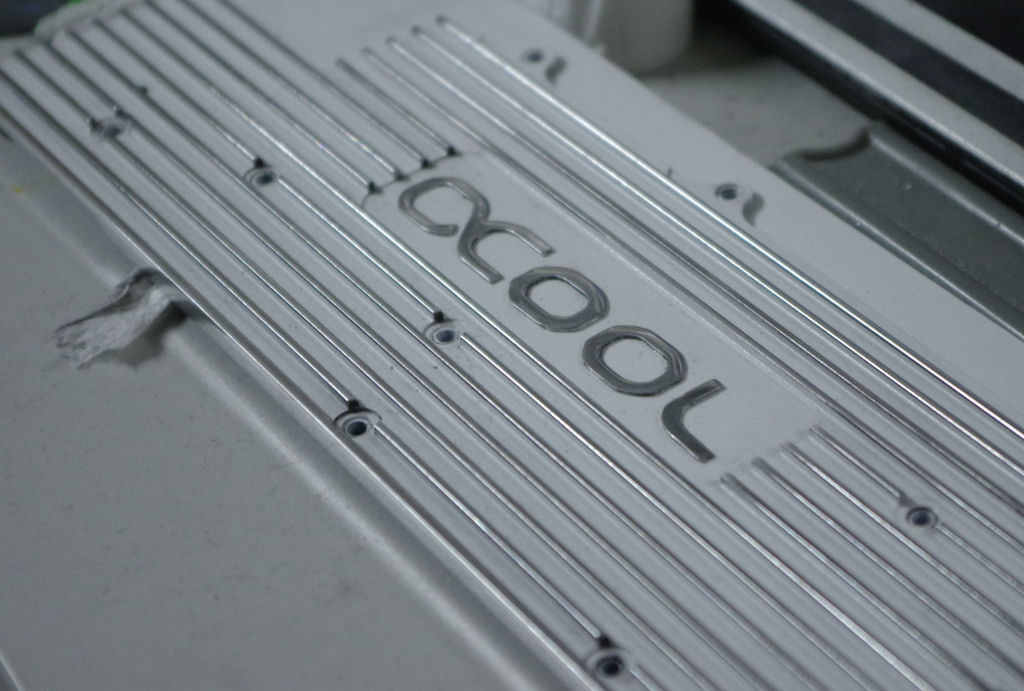 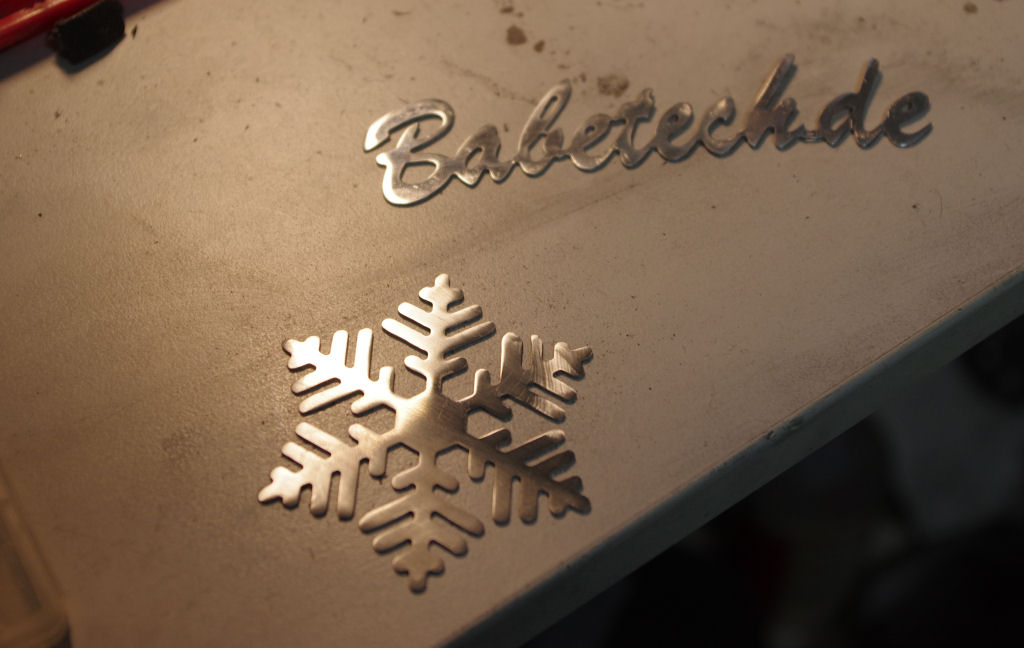 after that we put the GPU back together so that we could mount it inside the case again.... 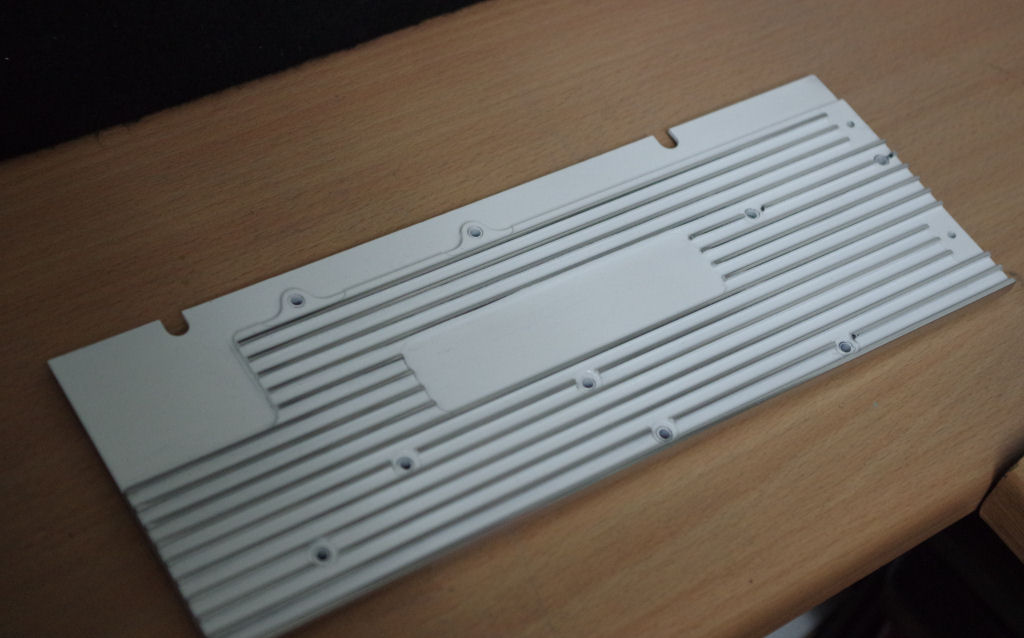 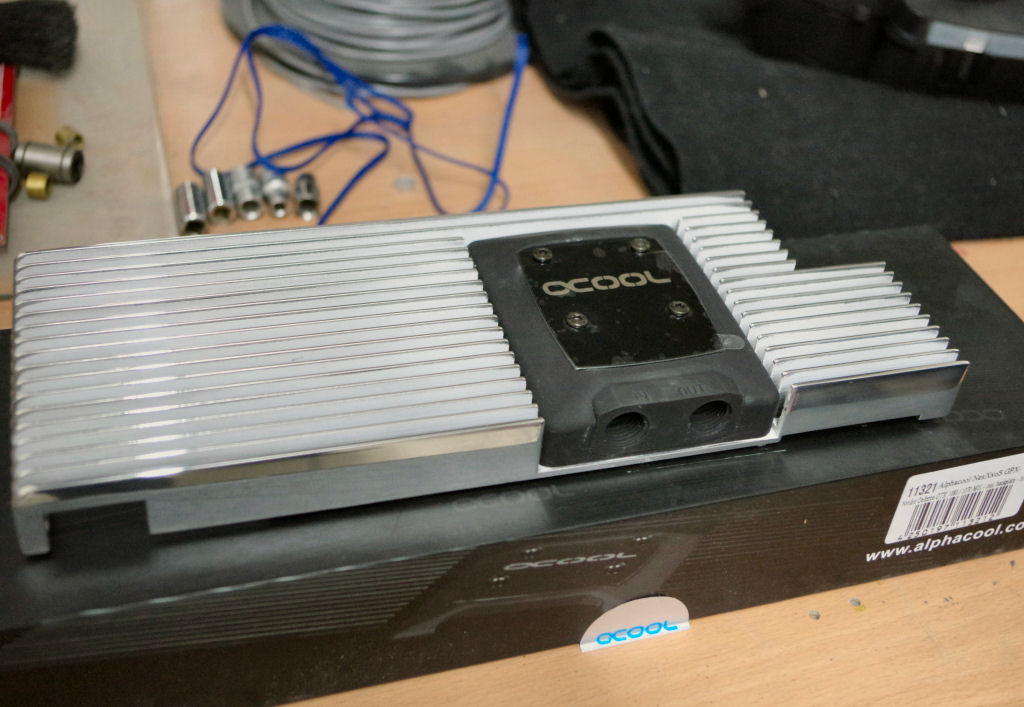  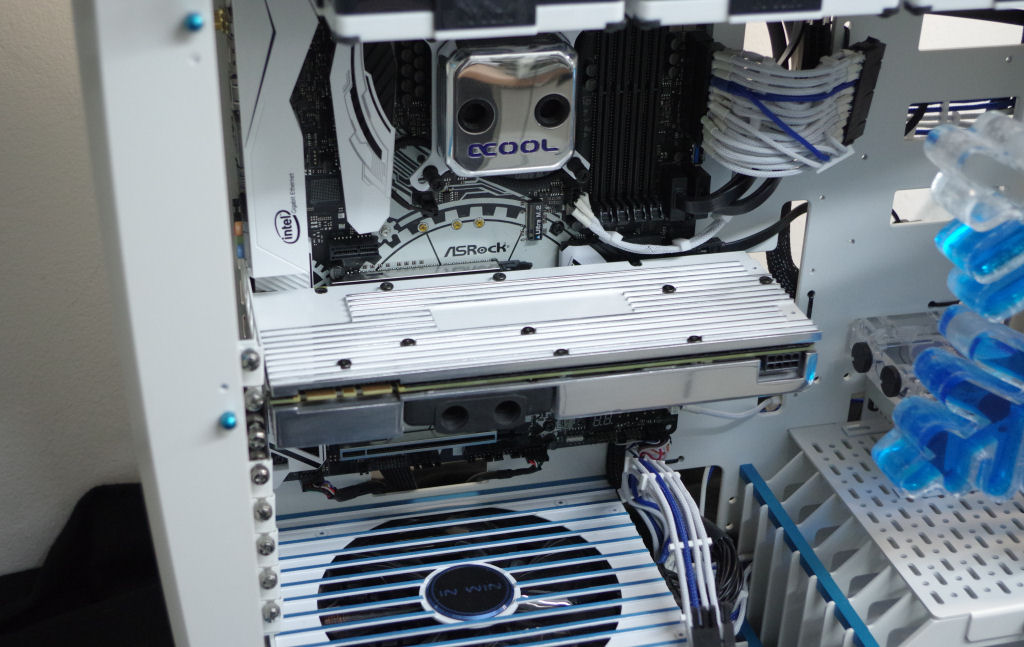 |
|
|
|
|
Xaltar
Moderator Group
Joined: 16 May 2015 Location: Europe Status: Offline Points: 26118 |
Post Options
Thanks(0)
Quote Reply
Posted: 10 May 2017 at 2:55am |
|
Oh man, it just keeps getting better!
|
|
|
|
|
|
|
|
thechoozen
Newbie
Joined: 03 Apr 2017 Status: Offline Points: 12 |
Post Options
Thanks(0)
Quote Reply
Posted: 10 May 2017 at 2:02am |
|
thank you!!
With the arrival of the graphic card and the finished reservoir....we couldn´t resist....and mounted everything for a quick test.... 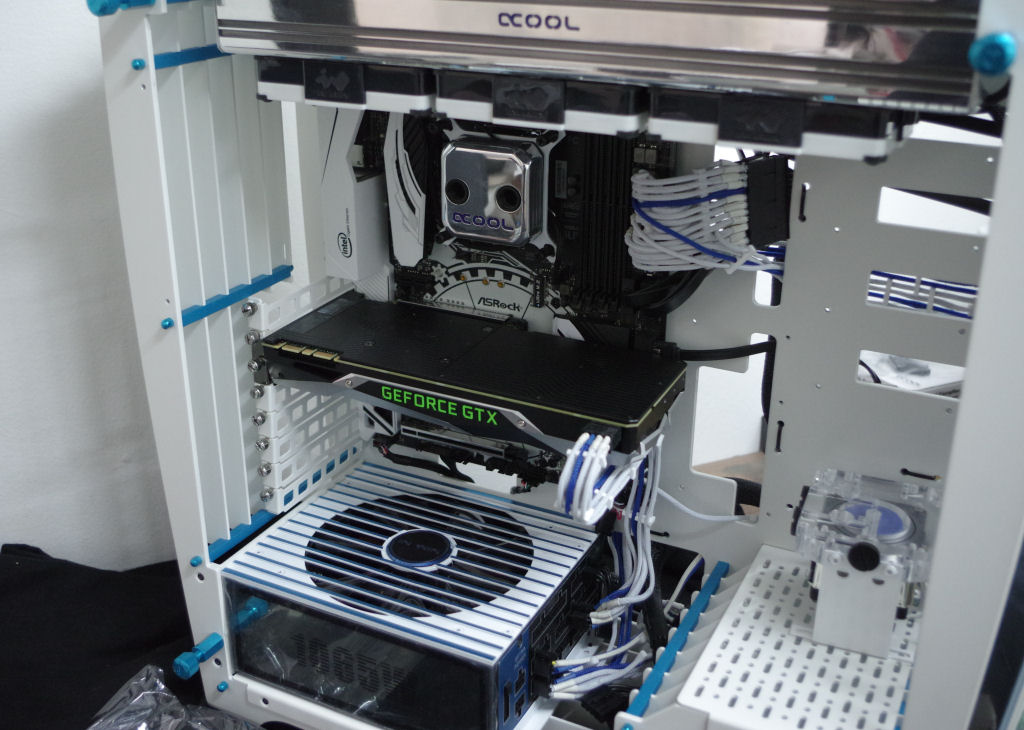 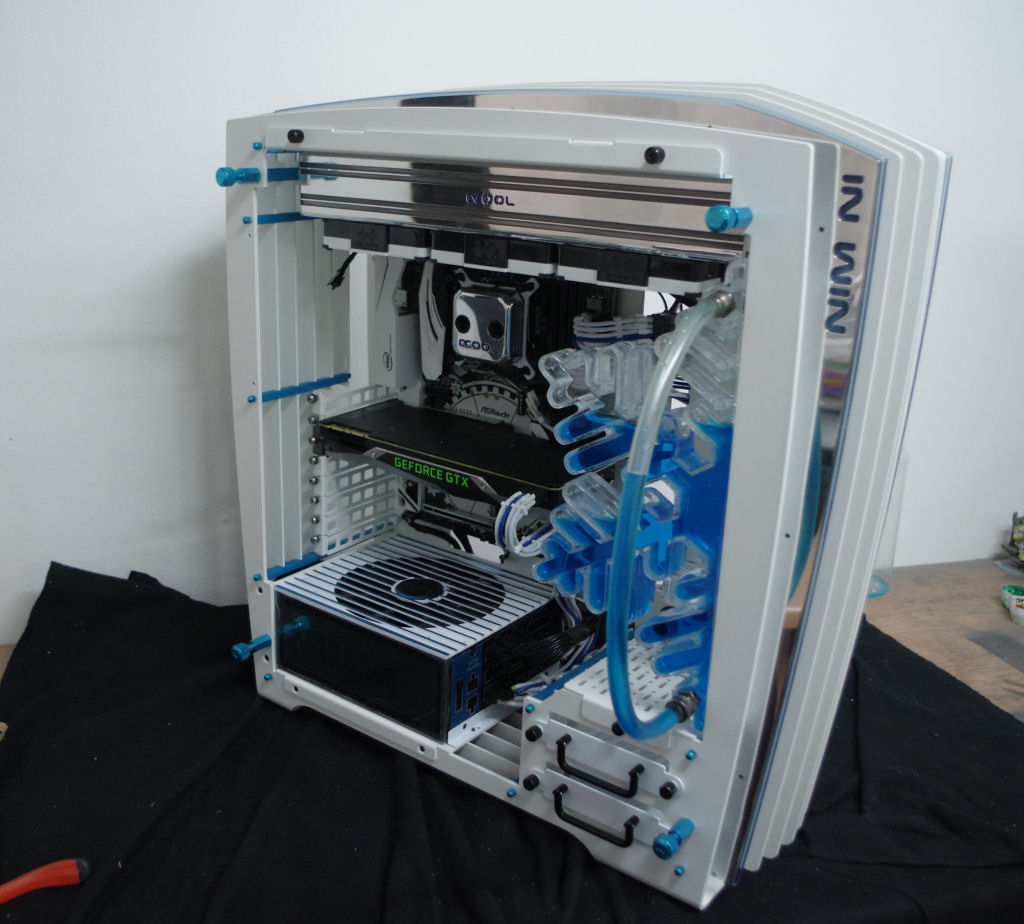  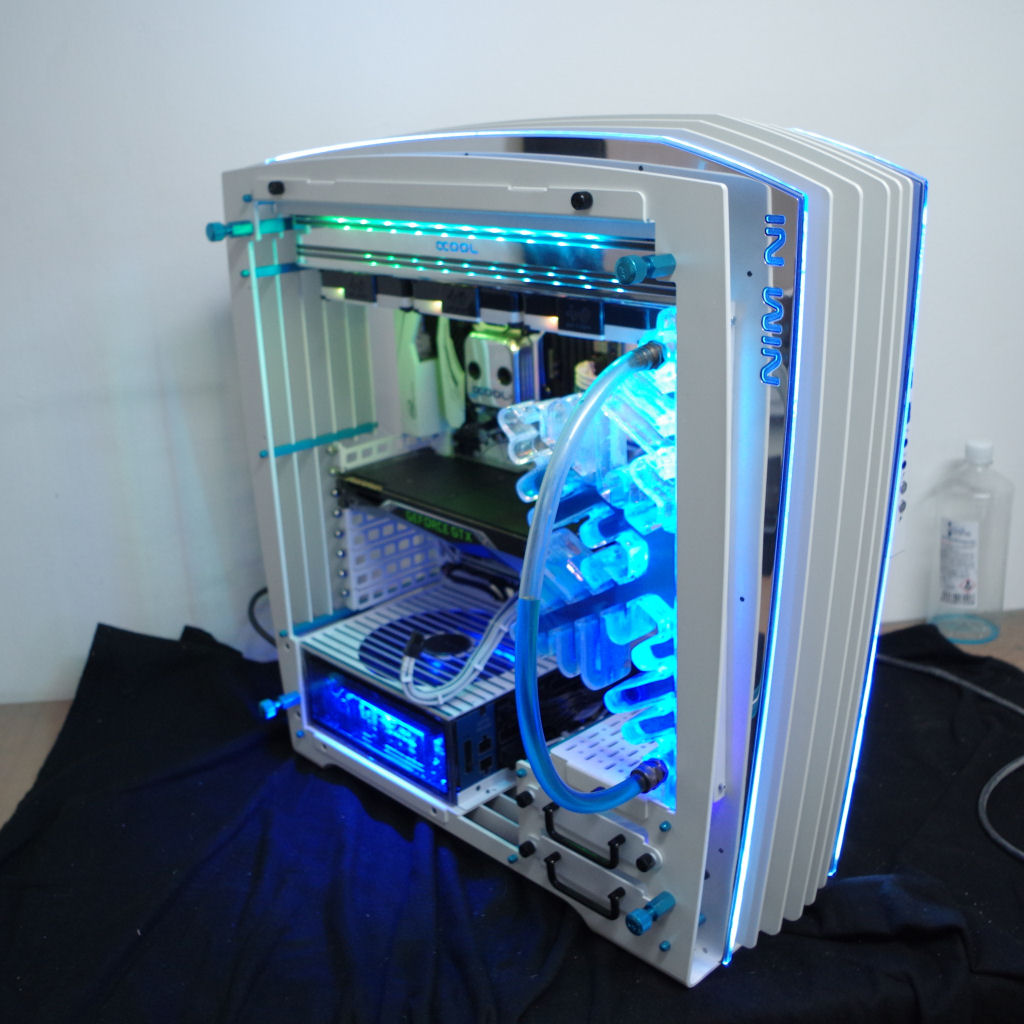 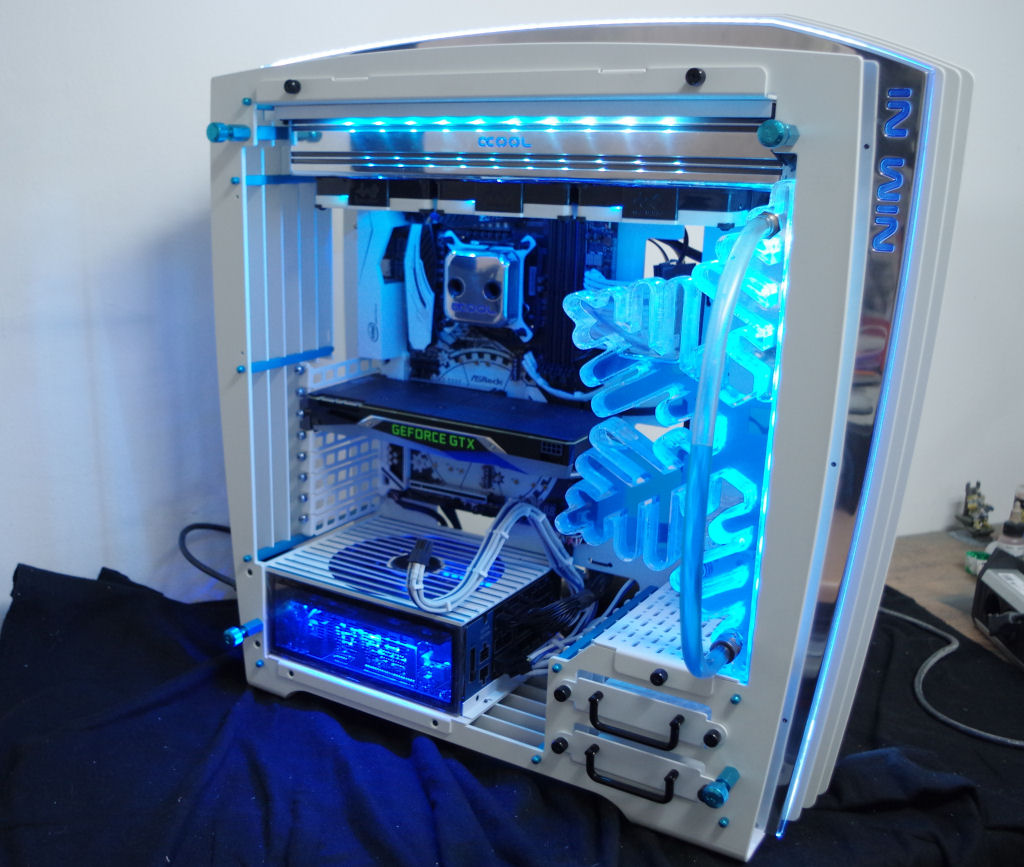 After that we prepared a watercooling block for the grapic card so that we could add it to the loop as well.... 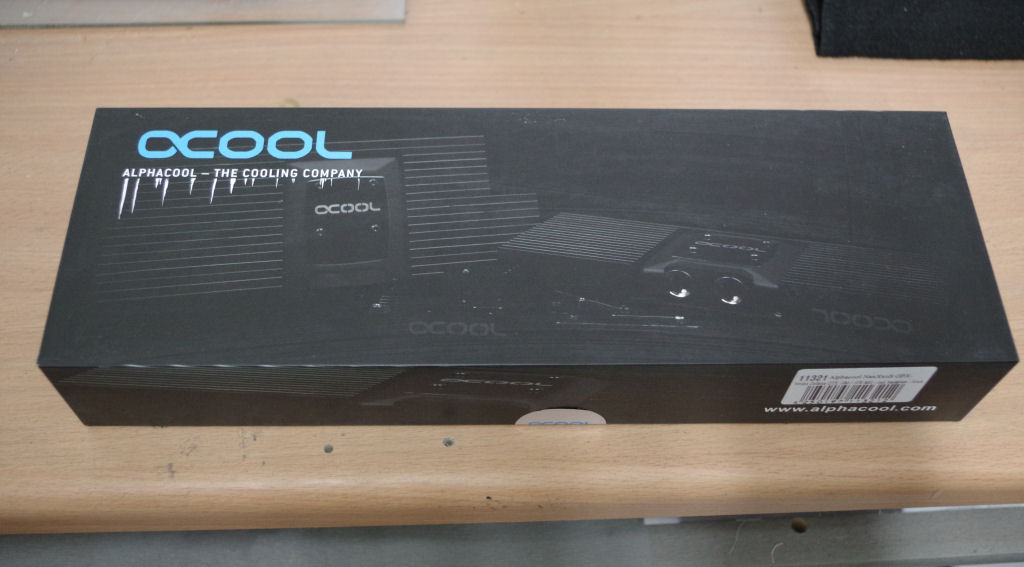 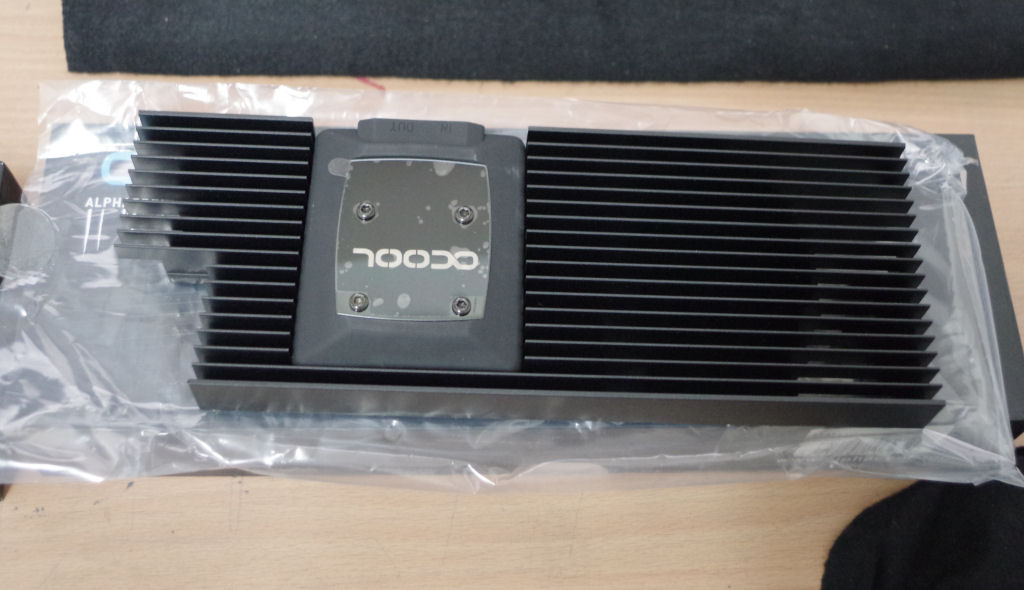 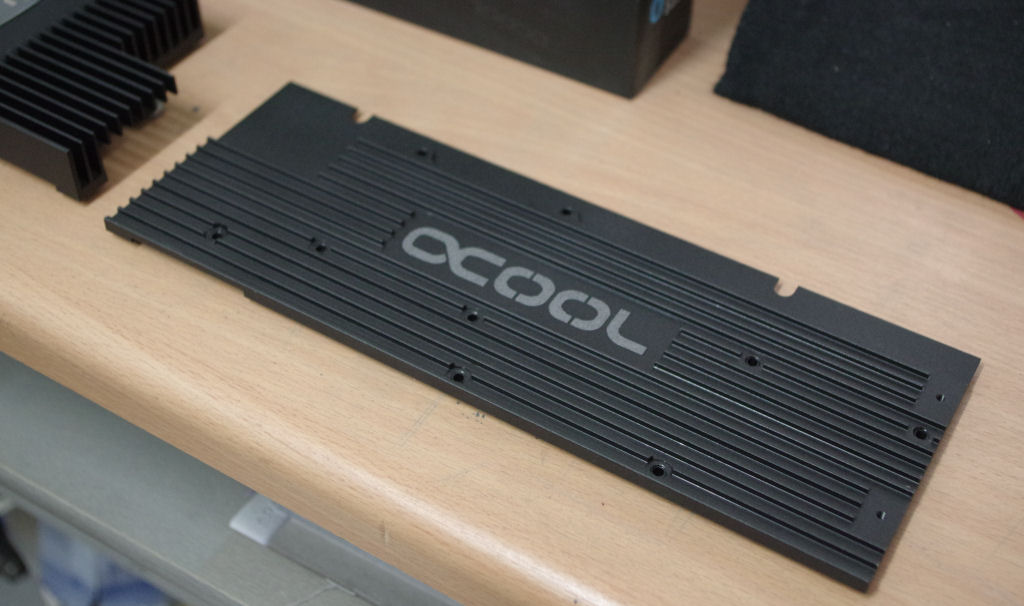 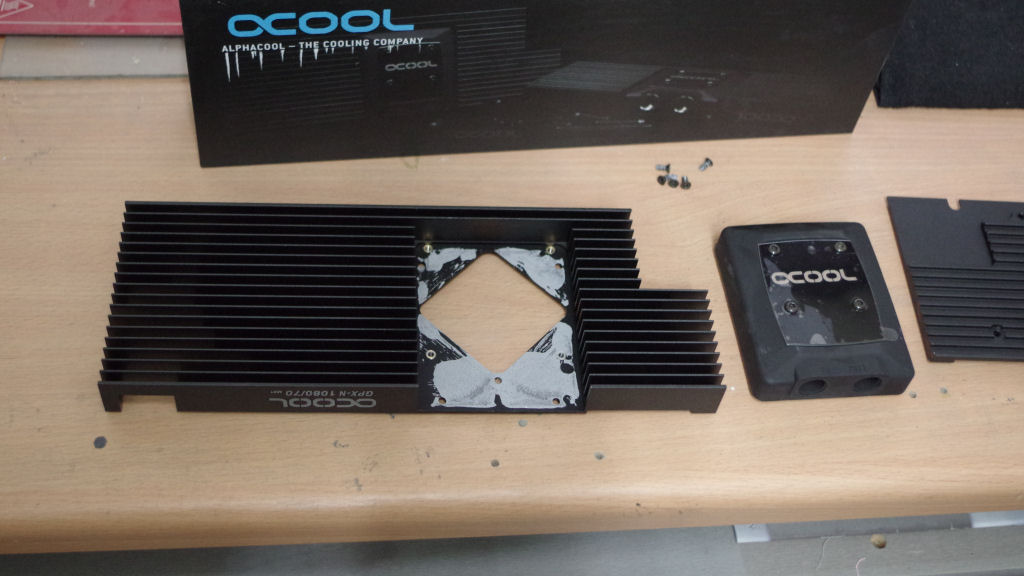 After the diassembly we put both parts into a chemical bath to remove all the paint. As next we already added fresh paint so that we could finally sand and polish the last details after the paint has dried..... 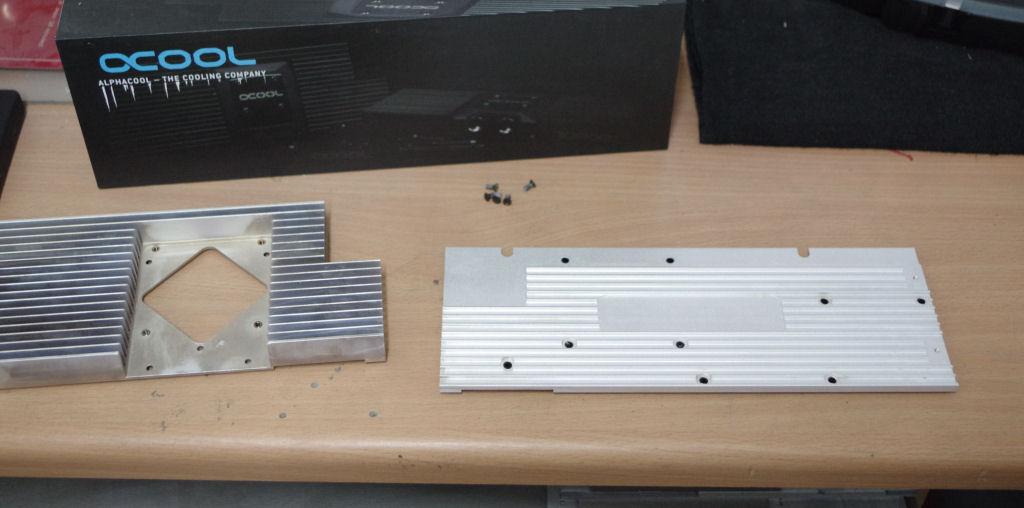 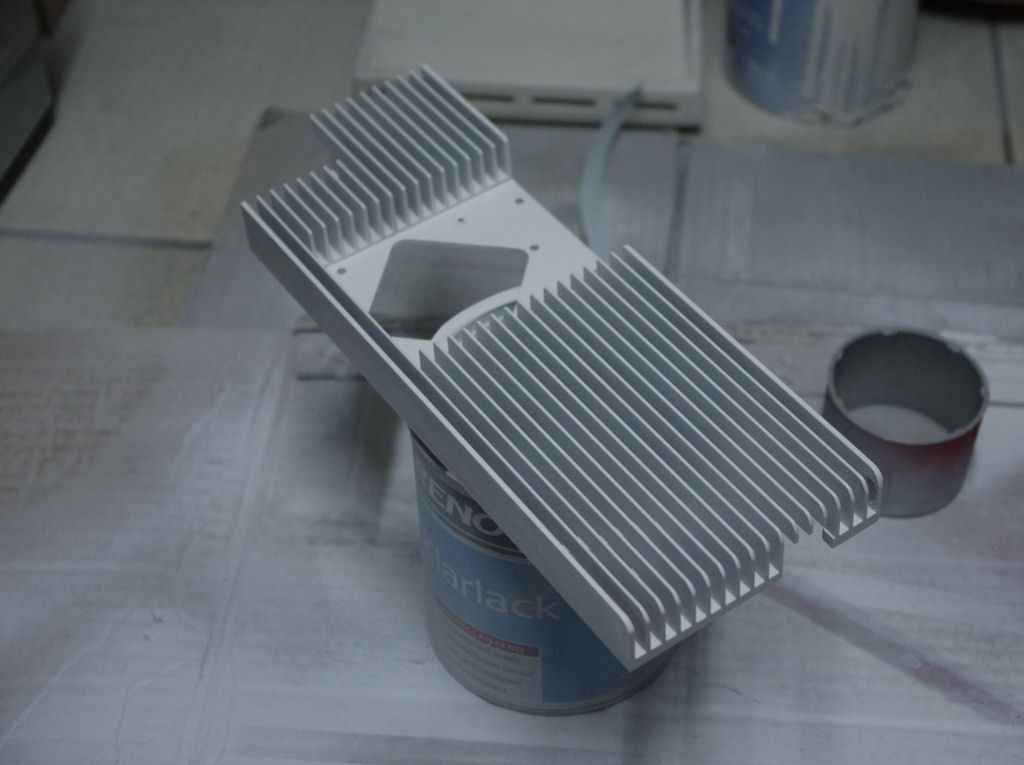 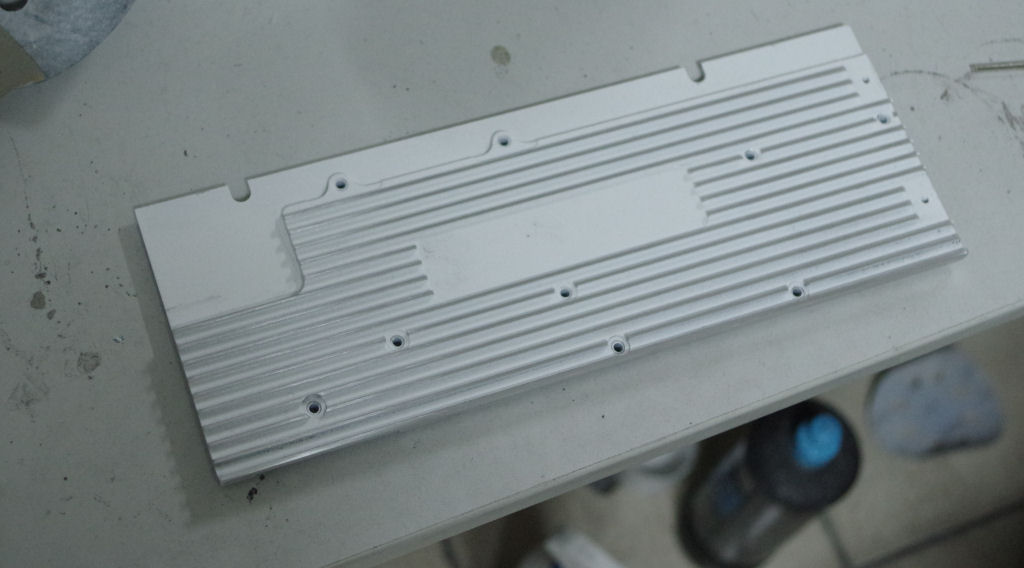 |
|
|
|
|
Xaltar
Moderator Group
Joined: 16 May 2015 Location: Europe Status: Offline Points: 26118 |
Post Options
Thanks(0)
Quote Reply
Posted: 06 May 2017 at 2:43am |
|
That reservoir is insane! Amazing work
|
|
|
|
|
|
|
|
thechoozen
Newbie
Joined: 03 Apr 2017 Status: Offline Points: 12 |
Post Options
Thanks(0)
Quote Reply
Posted: 06 May 2017 at 1:57am |
|
Thanks a lot Xaltar!!! It´s time for the next Update: But before we start....one of the most important Parts has arrived. So we want to send out a big Thank you to Nvidia for their Help & Support on this Project!!!! 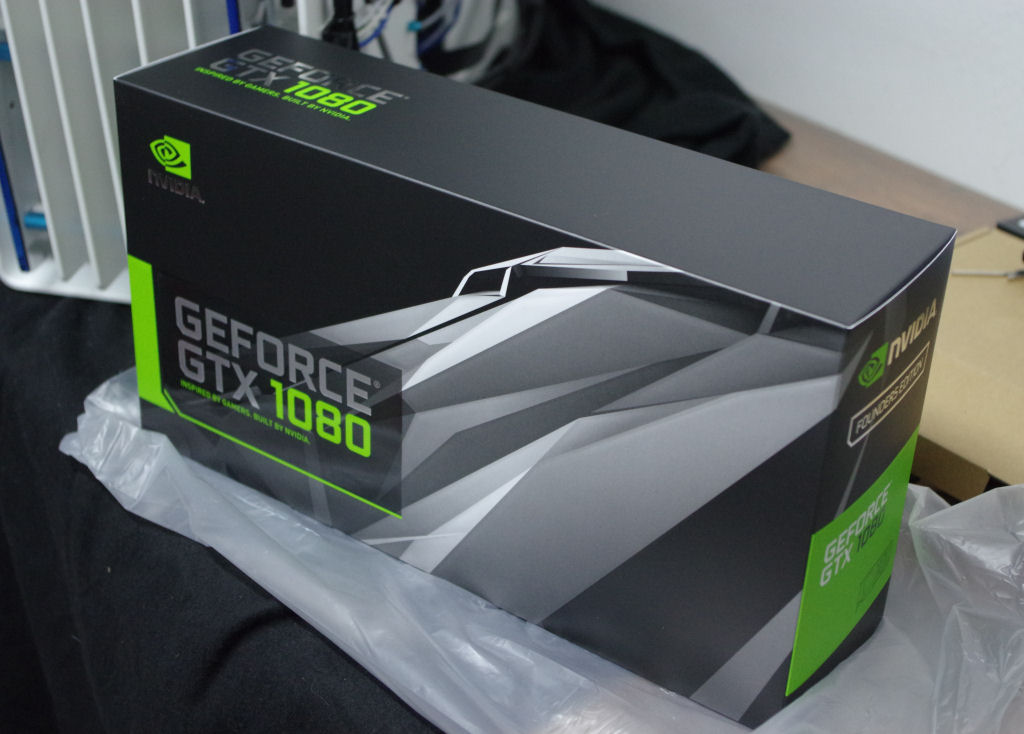 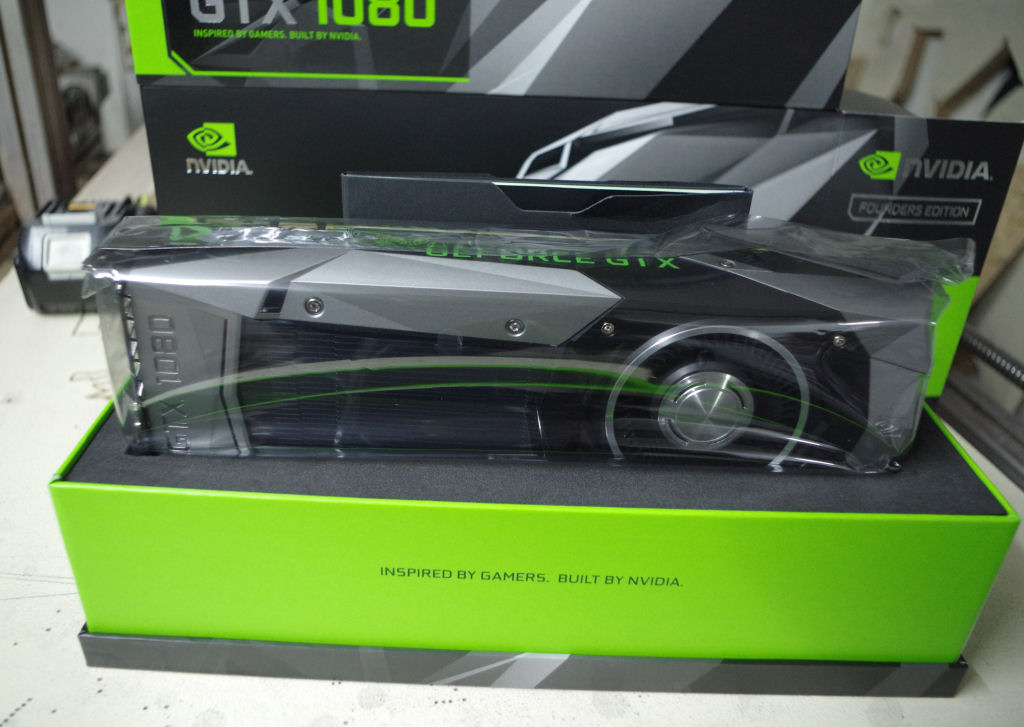 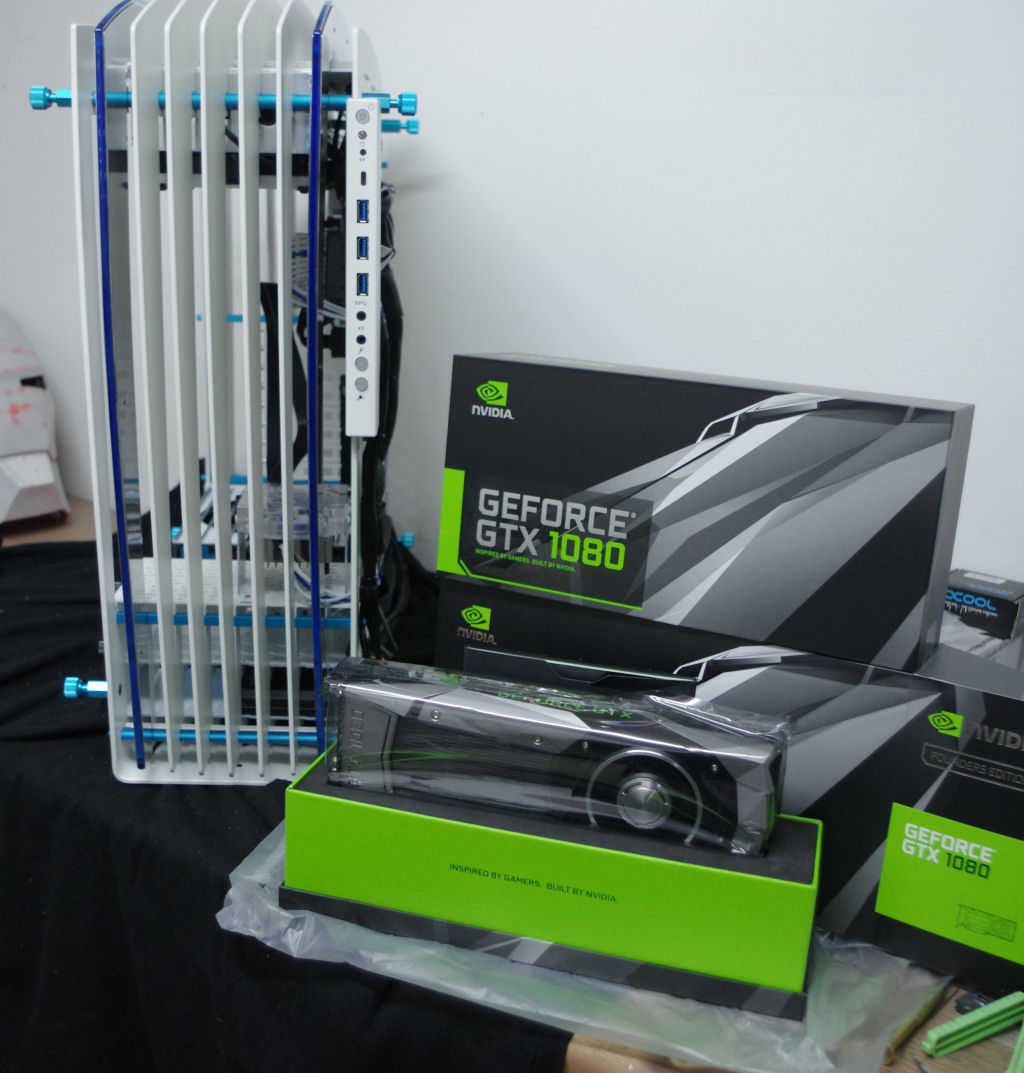 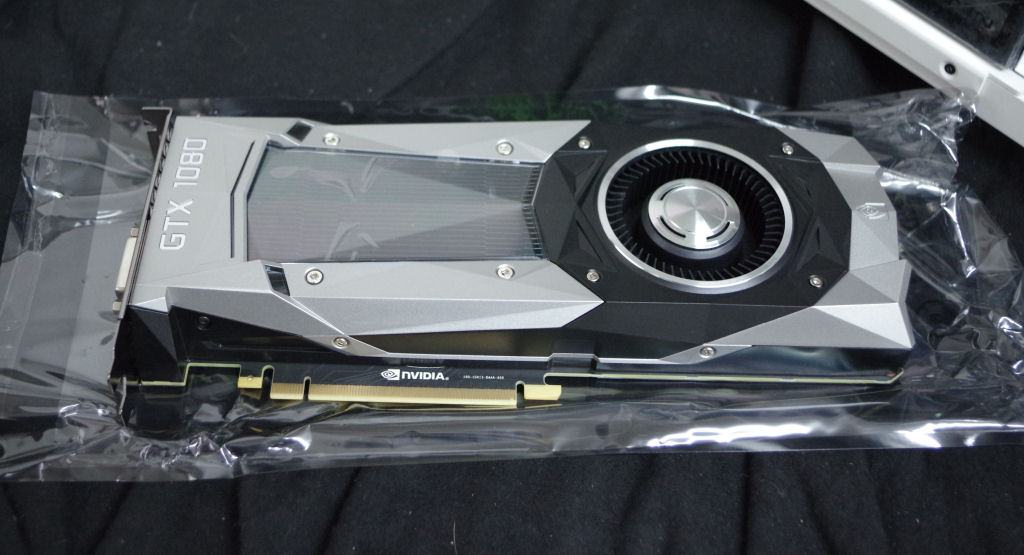 Beside that we finished the work on the reservoir overall the sanding & polishing process took around 4-5 days but we´re happy with the result.... 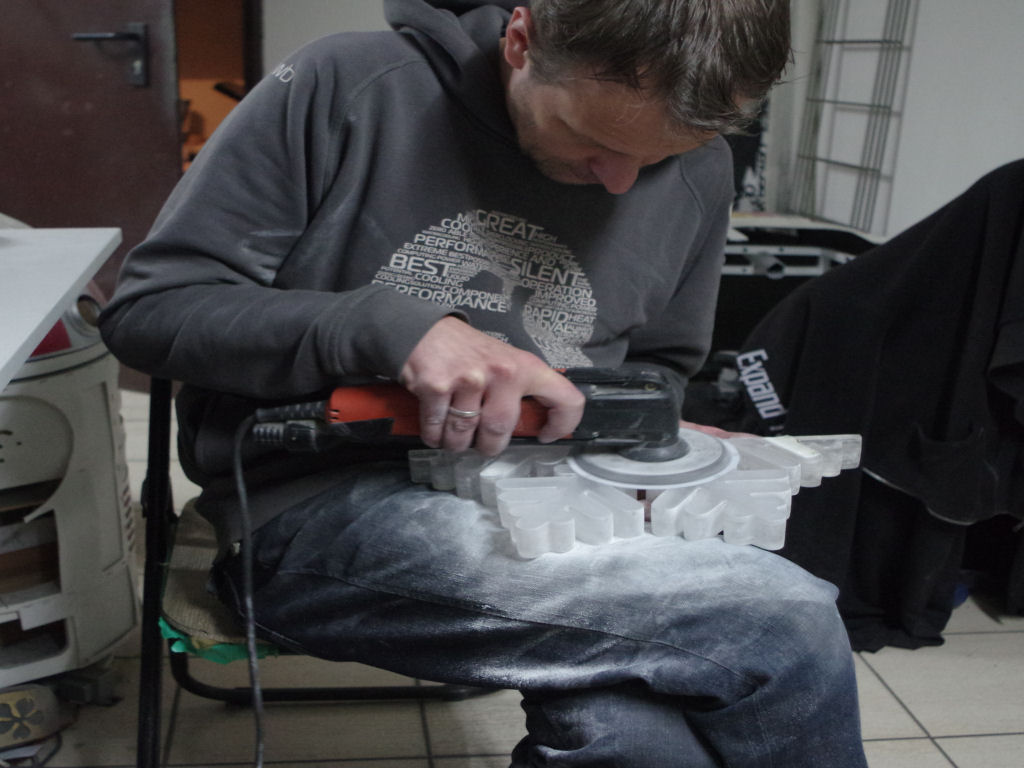 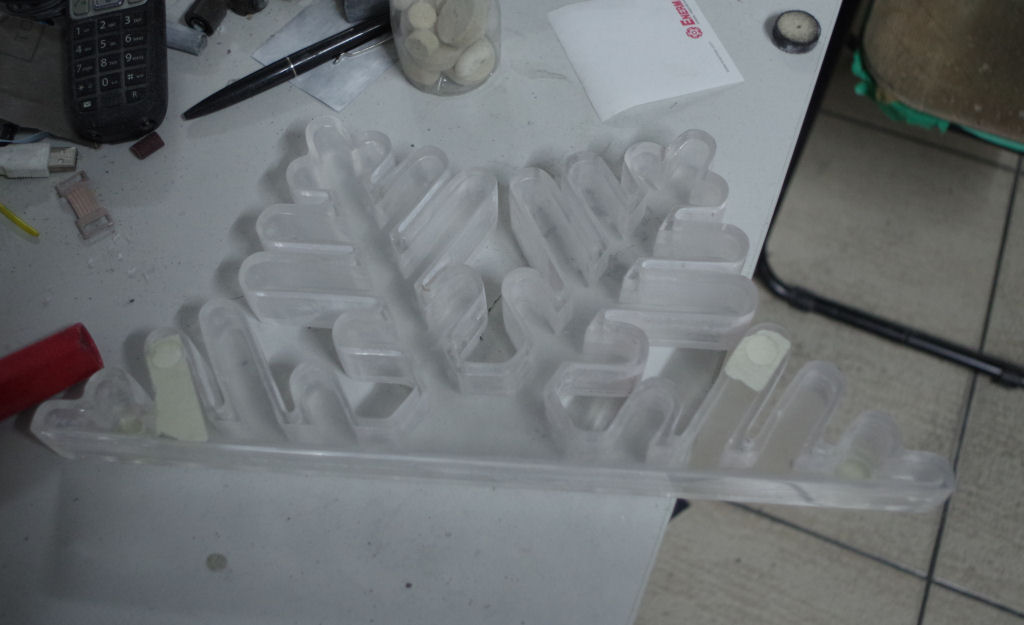 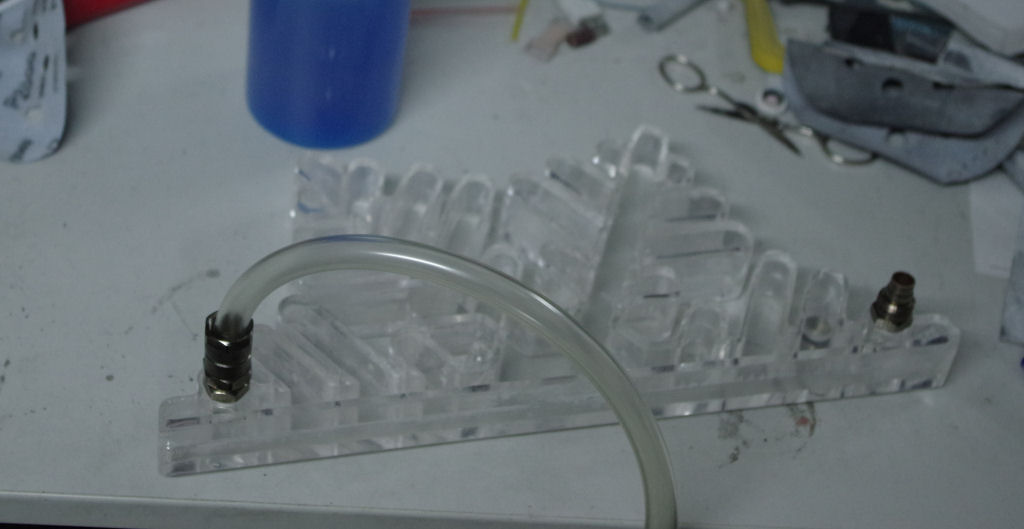 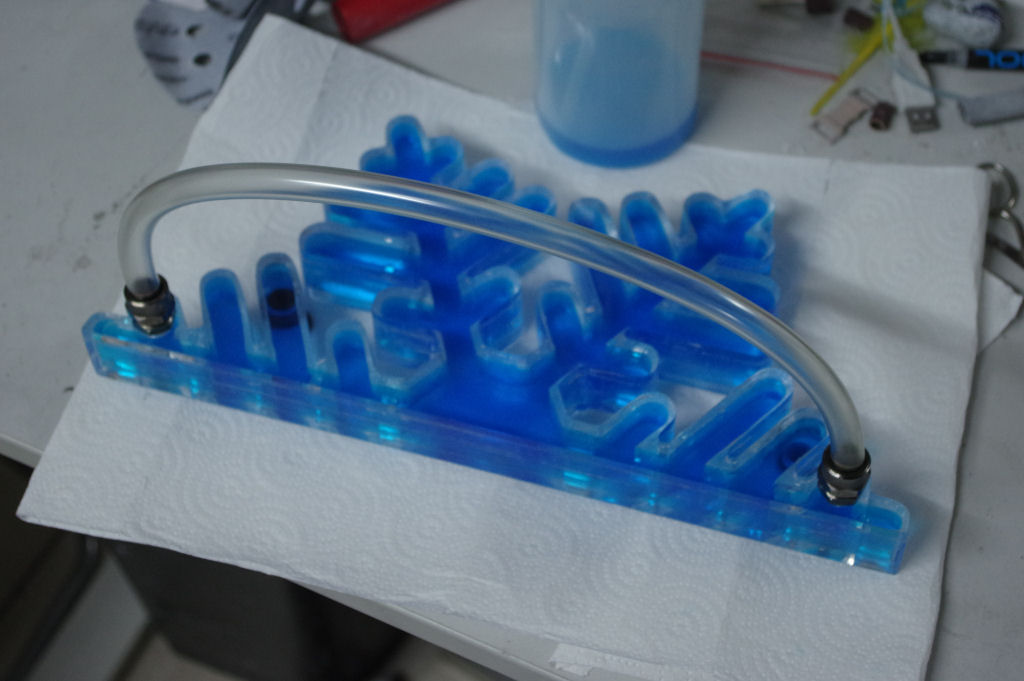 ....and we also prepared a flow indicator for the watercooling loop....not sure if we´re really going to use it....but it´s good to be prepared.....  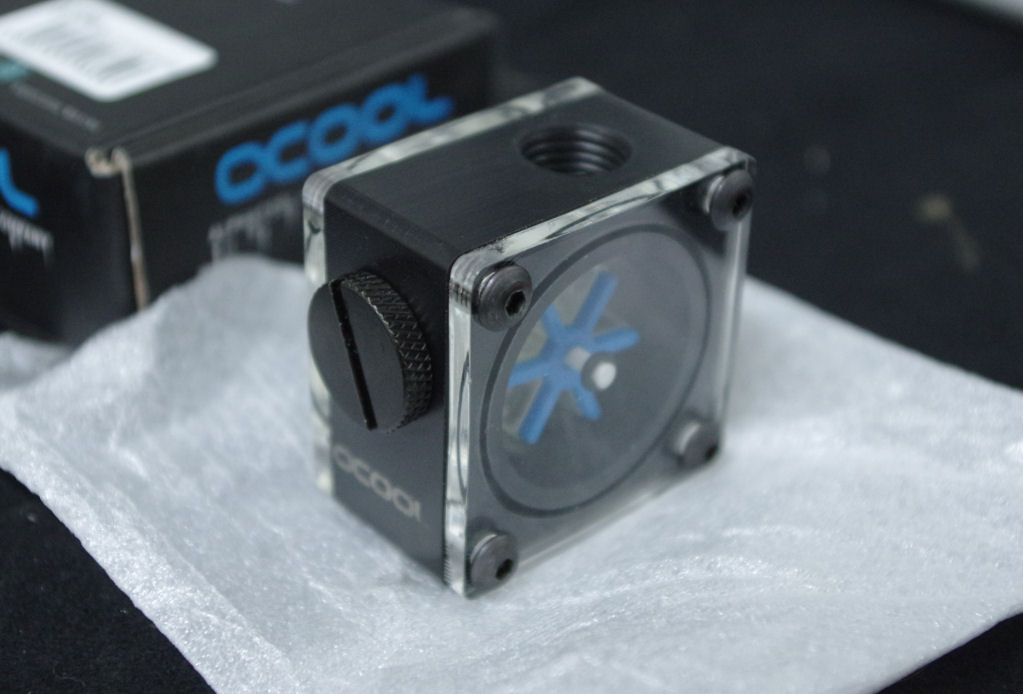 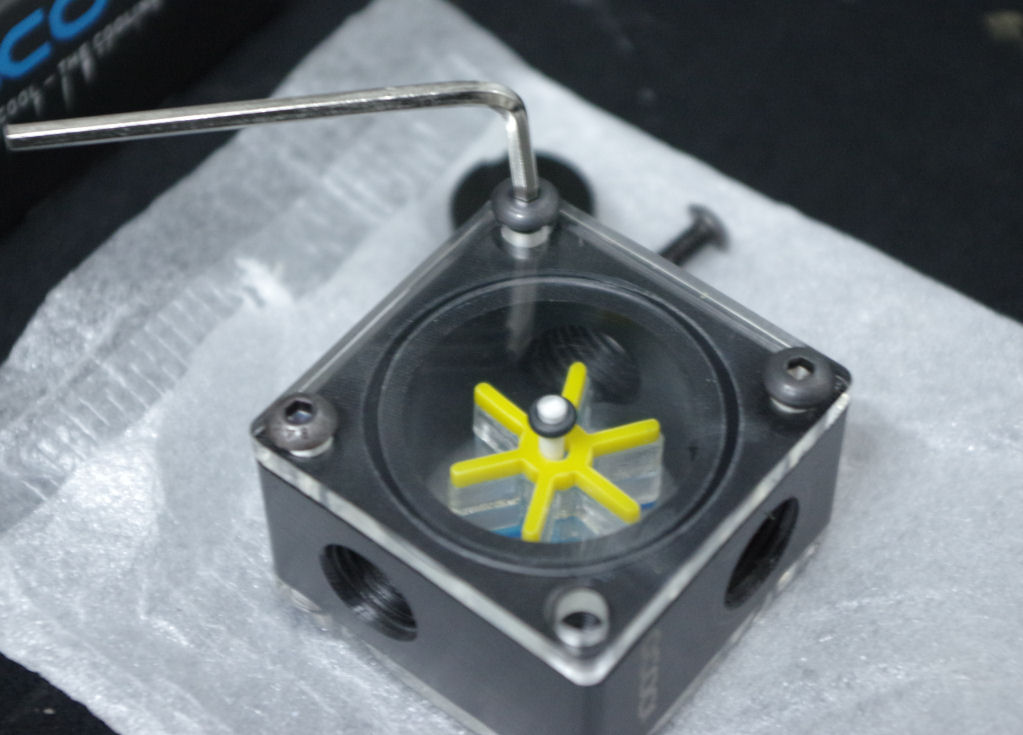 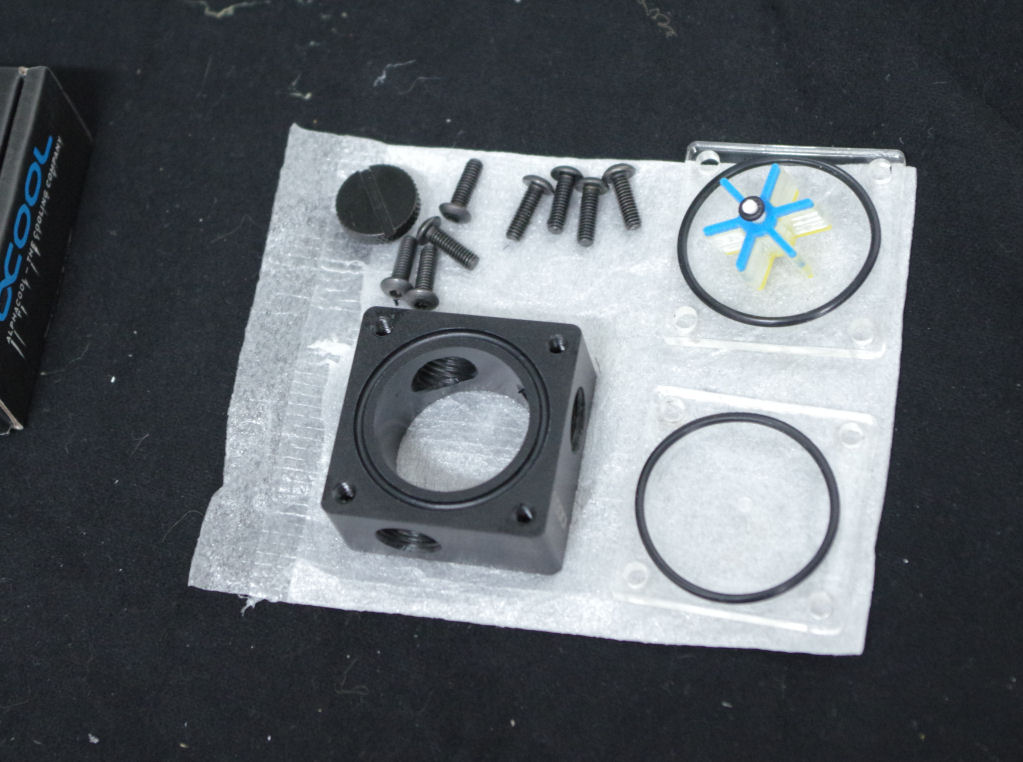 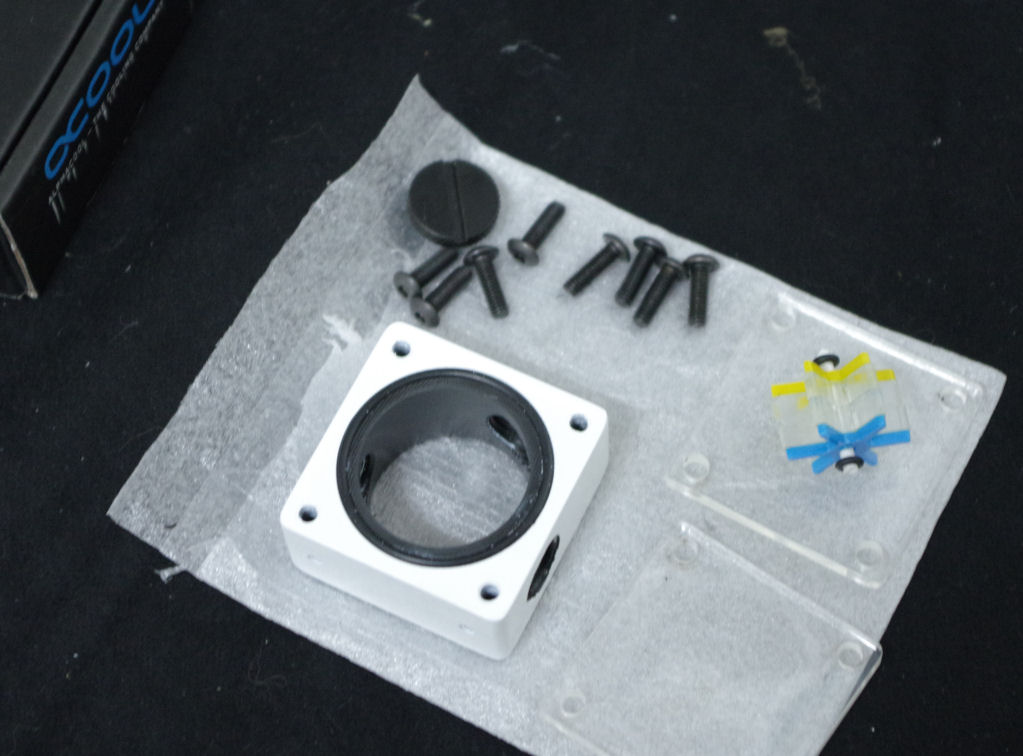 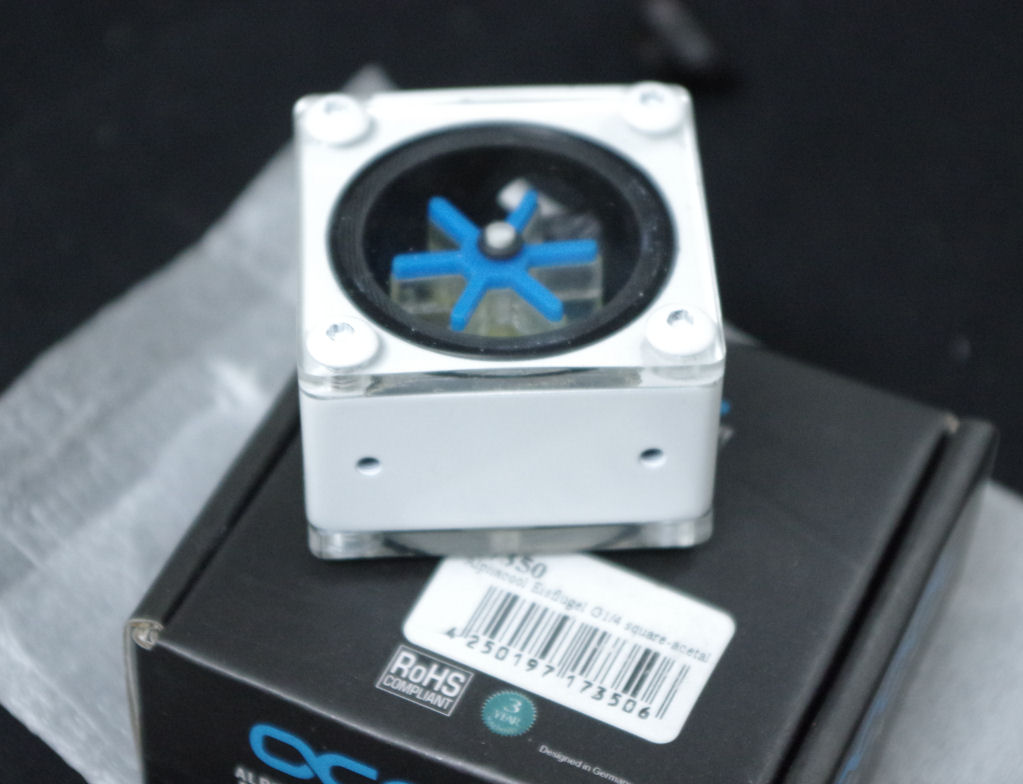 |
|
|
|
|
Xaltar
Moderator Group
Joined: 16 May 2015 Location: Europe Status: Offline Points: 26118 |
Post Options
Thanks(0)
Quote Reply
Posted: 02 May 2017 at 1:11am |
|
This is looking fantastic. I love all the little details
You know you are getting it right when the details blend in to the theme seamlessly but also pop out at you when you notice them. Looking forward to seeing this complete! Thank you for sharing
 |
|
|
|
|
|
|
|
thechoozen
Newbie
Joined: 03 Apr 2017 Status: Offline Points: 12 |
Post Options
Thanks(0)
Quote Reply
Posted: 02 May 2017 at 12:54am |
|
As next we mounted Radiator & Fans inside the Case so that we could take a closer look how much space will be left between the radiator & the reservoir when everything is mounted in place, just to see if we will run into problems.... 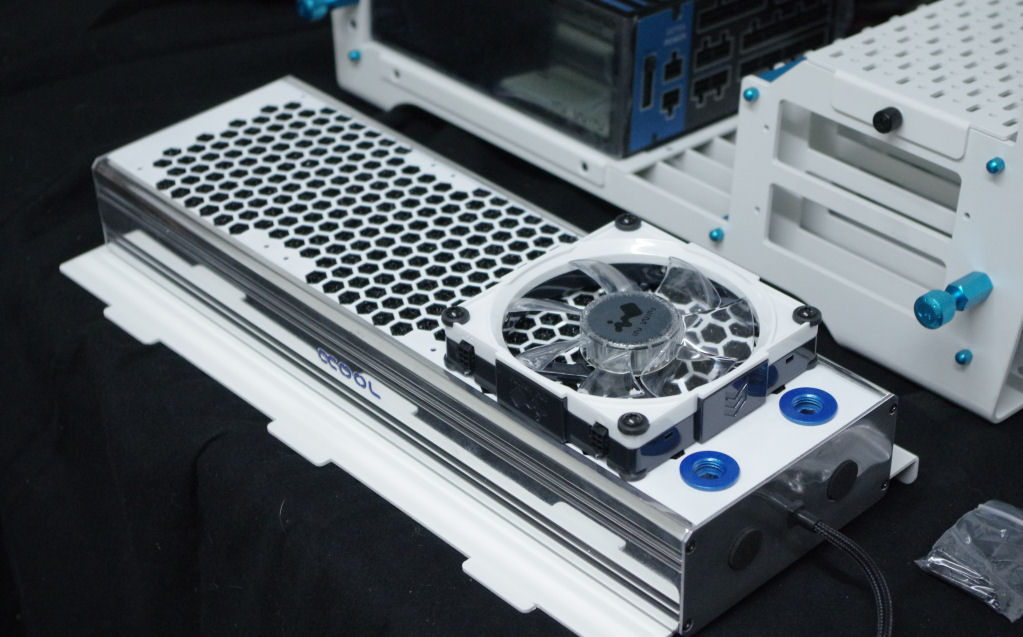 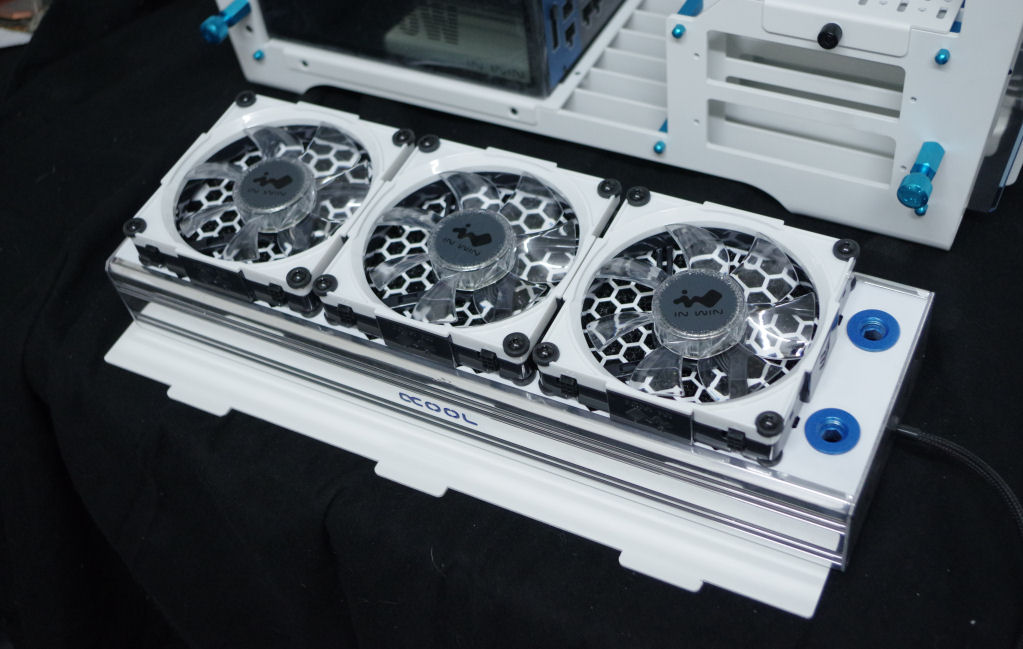 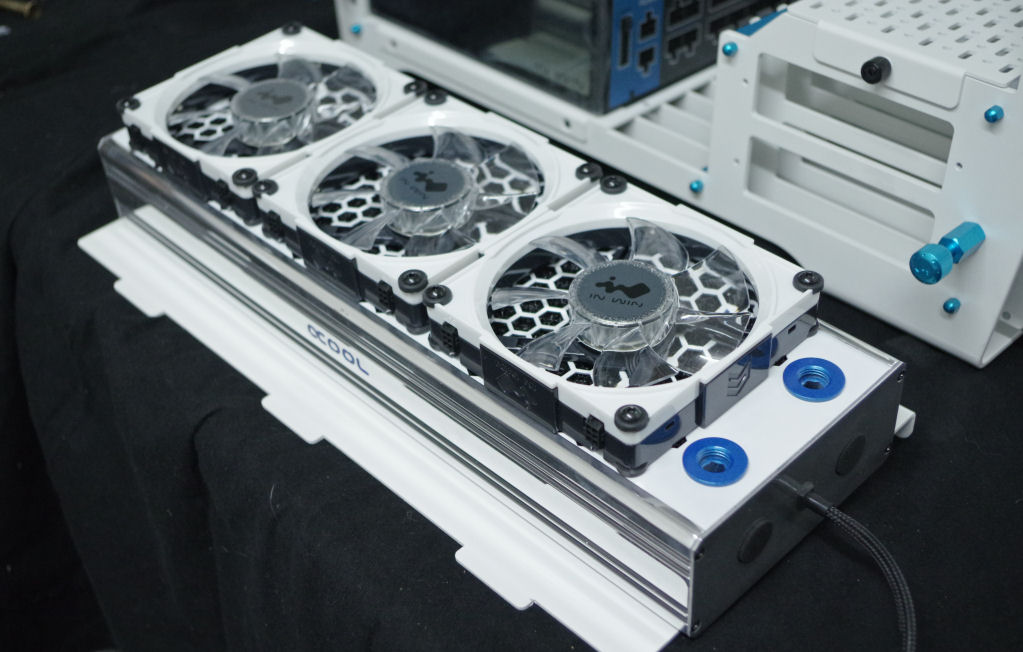 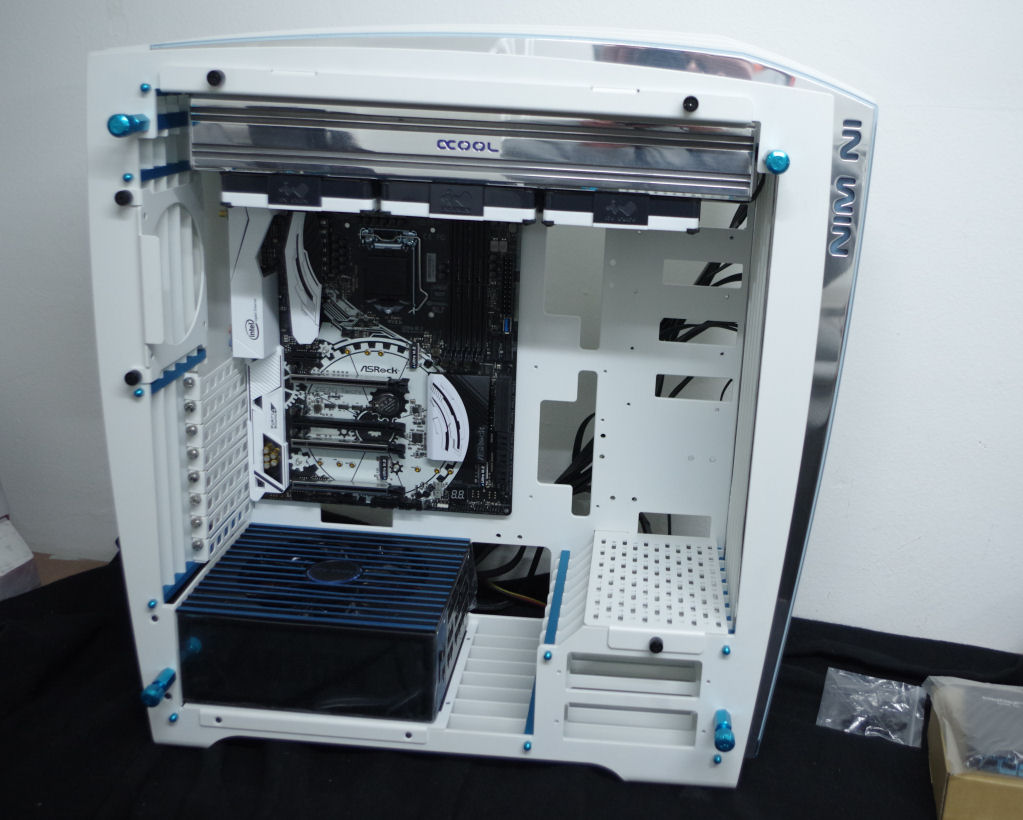 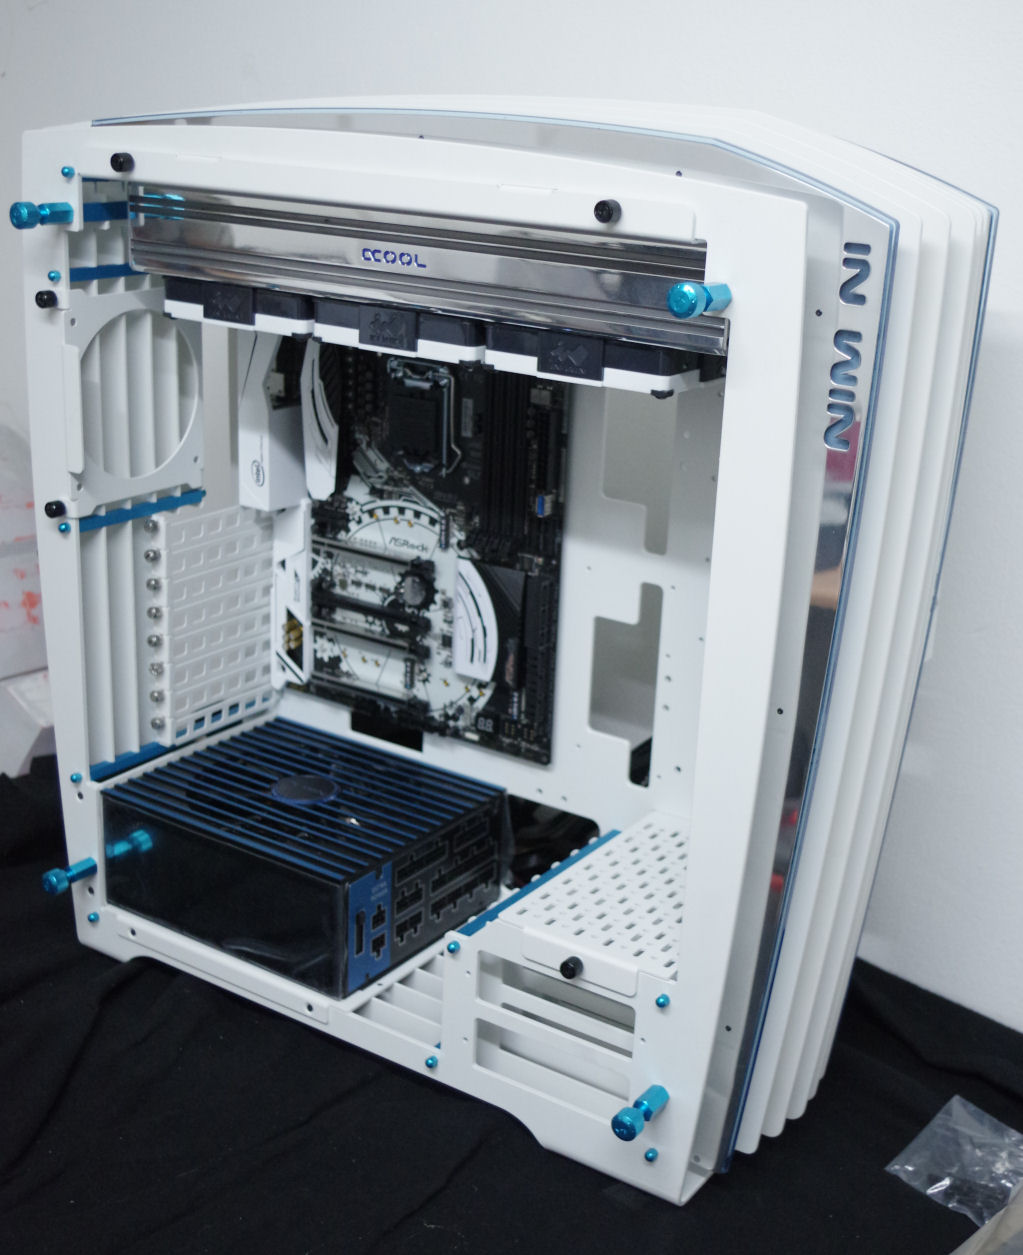 Beside that we sanded and painted the HDD / SSD Holders..... 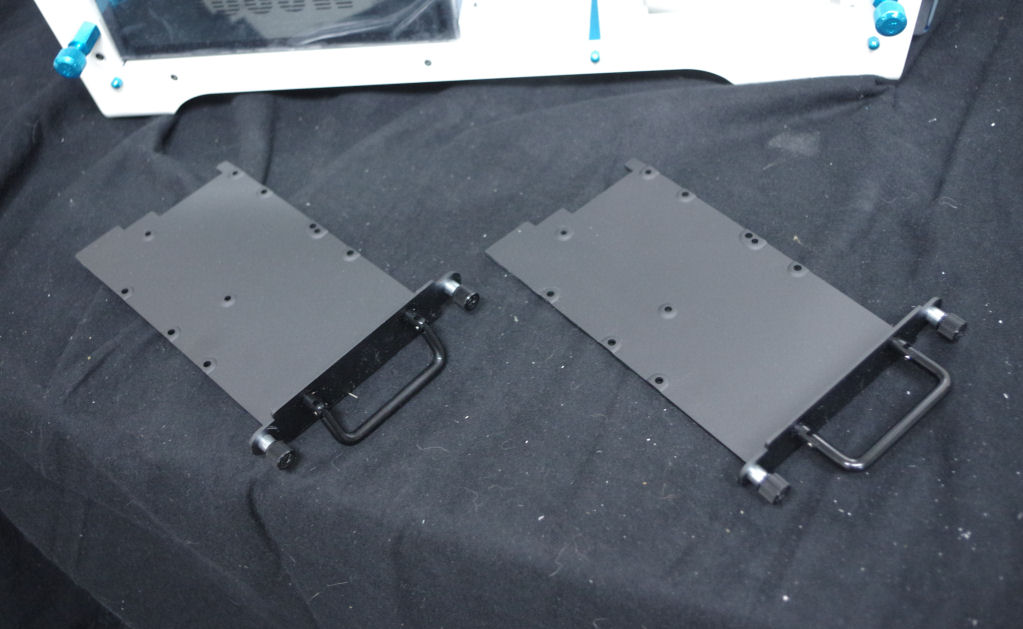 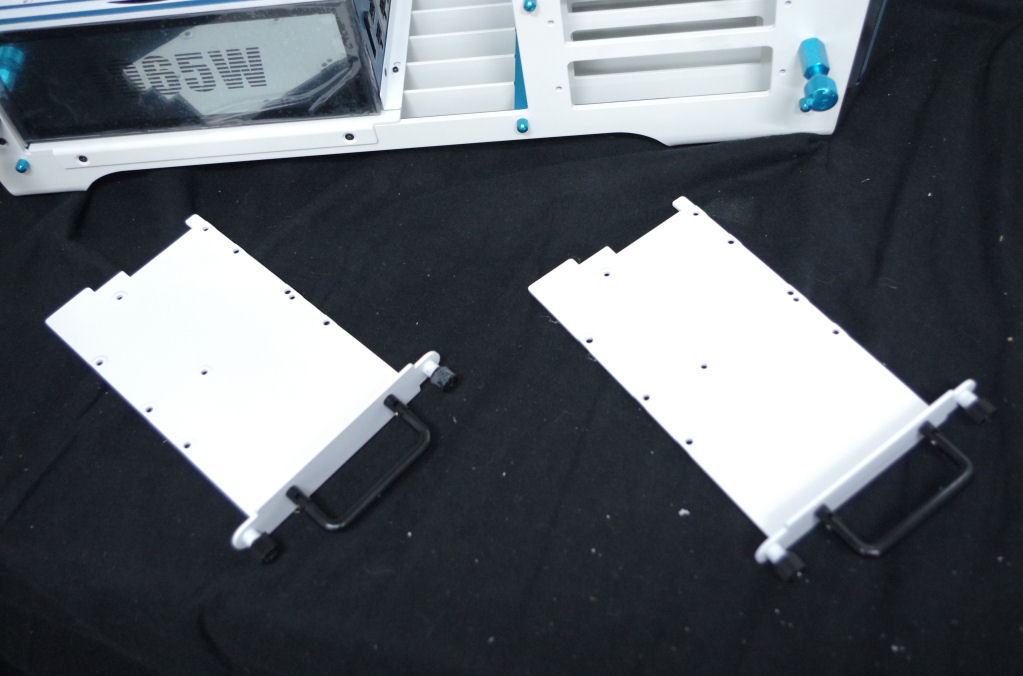 And we also continued the work on the reservoir. First we glued the 2 inner layers together so that we could overwork the inside of the waterchannels in 1 step. 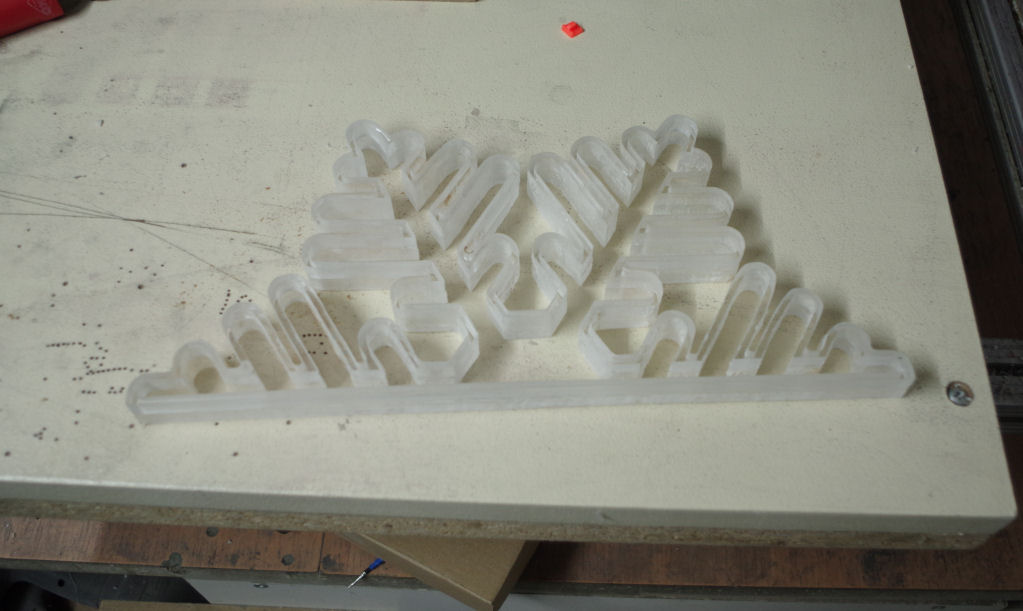 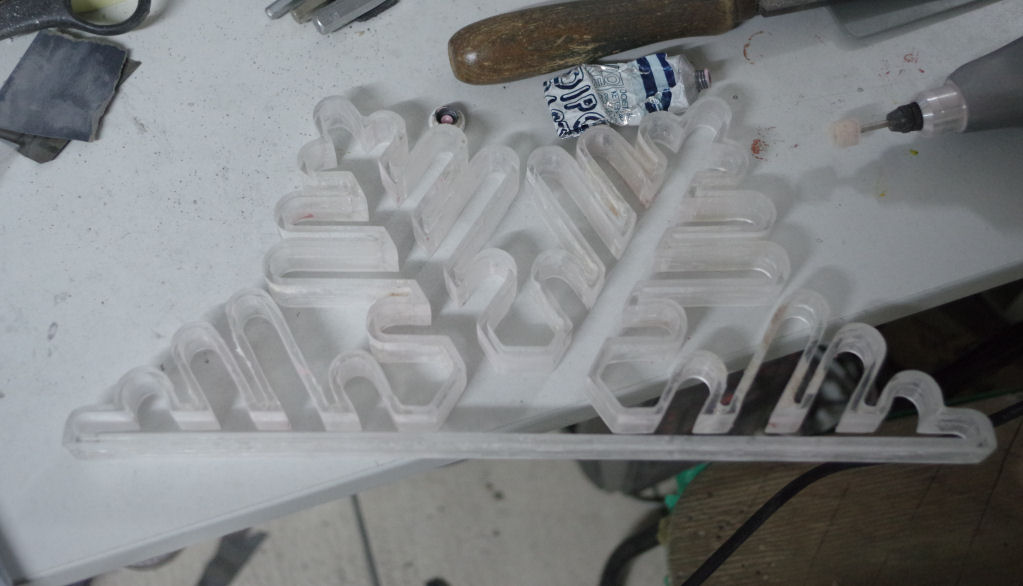 After the glue was dry, we directly took a few small needle files and a cordless drill so that we could overwork the inner edge.....after that we switched from needle files to sandpaper....so that we could add the next layers as soon as possible.... 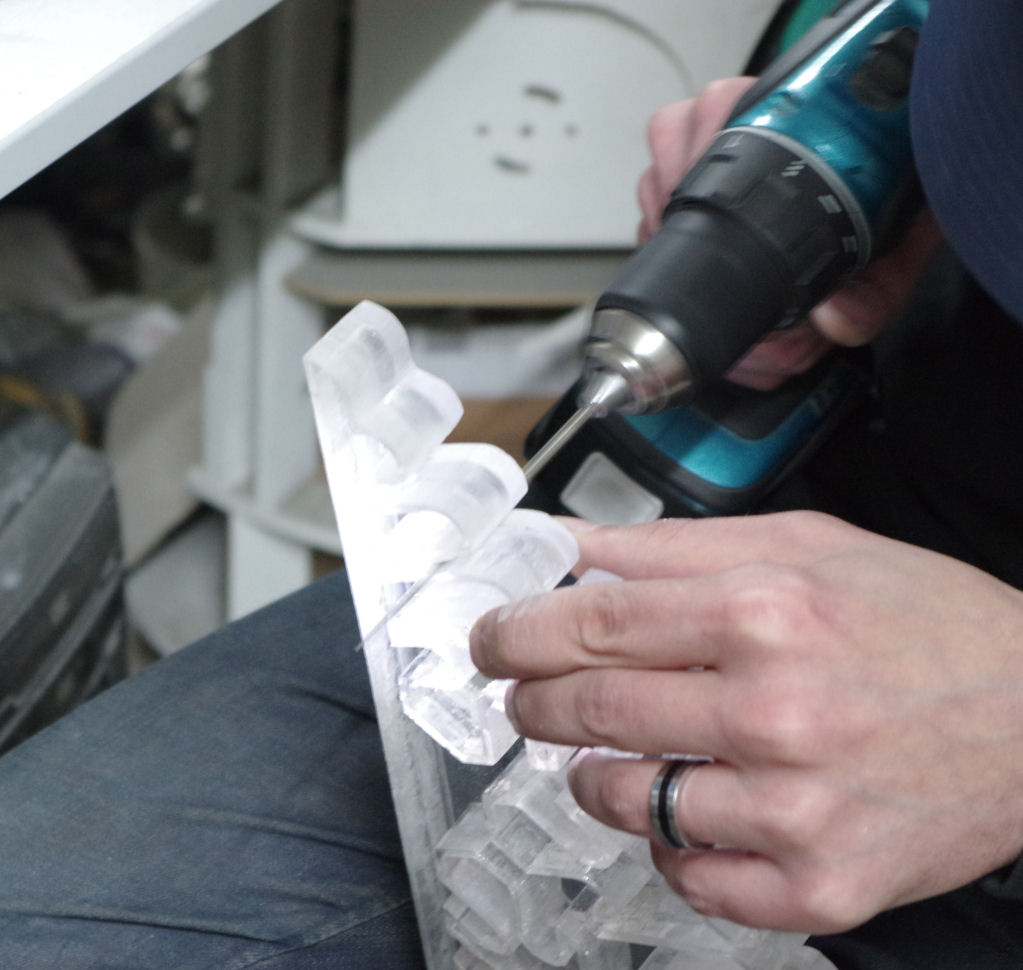 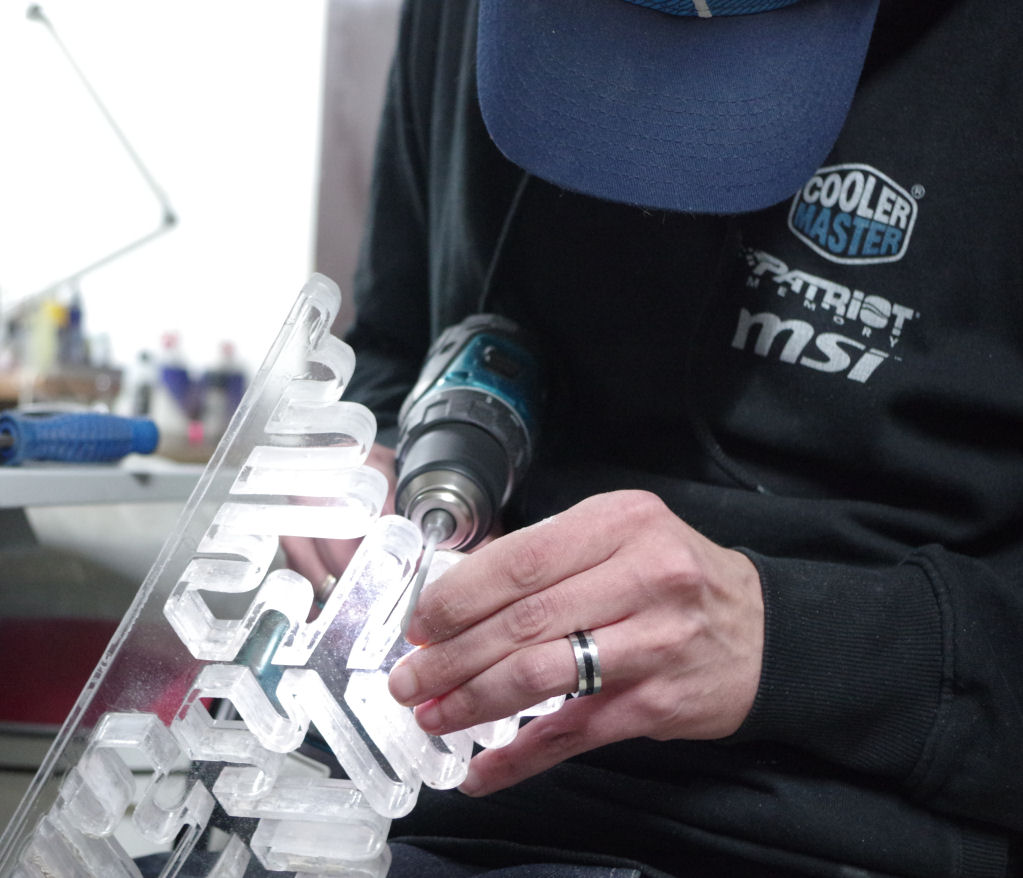 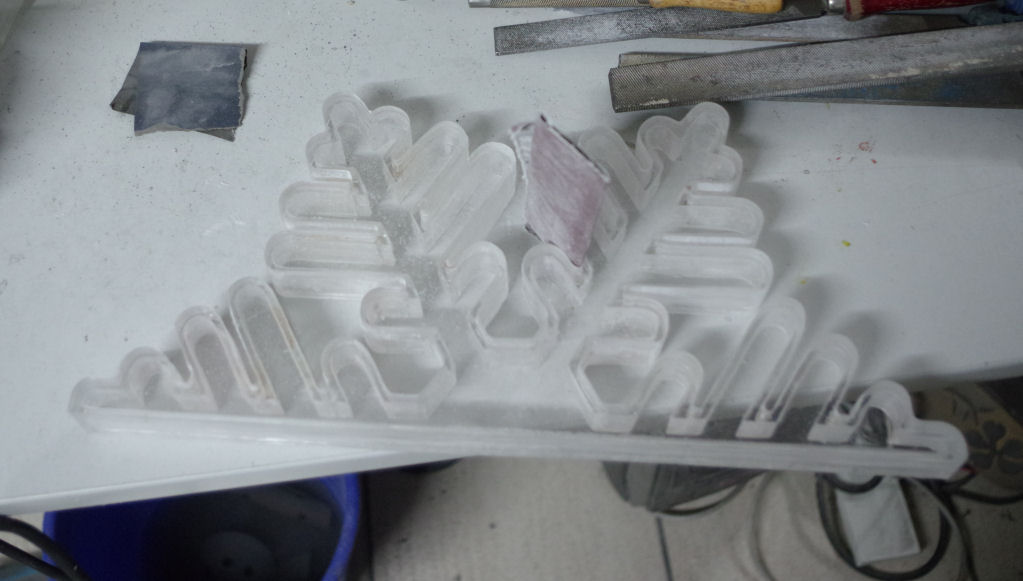 |
|
|
|
|
thechoozen
Newbie
Joined: 03 Apr 2017 Status: Offline Points: 12 |
Post Options
Thanks(0)
Quote Reply
Posted: 26 Apr 2017 at 1:08am |
thank you!!! Like mentioned in our last Update we continued the work on this project with the reservoir for the watercooling loop.....and like mentioned it will be a custom shaped reservoir in the shape of a half snowflake. So as first step we cut out a Plexiglas Top and Bottom Layer ..... 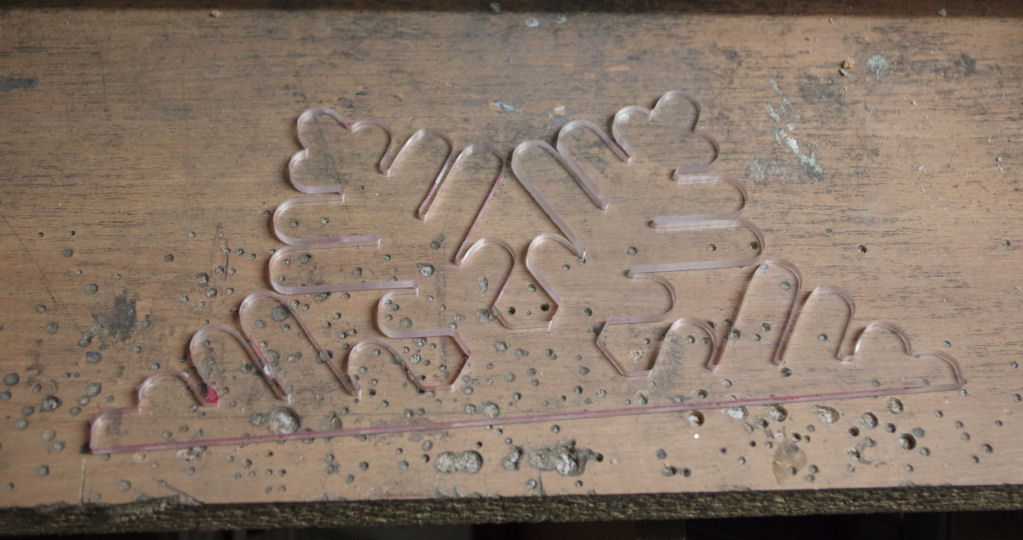 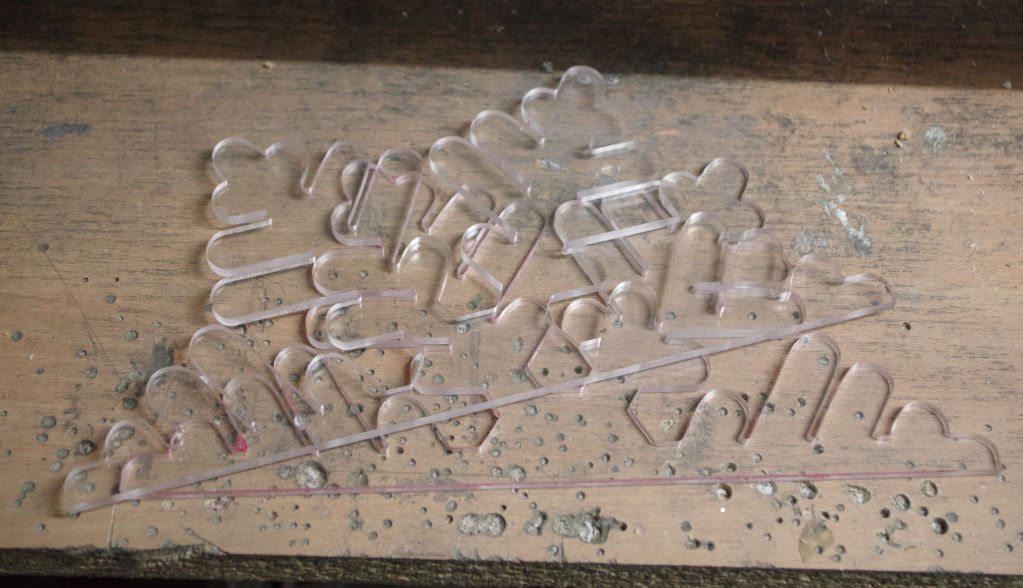 After that we cut out both middle layers with the water channels in them.... 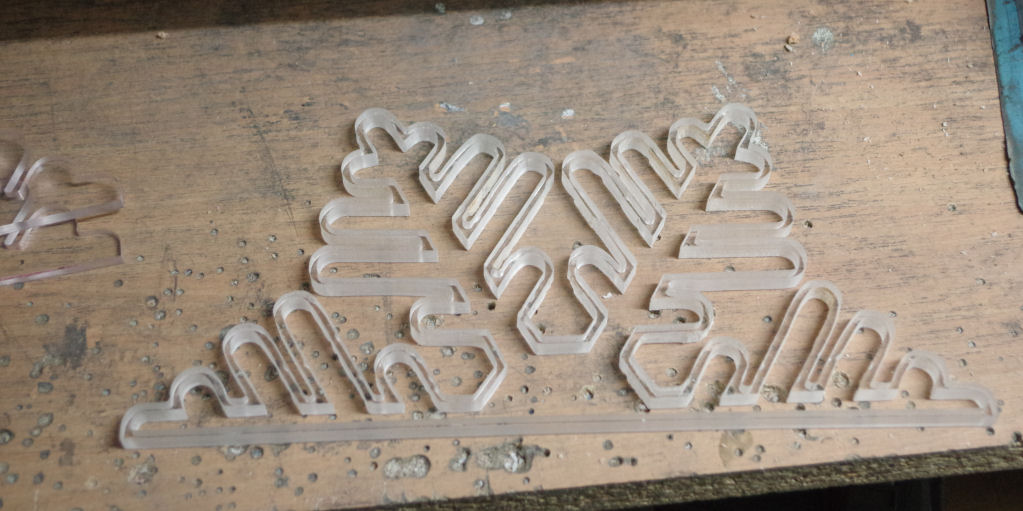 As next we mounted the mainboard & the PSU inside the Case for a first test and to have a quick look at it..... 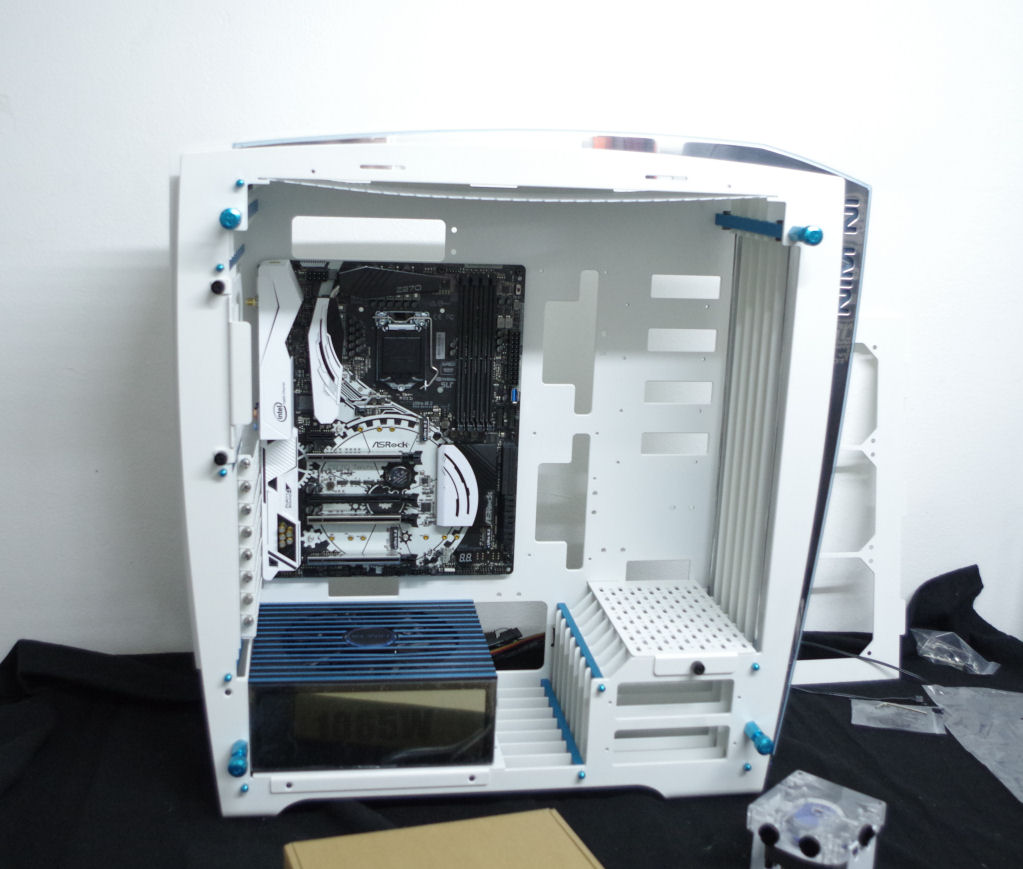 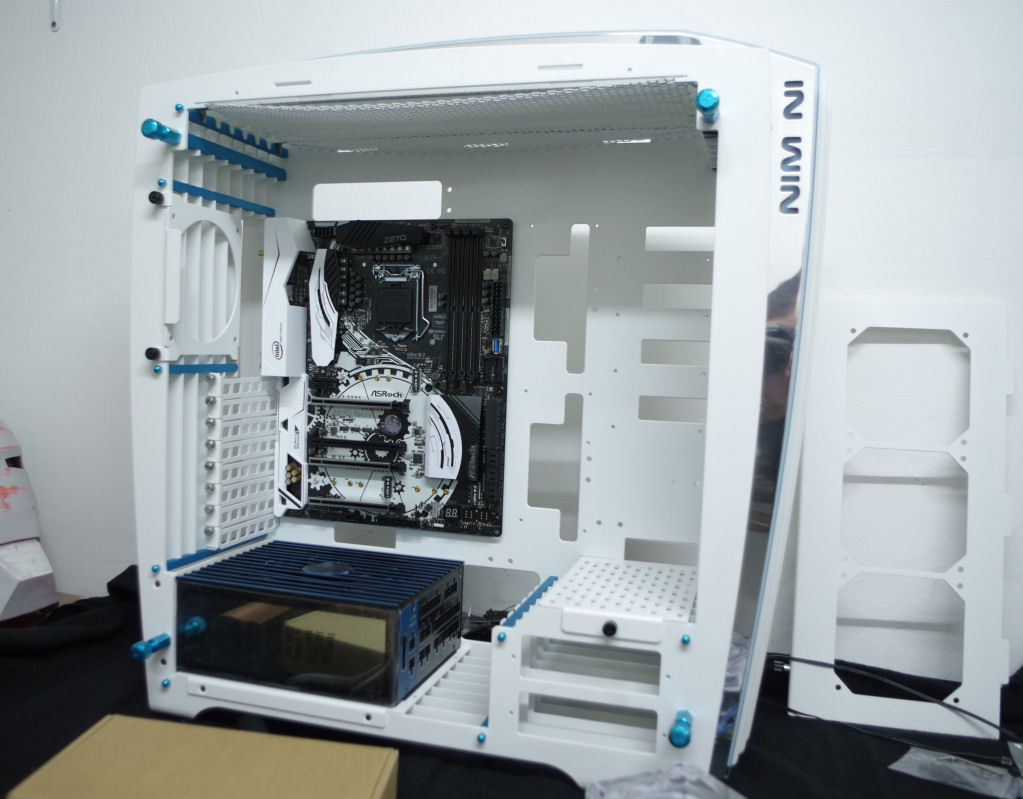 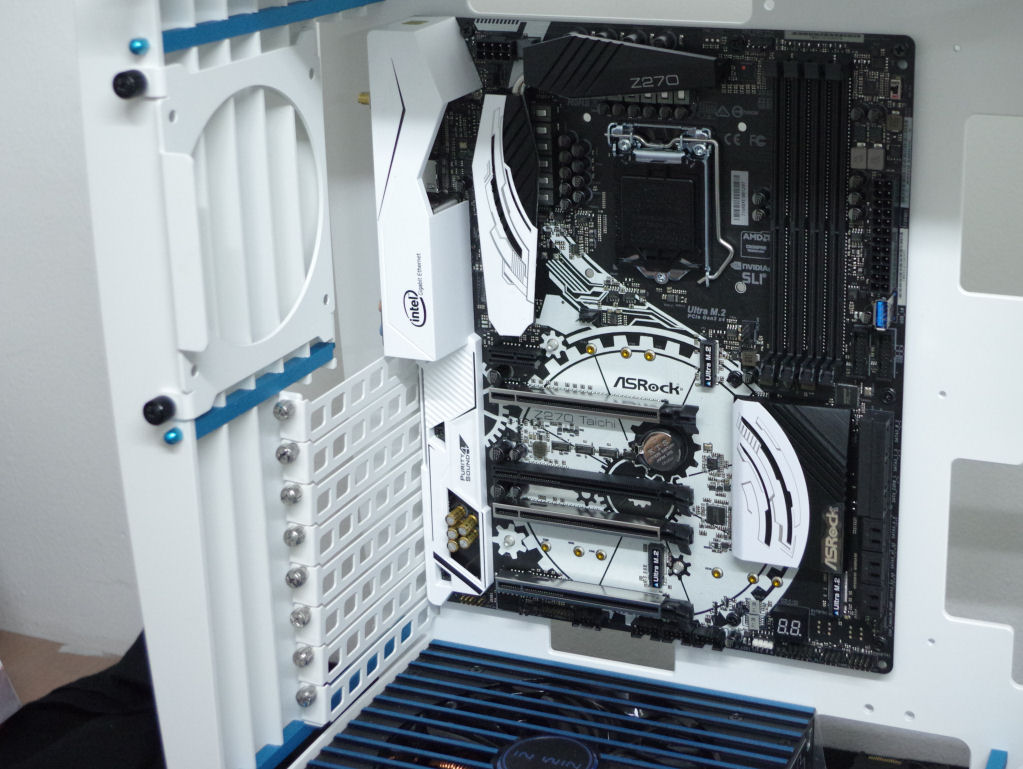 With both parts mounted, we decided that we have to overwork the Color scheme of the PSU a little bit...so we took it out and disassembled it so that we could change the Paint on that Top Plate so that it fits our needs.... 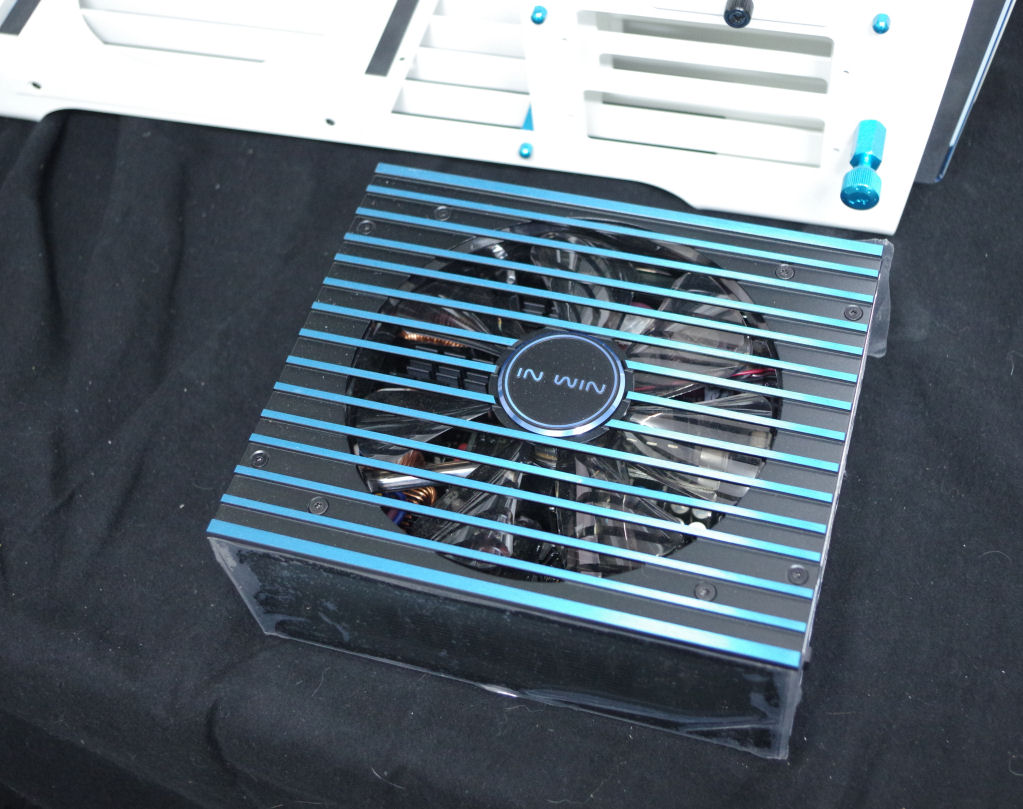 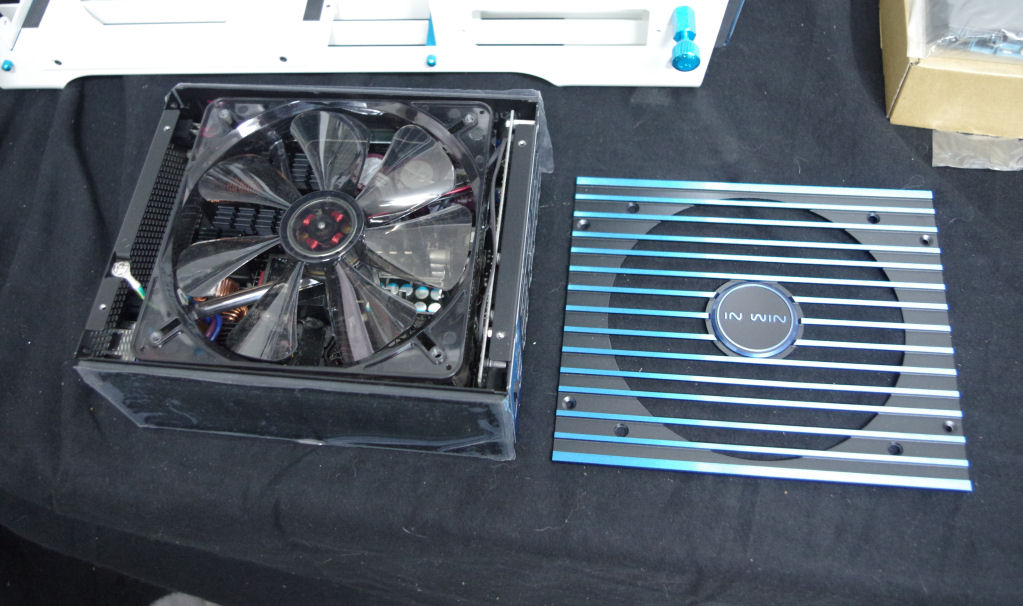 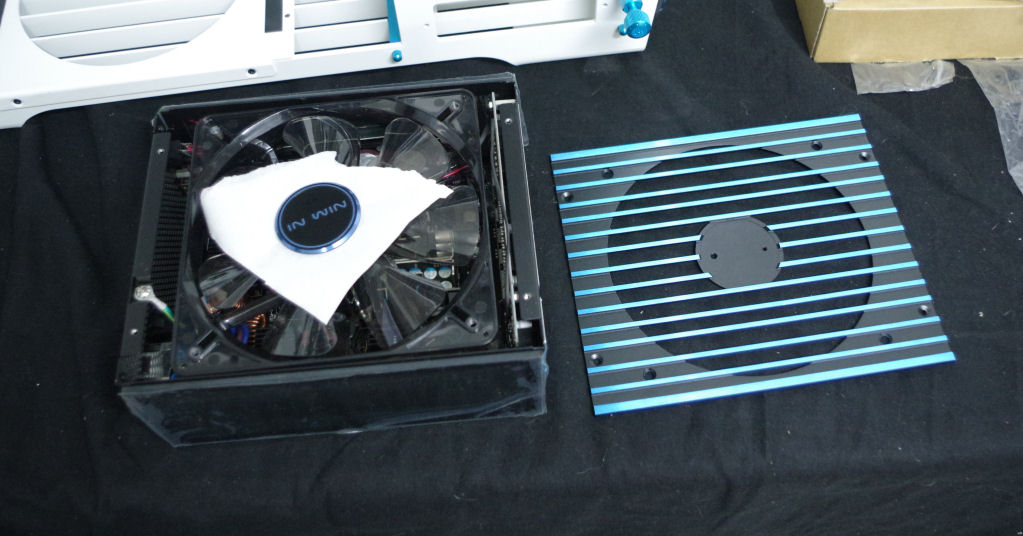 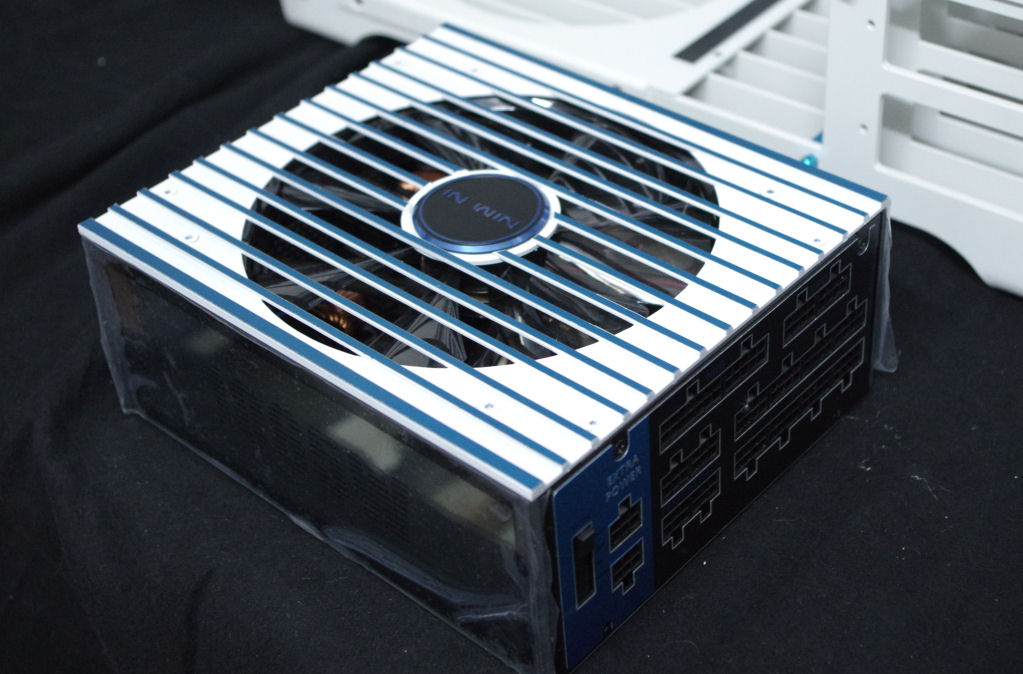 |
|
|
|
|
Post Reply
|
Page 12> |
 Tweet
Tweet
|
| Forum Jump | Forum Permissions You cannot post new topics in this forum You cannot reply to topics in this forum You cannot delete your posts in this forum You cannot edit your posts in this forum You cannot create polls in this forum You cannot vote in polls in this forum |


 Topic Options
 Looking good